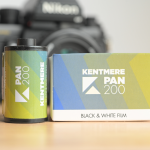
I’ve always loved photographing natural subjects indoors. The way soft window light plays with textures and casts subtle shadows is simply magical. Recently, I wanted to push the boundaries of detail and tonal range in my indoor photography. That’s why I was so excited to try out ADOX CMS 20 II Pro film. This stuff is legendary for its sharpness, fine grain, and incredible resolution.
These low ISO Films were used back in the day mostly for archival work such as taking photographs of documents and artworks and such where detail was paramount. Maybe also for insurance companies photographing fine art detail.
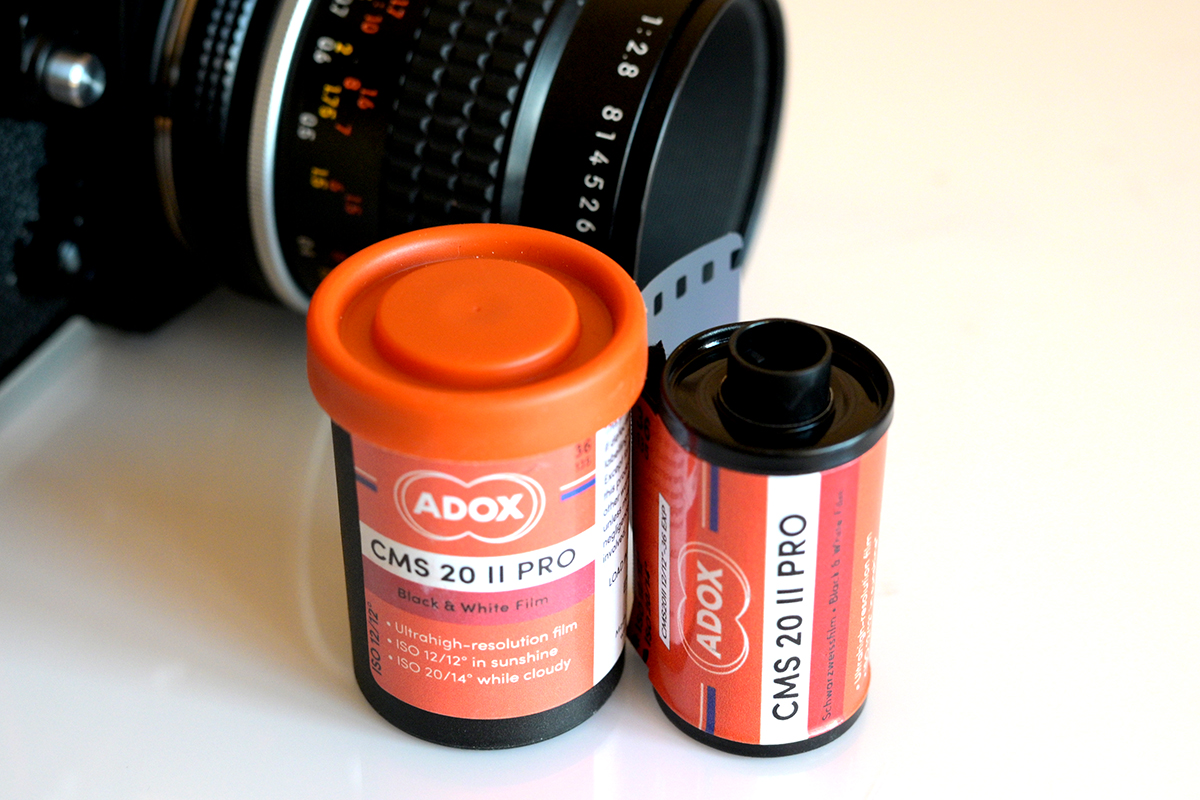
ADOX Claim this stuff to equal 500 megapixels! You can read what they say on their website
And although this is 35mm film don’t get too excited if you think it’s also available in 120. It was, but not anymore! Apparently ADOX’s 120 machine broke down and it’s doubtful (hopeful) they will make it in 120 format again. BUT… They do make it in 4×5 if you are looking for silly resolutions.
You may want to check out the video I made on the channel.
The Setup
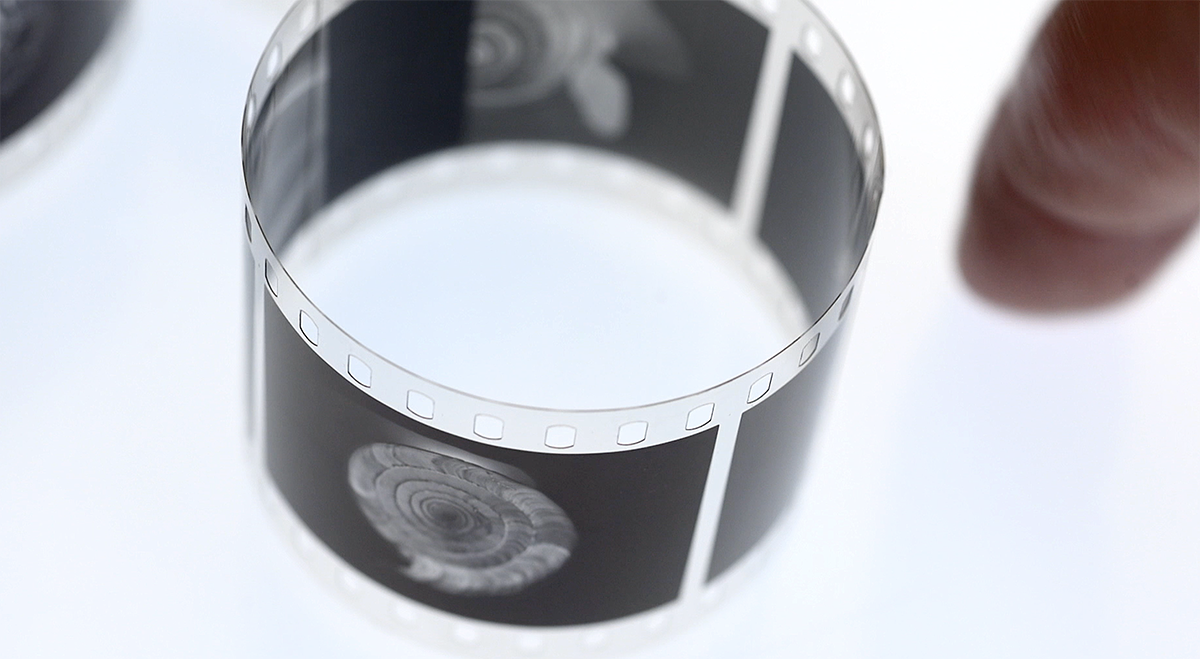
- Camera: My trusty Nikon FM3A, a fully mechanical workhorse.
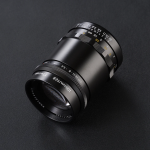
- Lens: The sharp Nikkor 55mm F2.8 macro lens for close-up detail.
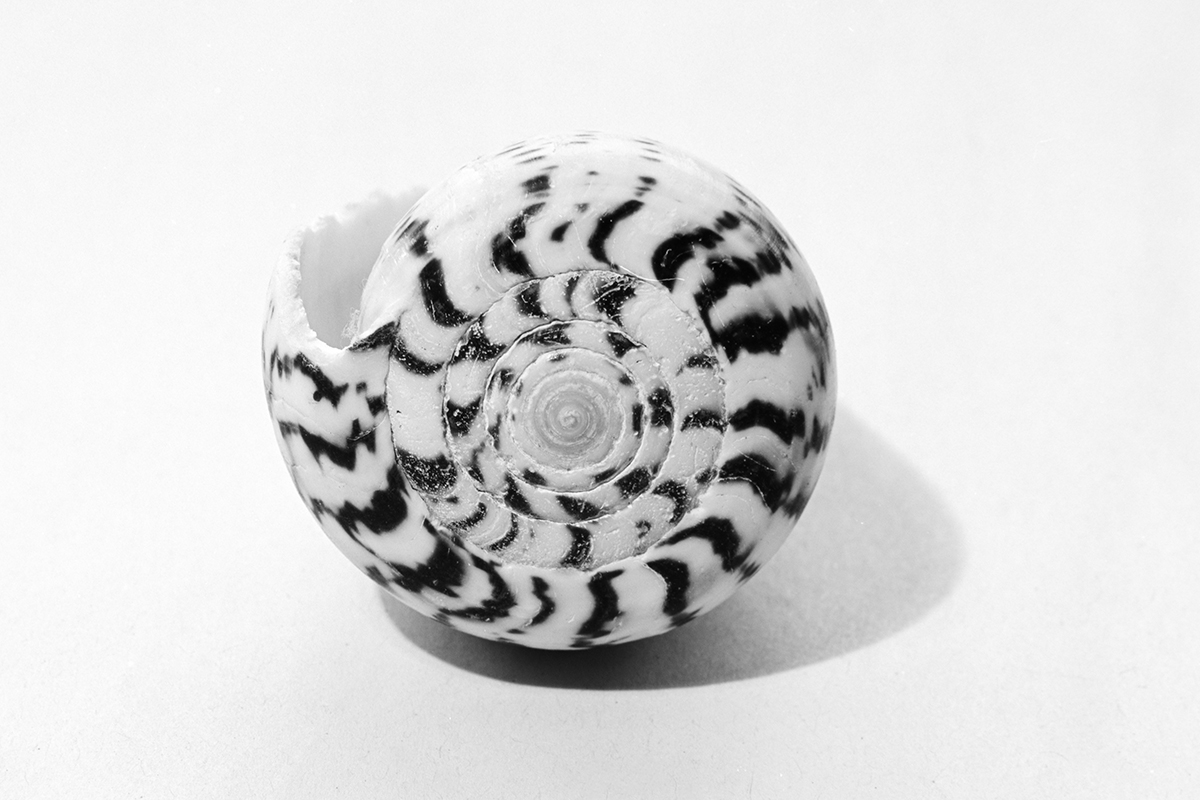
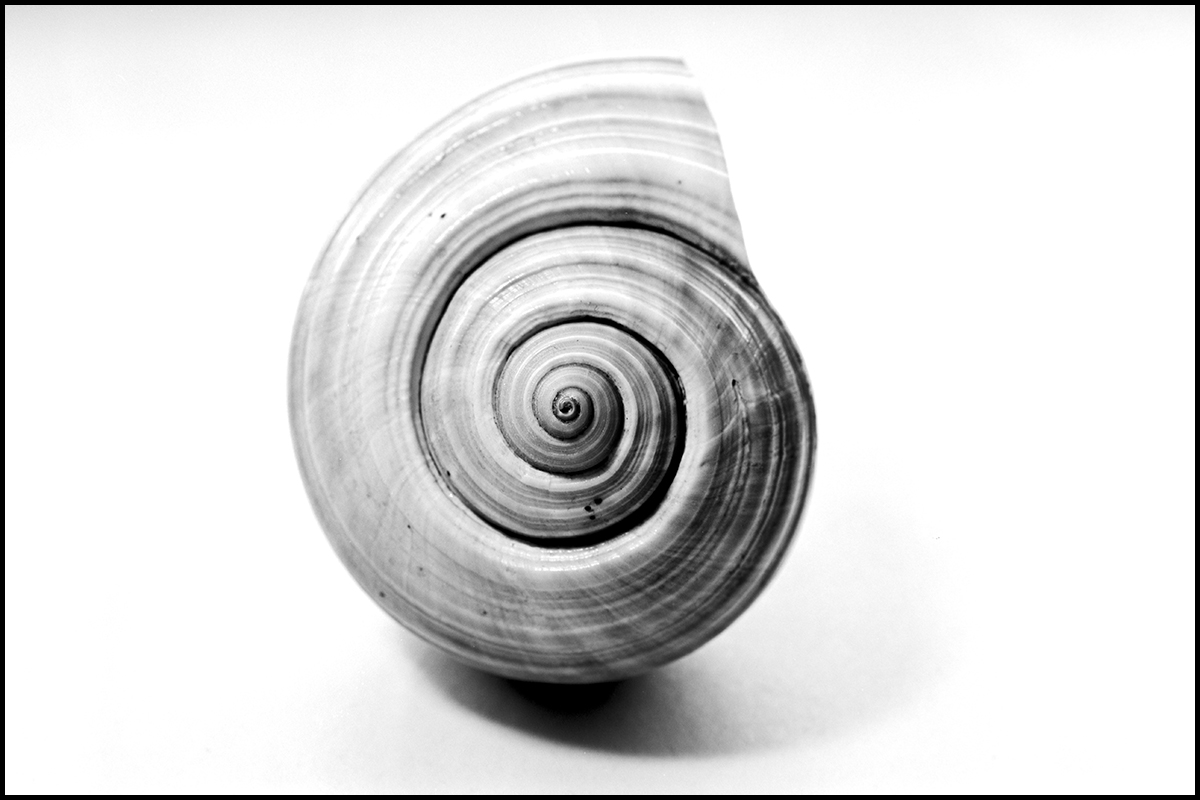
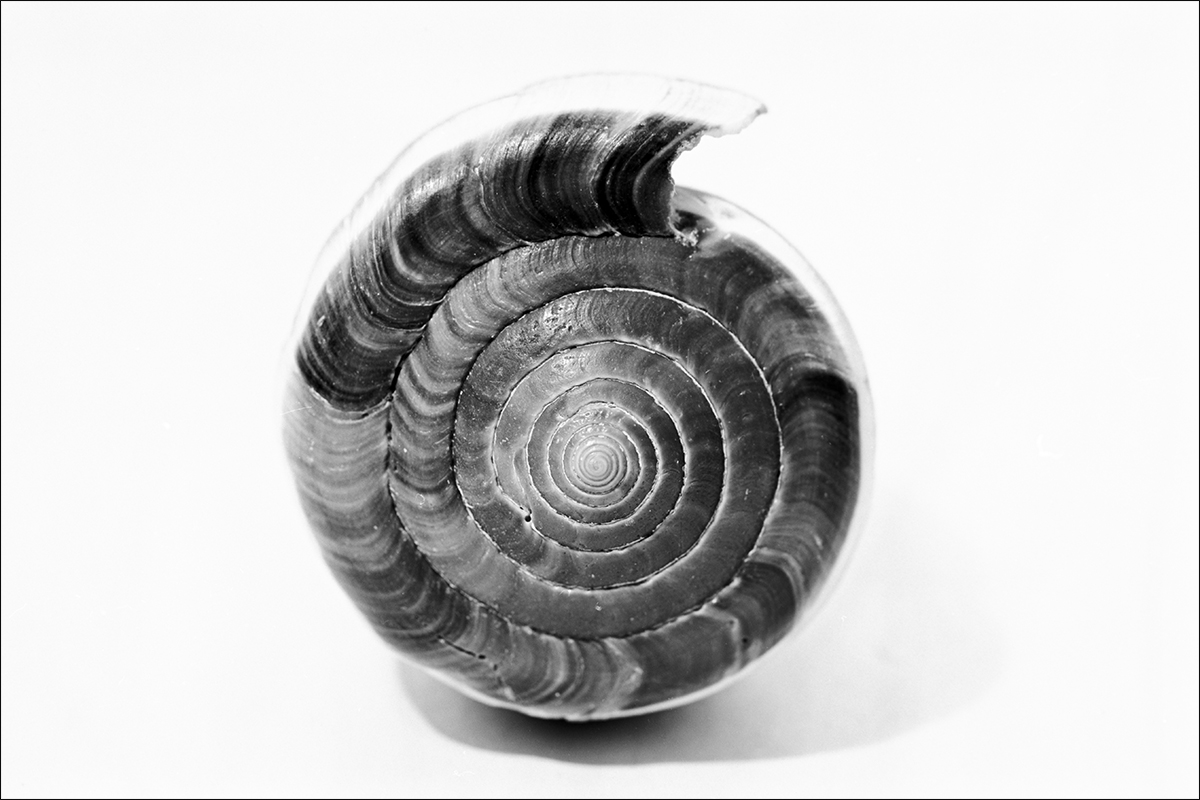
- Subject: A small collection of seashells with diverse textures and shapes.
Why ADOX CMS 20 II Pro?
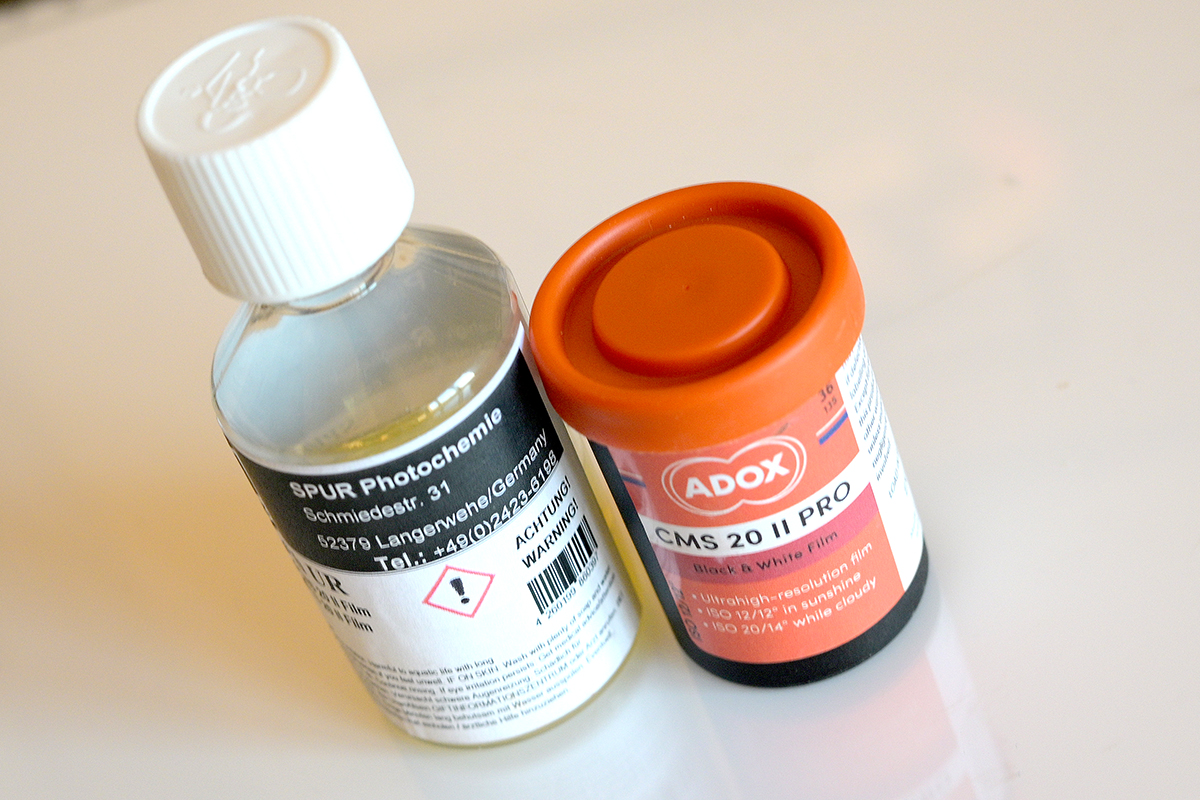
My friend Neil Legg sent me a couple of 35mm rolls to dabble with along with some Spur R800 Film and also 50ml of SPUR developer.
I was already familiar with the technical advantages of CMS 20 II Pro and had used it in the past but never in a dedicated developer.
- Unmatched sharpness: The hype is real! This film is capable of resolving incredible levels of detail.
- Invisible grain: Even with big enlargements, your images stay smooth and clear.
- Wide tonal range: Smooth transitions between light and shadow, preserving nuance in subtle textures.
It was perfect for my indoor shell project! Natural light isn’t always the brightest, but I knew CMS 20 II would still capture every little detail the shells had to offer.
The Shoot
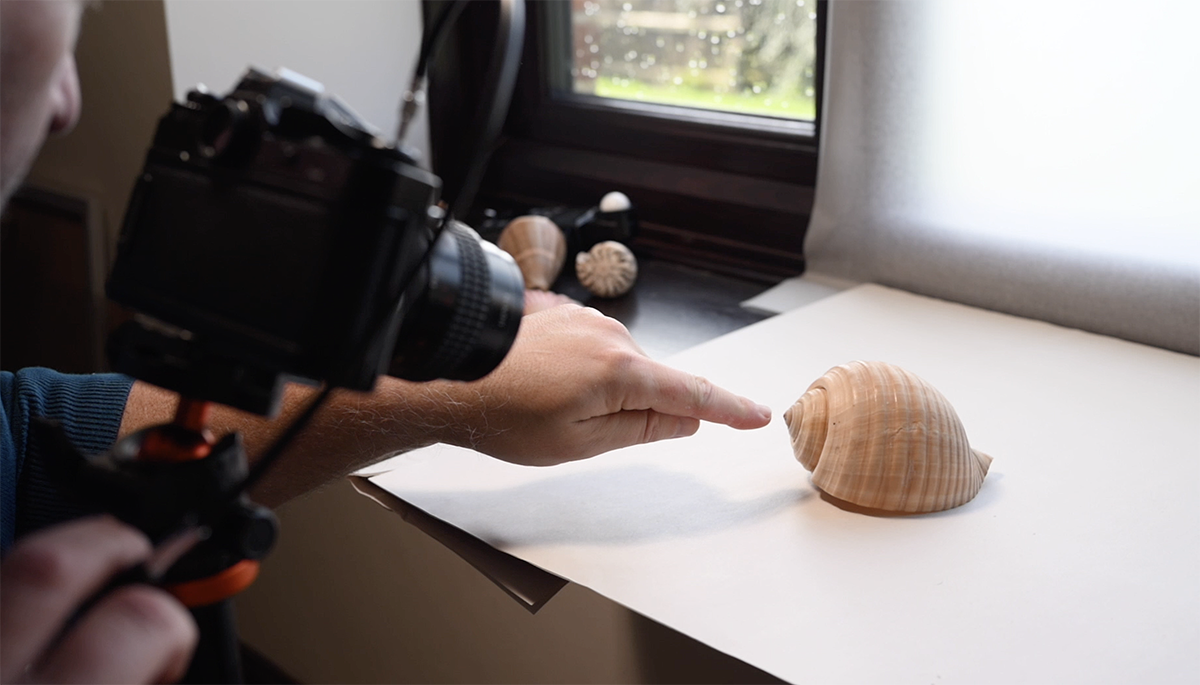
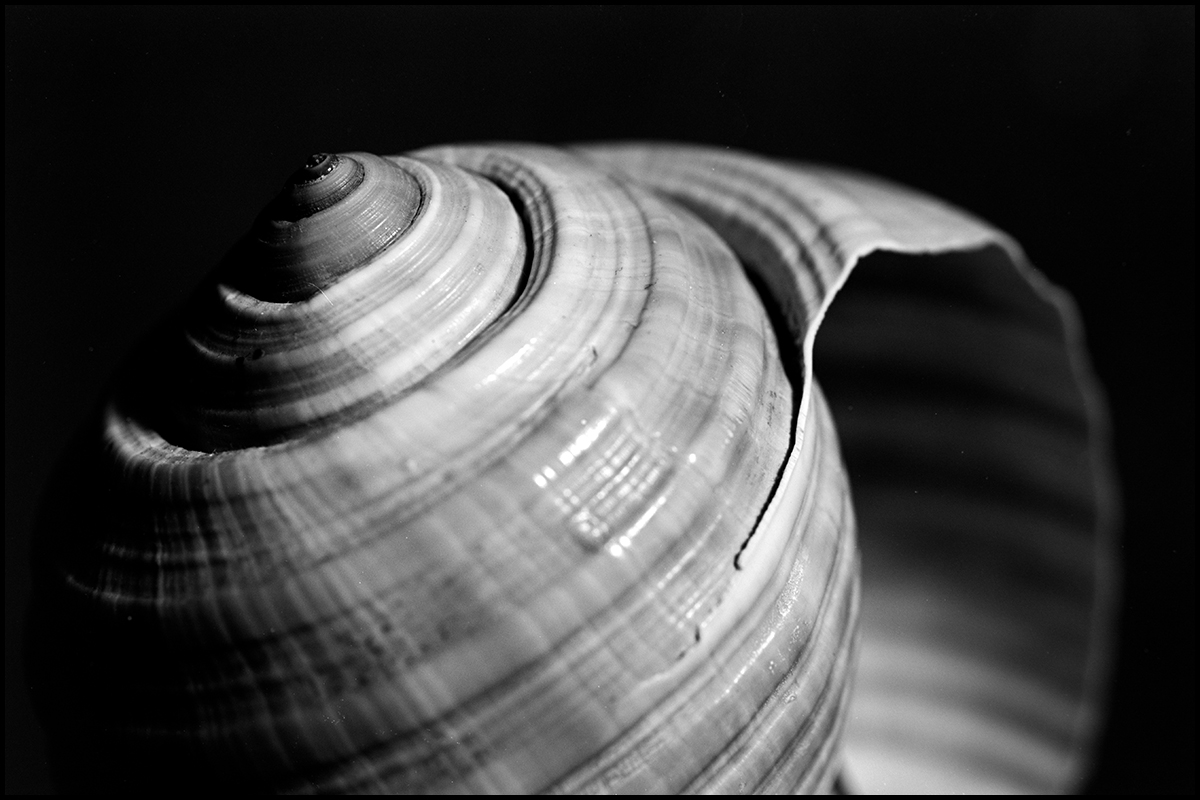
I placed the shells on white paper (It’s actually paper you get from take away food places, fish and chip shops which is off white) on a window sill, and diffused the light coming in using a sheet of parchment paper letting the soft, diffused light illuminate them. Capturing fine detail was my goal, but I couldn’t stop the lens down as much as I wanted because I was spreading hitting 1 second shutter speed and I wasn’t sure of the reciprocity failure times on this film so I stayed around f4 / f5.6, which was fine.
With the FM3A’s accurate metering, finding the correct exposure was a breeze but because the paper was about a stop brighter than the shell I decided to expose a stop over the metered exposure which worked well. I also used my Sekonic handheld meter to measure the light in between shell changes because the light outside was in and out of cloud.
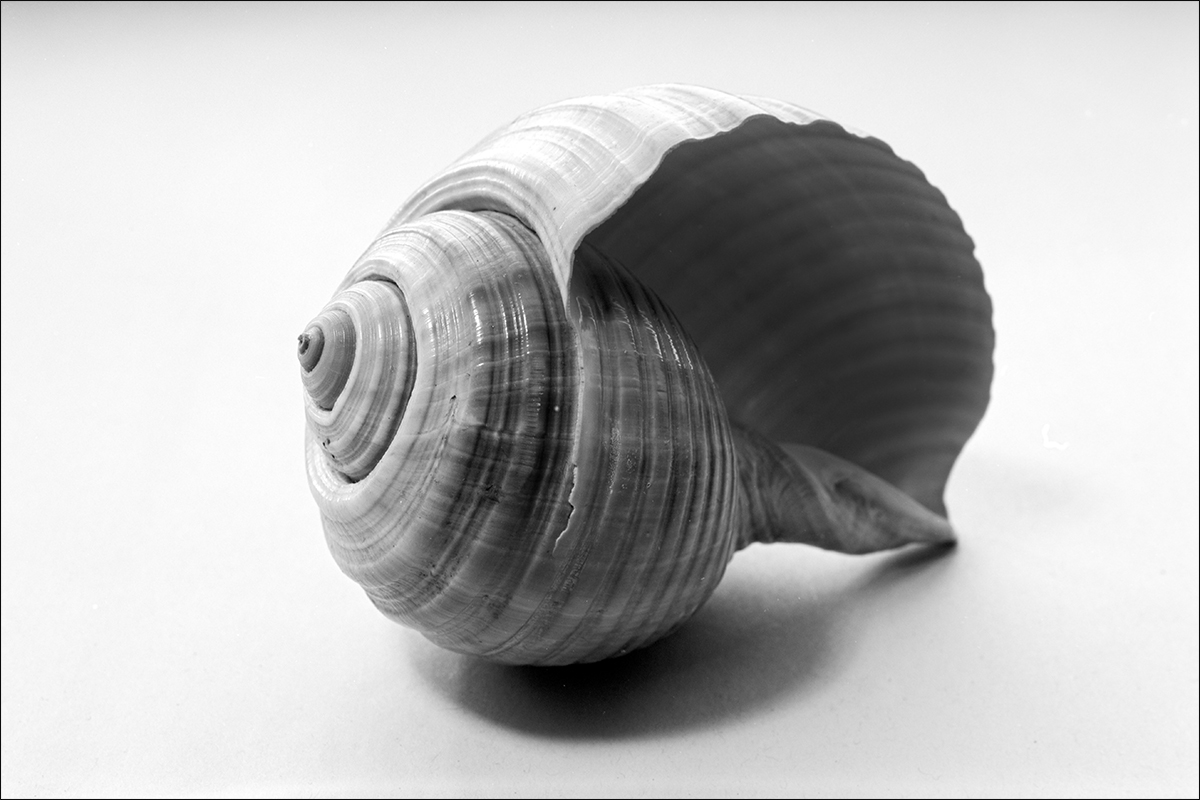
Below is a prime example of why I wanted to get more depth of field.
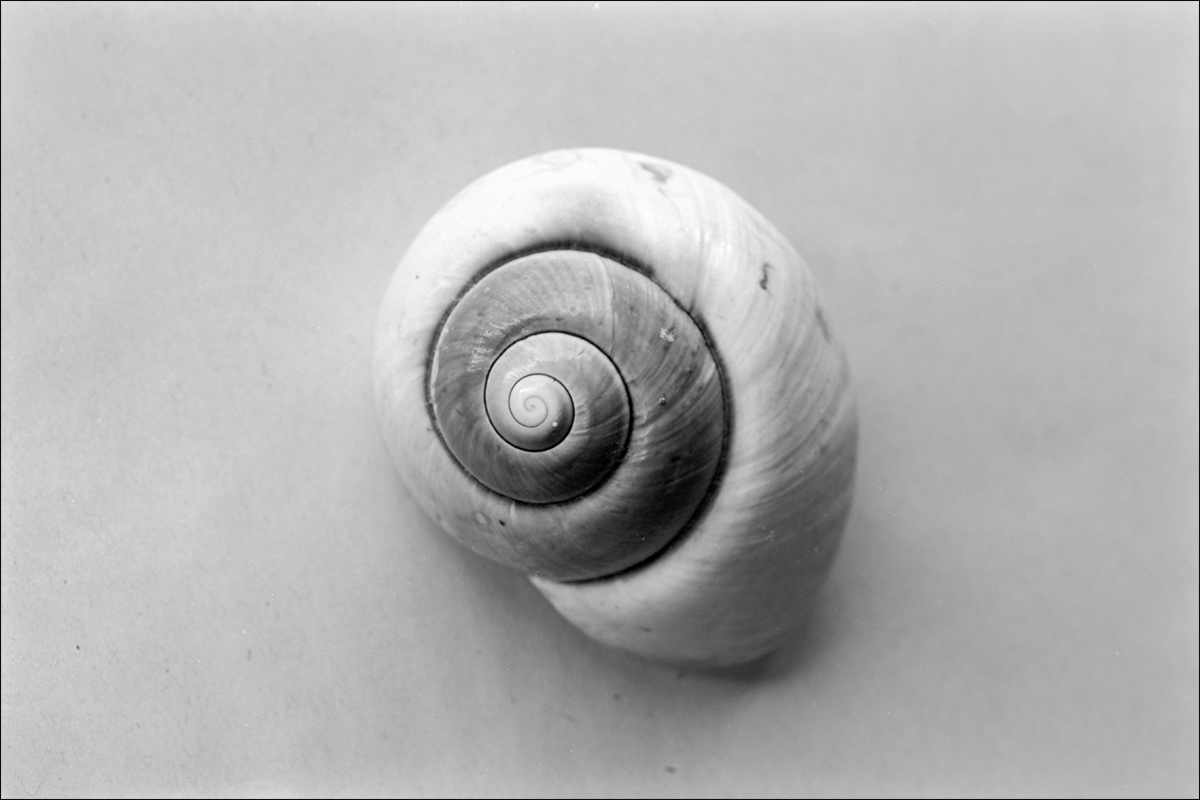
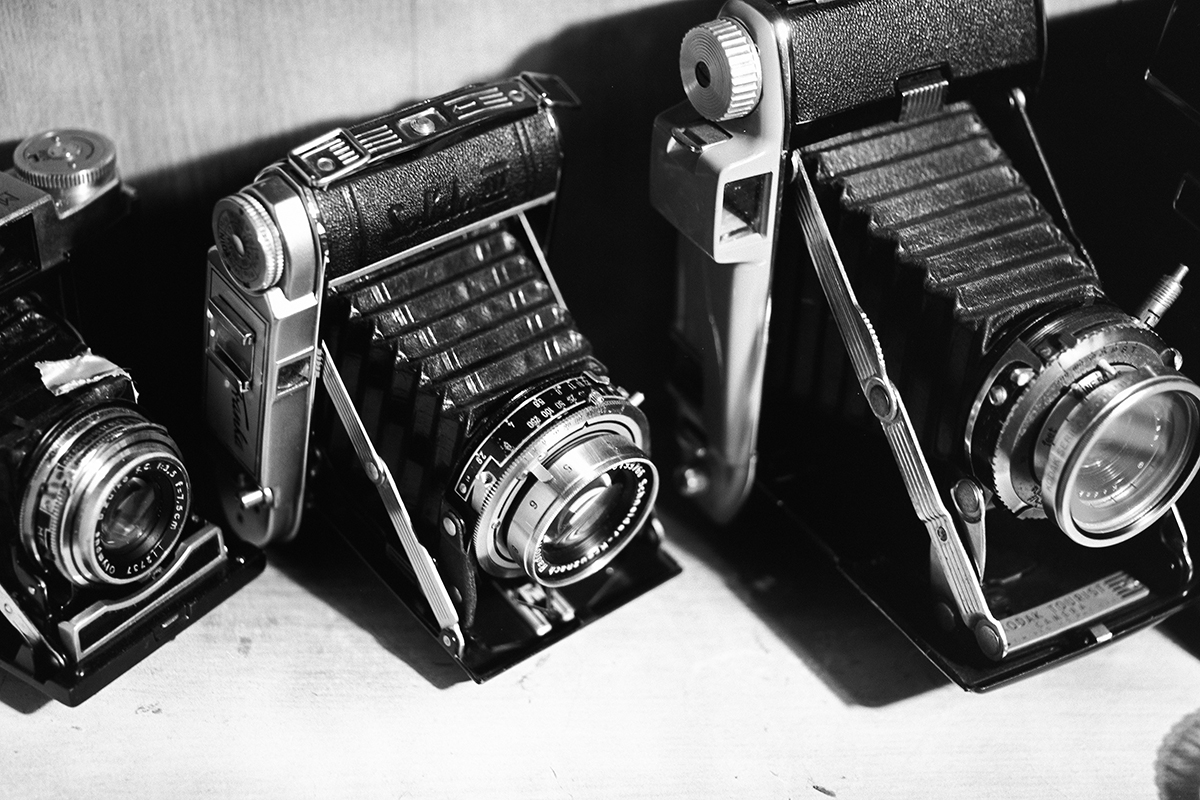
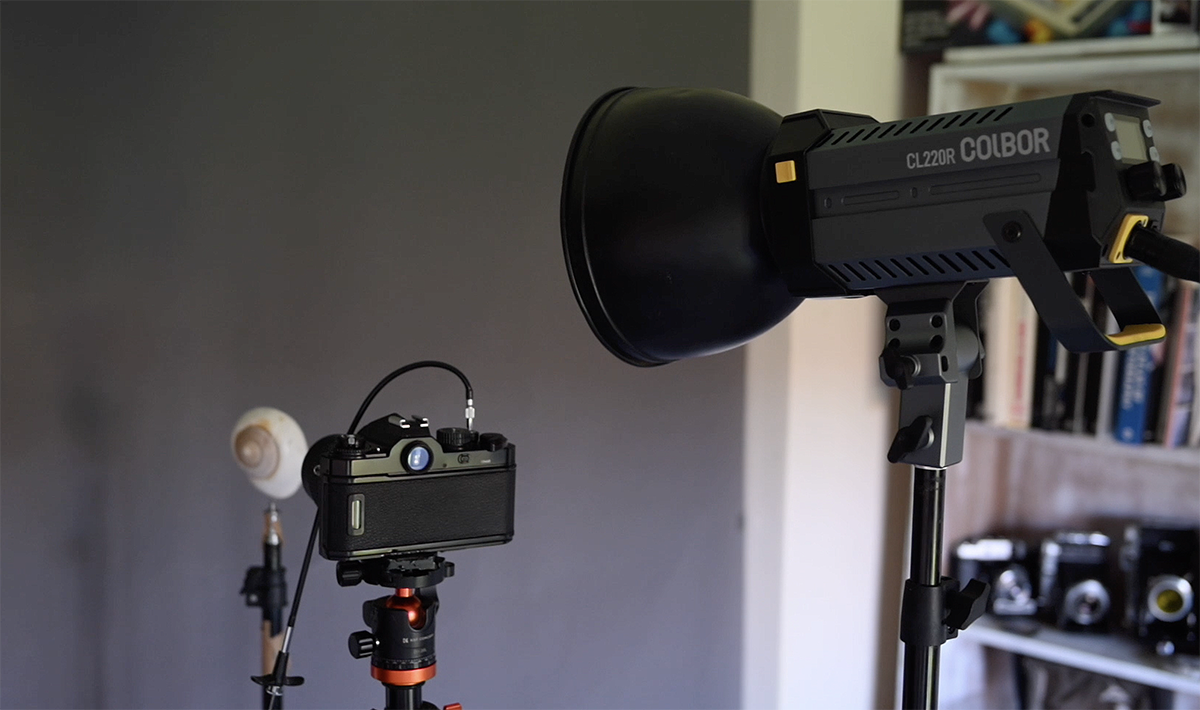
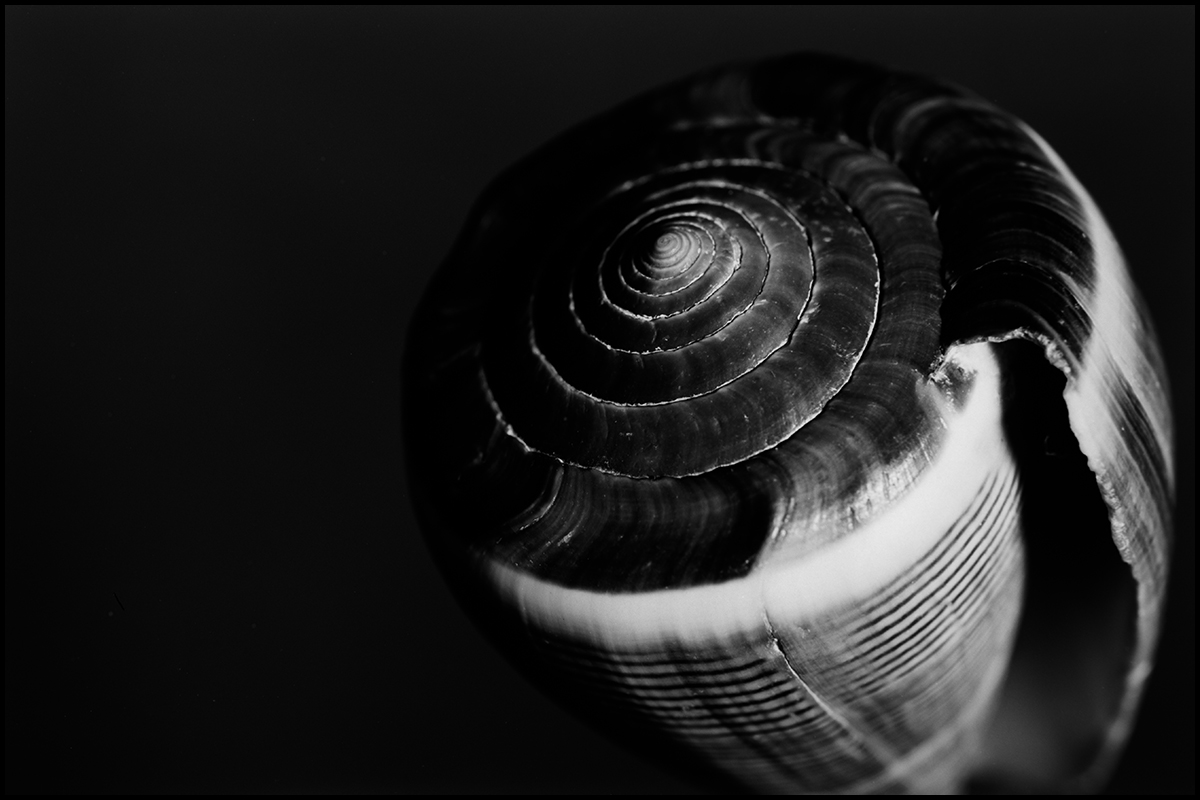
This film is known for its banging contrast in bright conditions where highlights and shadows are found. I used a Colbor CL220R continuous light against a grey background for the next few photographs just to see how they would look.
The Development
This is where things get important. CMS 20 II Pro needs specialized development to unlock its full potential. I didn’t use the dedicated ADOX ADOTECH IV developer as recommended by the manufacturer. I went with what Neil Legg sent me, SPUR Nonotech UR. Pretty much the same stuff.
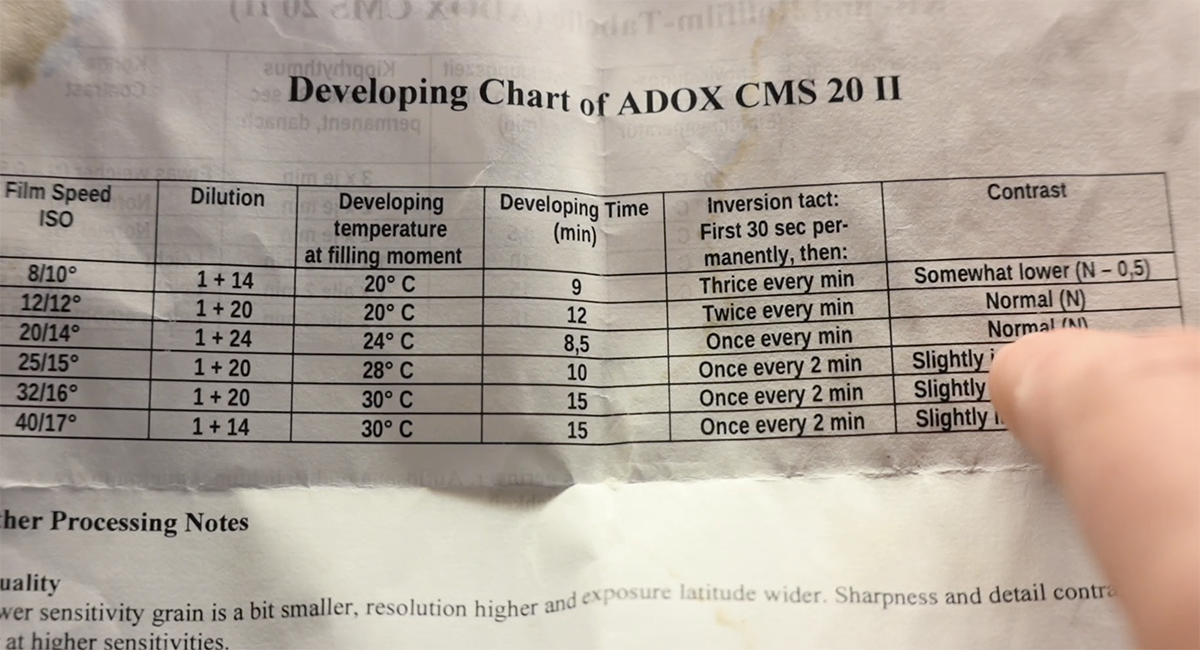
Because these films are such low ISO and the times we get to develop for 20 ISO means we are pretty much pushing the film and these developers are formulated for that purpose so we can achieve better tonality from the film being pushed than say using D76, ID11, Rodinal etc. Try to develop in these developers and the curve is diagonal! Contrasty!
And with only 50ml in the bottle and diluting 1 part to 24 I’m only going to get 4 rolls developed from that bottle so it’s not a cheap way to shoot by any means BUT, for doing this sort of work once in a while and getting 144 photographs it’s not bad at all.
So using the SPUR chart below you can see I developed for 8.5 minutes.
The Results
Blown away is an understatement! I scanned the negatives myself using a Nikon ZF and the same 55mm Micro Lens with a 2x Teleconverter, and here’s what I loved:
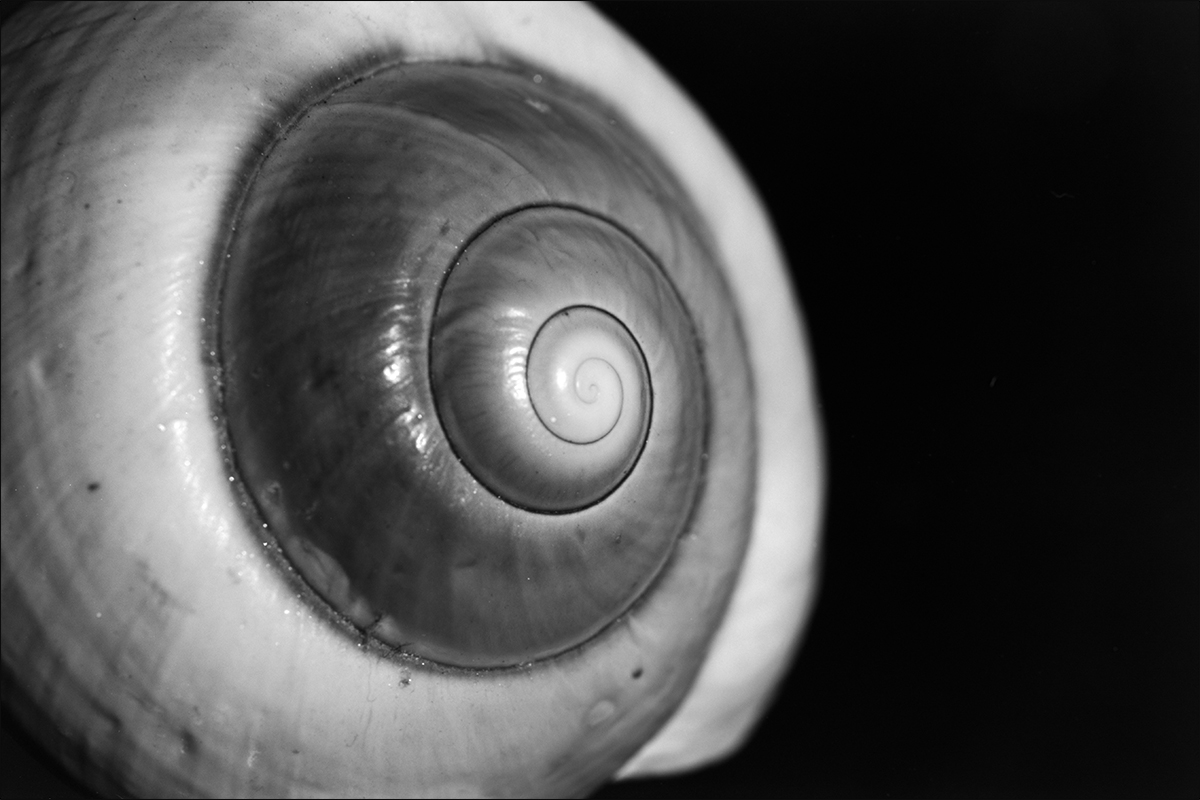
- Mind-blowing detail: I could zoom into the scans and see textures even my naked eye couldn’t discern while shooting. The ridges of the shells, the subtle color variations – everything was there.
- Smooth tones: Highlights and shadows transitioned seamlessly. I loved the gentle way the light rolled off the shells’ curves.
- The “feel” of film: Even with all the resolution, there’s that certain organic quality to the images that I love.
I also took the negatives in the darkroom, which you can see in the video, and made a 10×8 Print which also looked fantastically detailed.
Don’t forget, for this shoot I was using a very good lens also!
Tips for Shooting ADOX CMS 20 II Pro
- Steady wins the race: Use a tripod! That detail won’t mean anything if your shots are blurry.
- Learn to expose properly: This film can be a bit unforgiving with exposure. A good light meter is essential.
- Develop with care: Don’t waste this film’s potential! Use ADOTECH IV , SPUR NANOTECH or something similar that is specialised for these films.
Finally a photograph I took of my folding cameras using the Colbor light.