FT12 FILM (kodak SO 331)
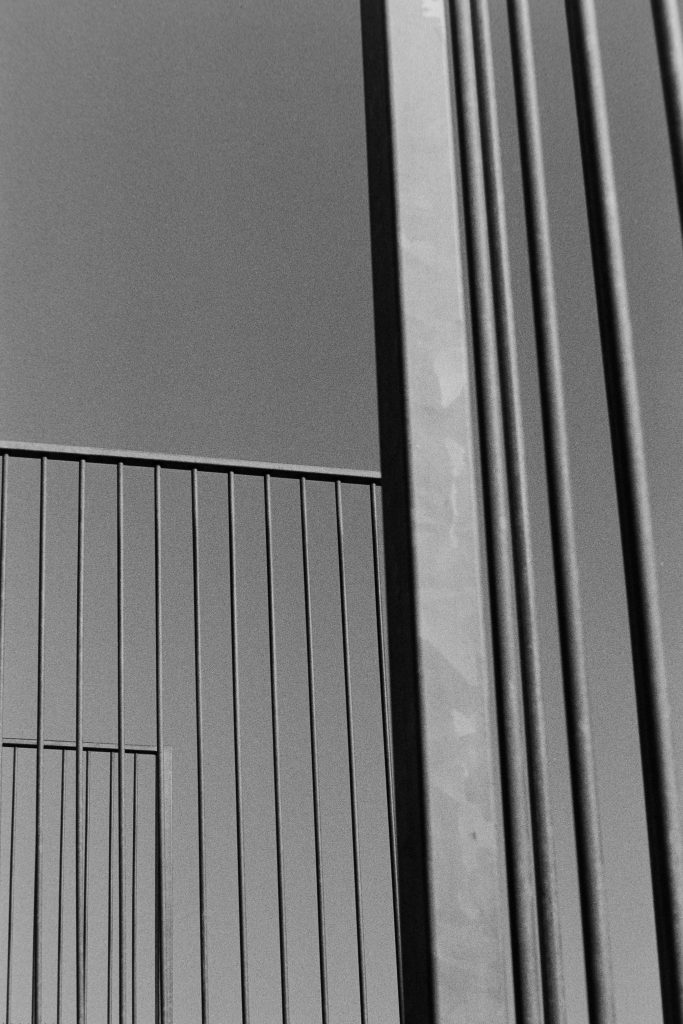
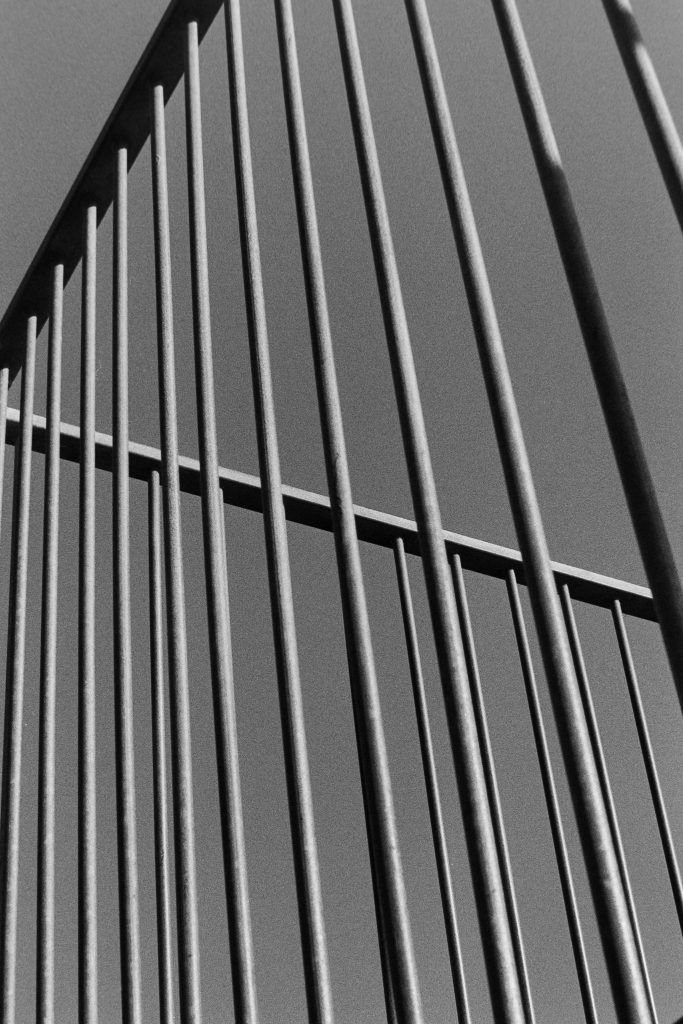
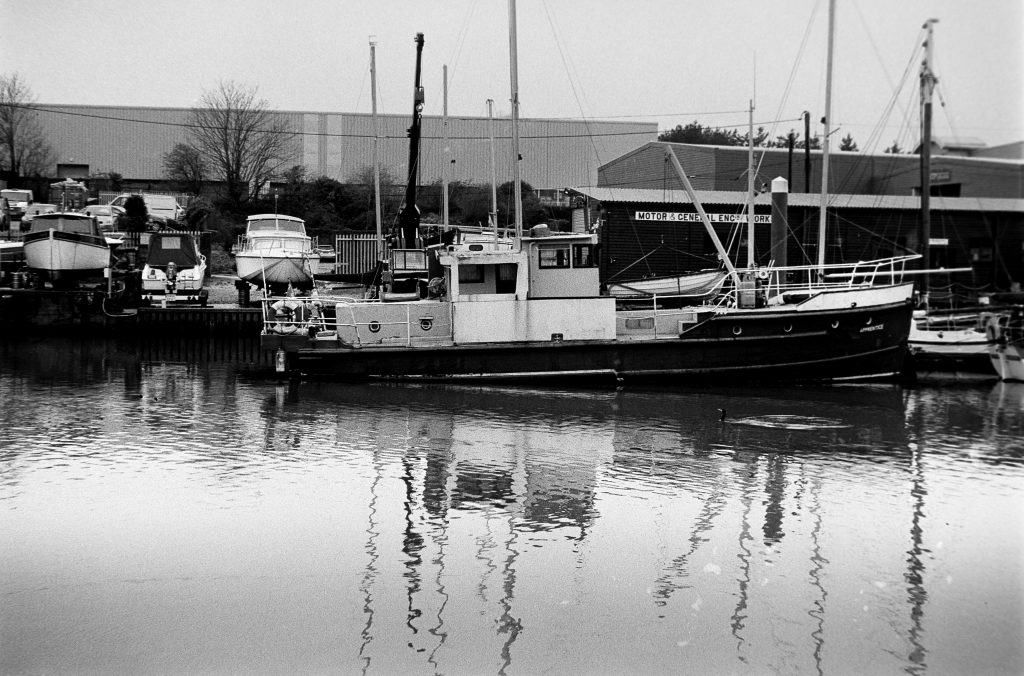
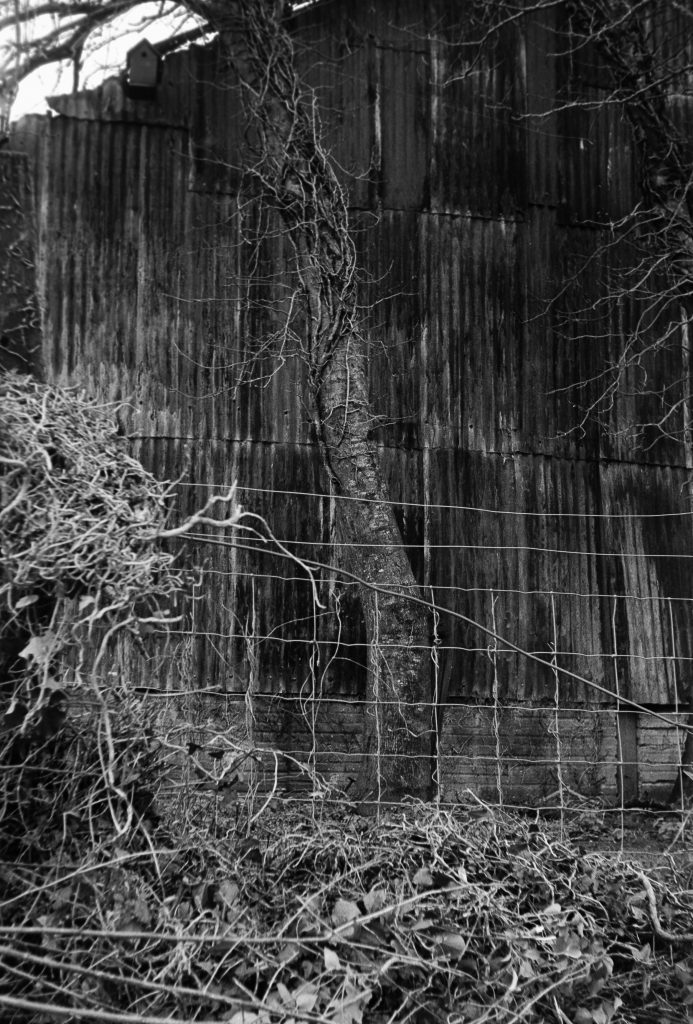
I was sent some FT12 120 Film by an anonymous SFLaB subscriber (no, it wasn’t the supplier) to try out and having known nothing of this film I thought I’d do a bot of research and see what it is. I found the only supplier which was Nik & Trick of Folkestone in Kent UK. Here is the link and information I found on this film. https://ntphotoworks.com/product/ft-12-high-contrast-50asa-bw-35mm-film-24-exp/
I made a video for the channel of this shoot. You can view the video on the SFLaB channel here.
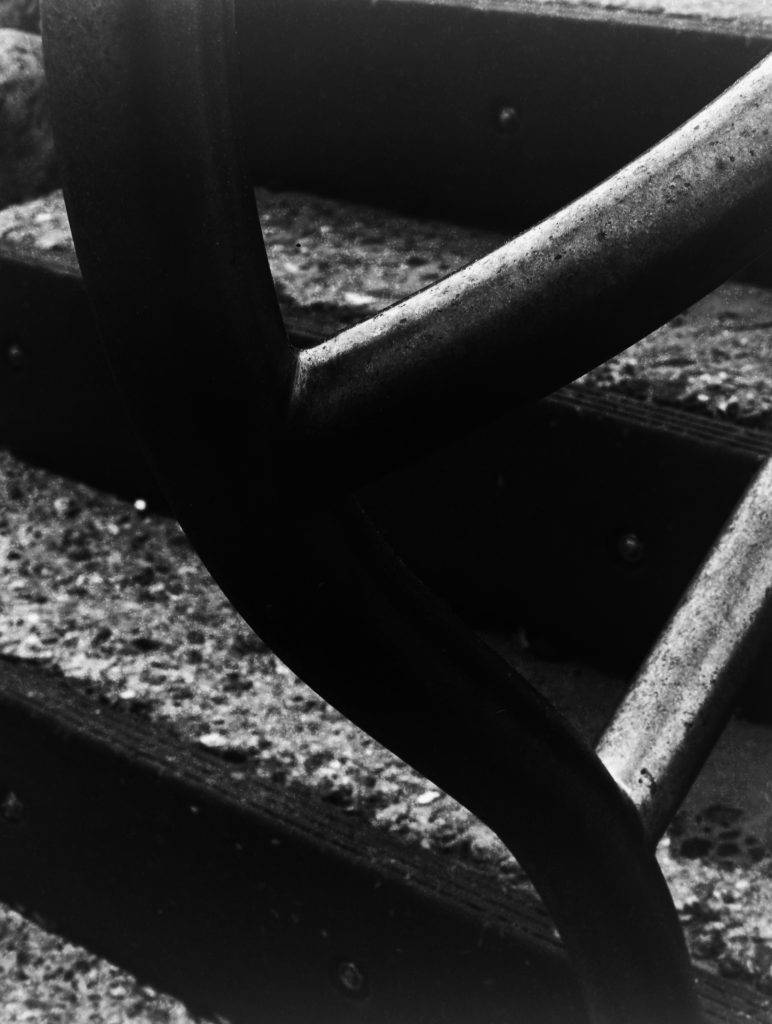
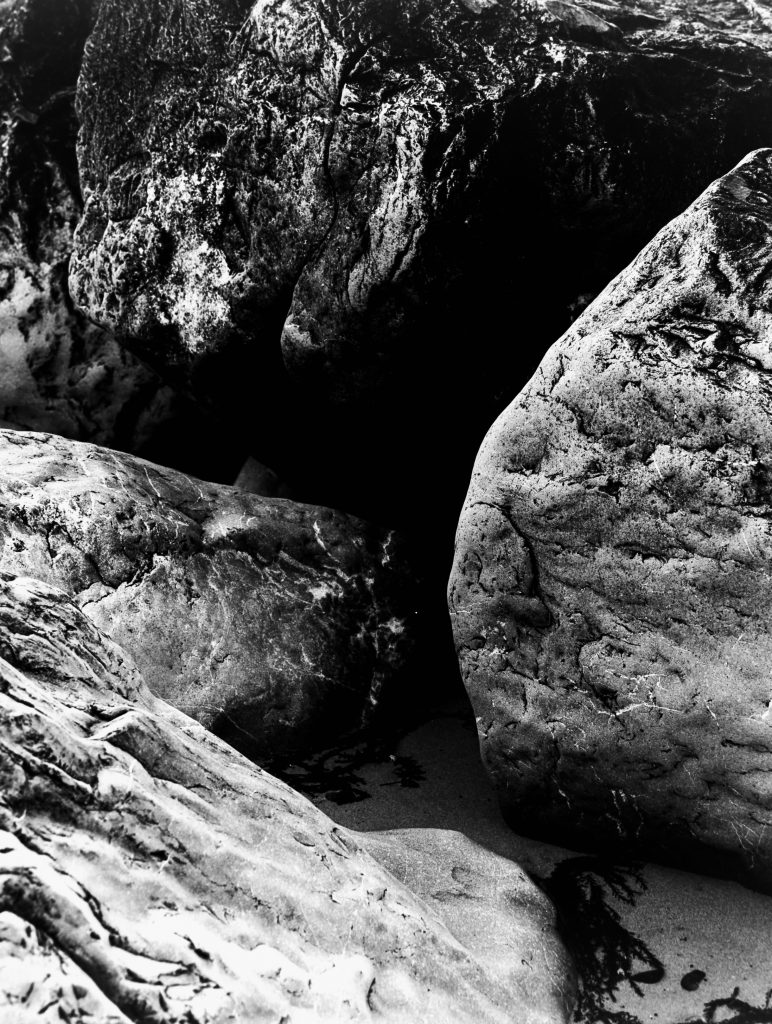
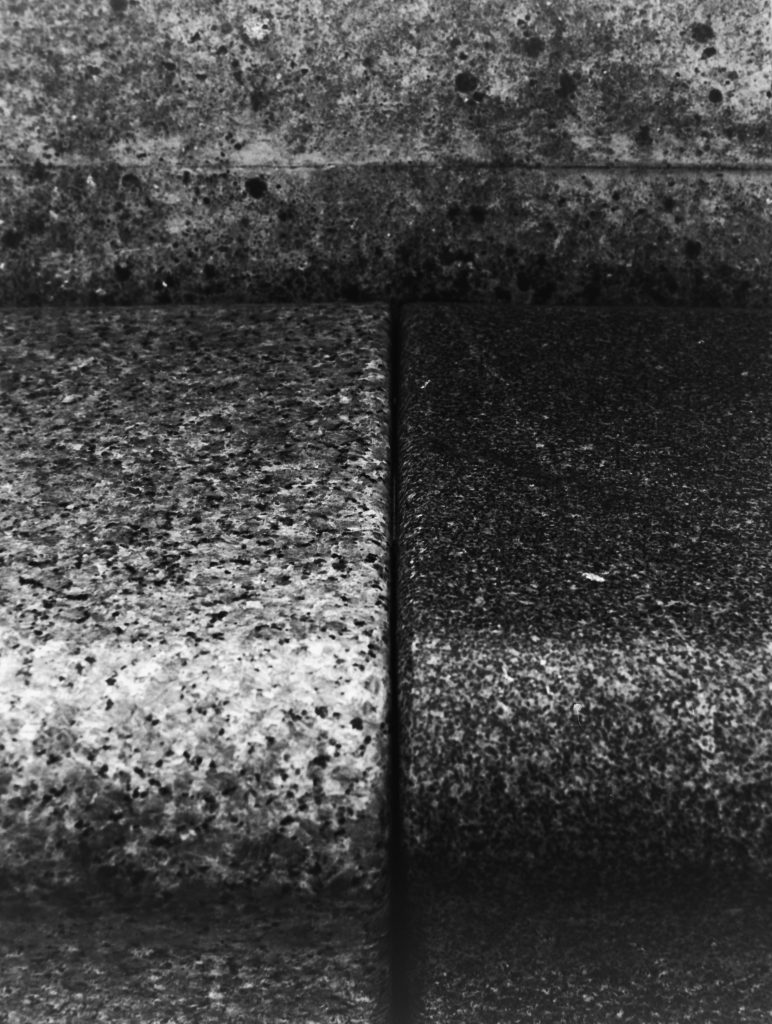
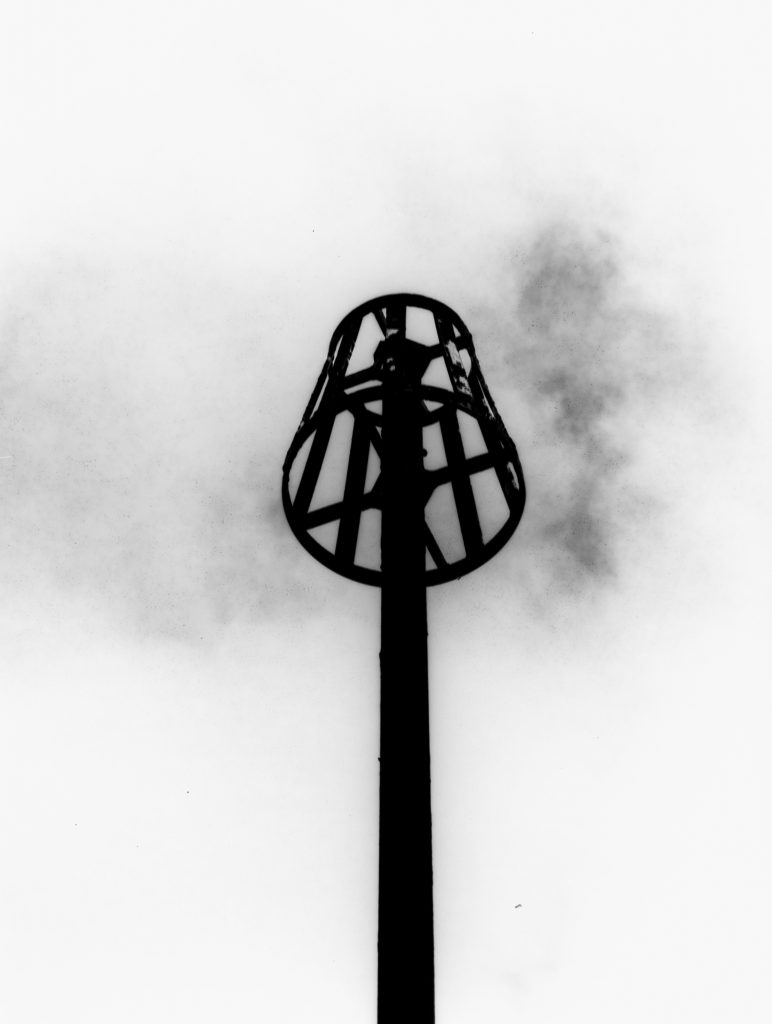
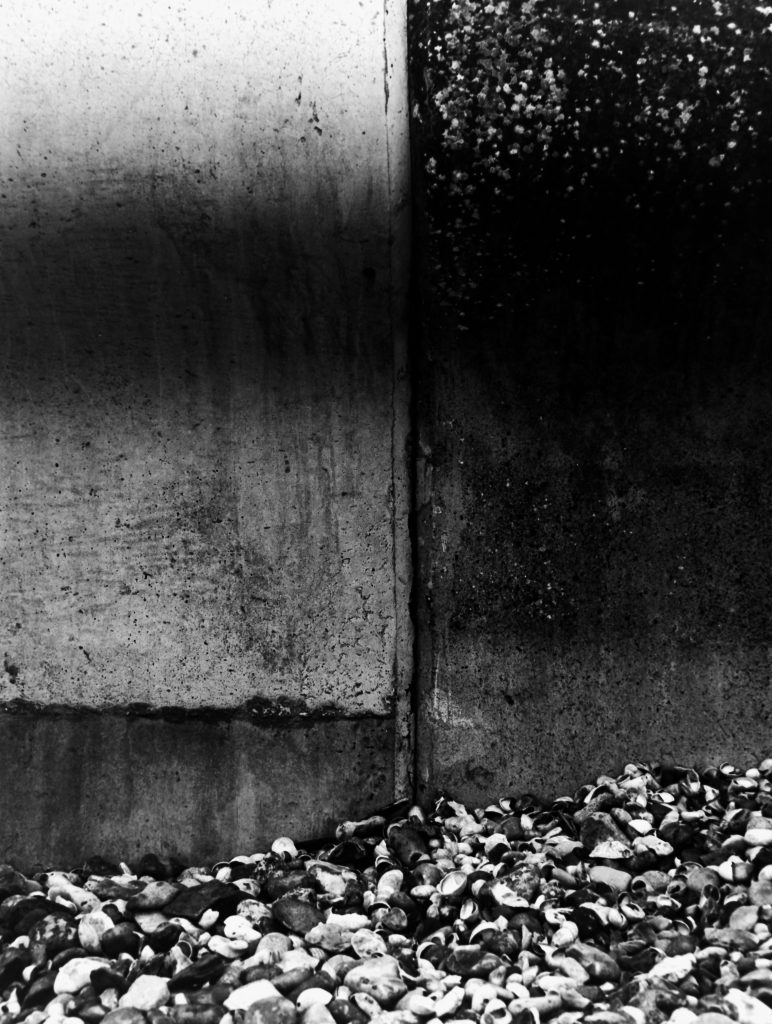
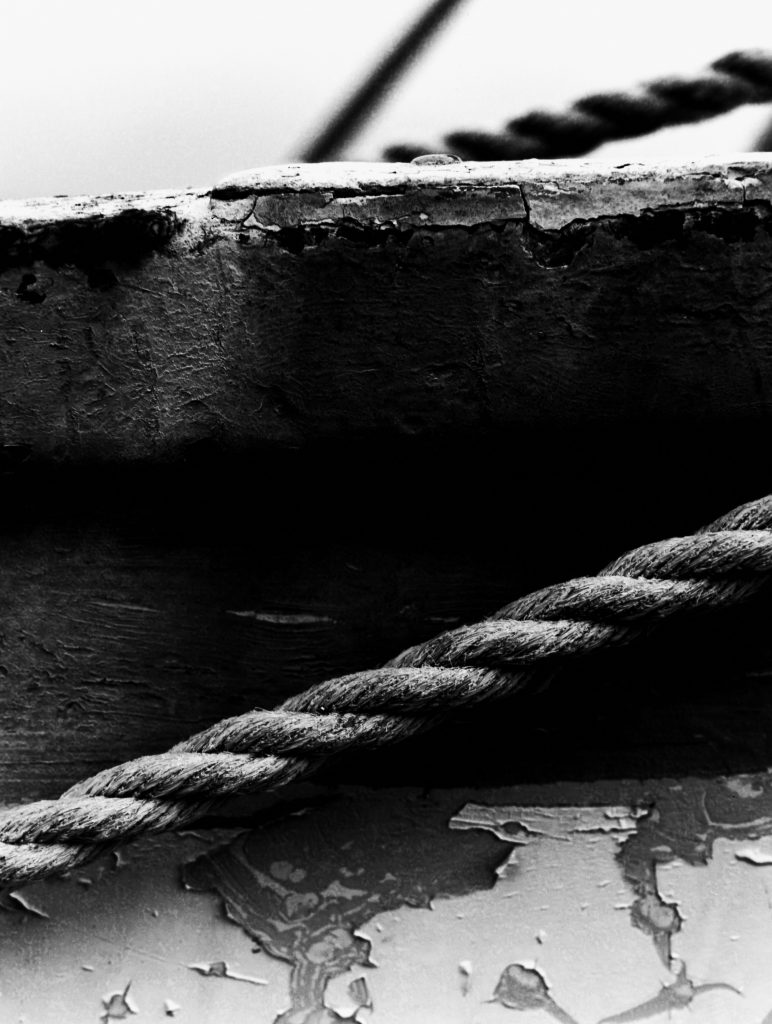
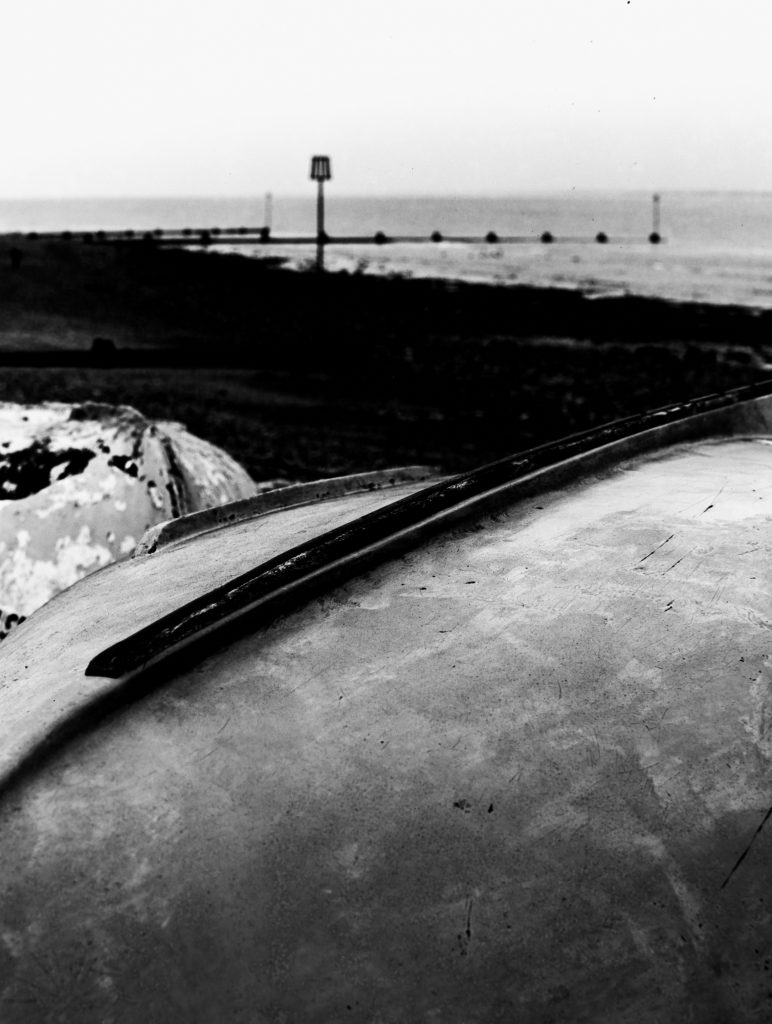
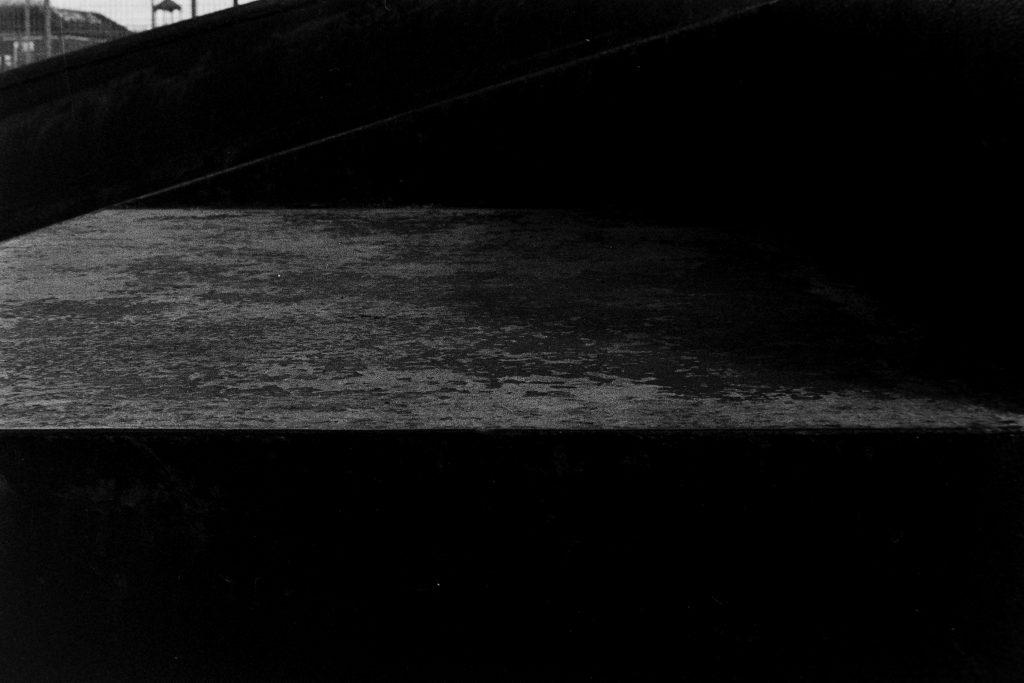
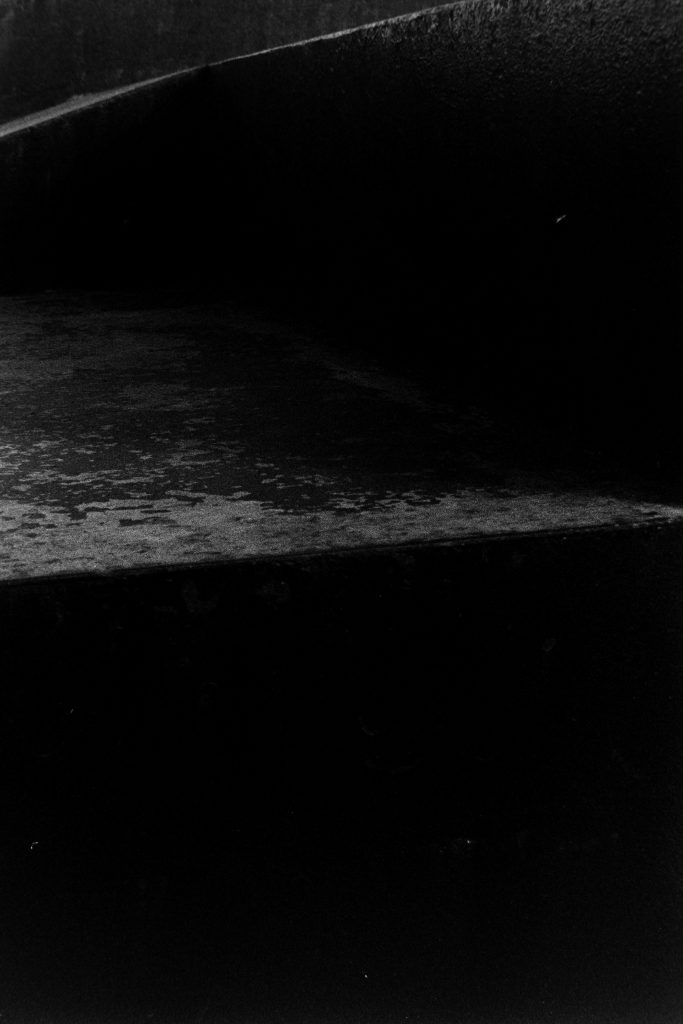
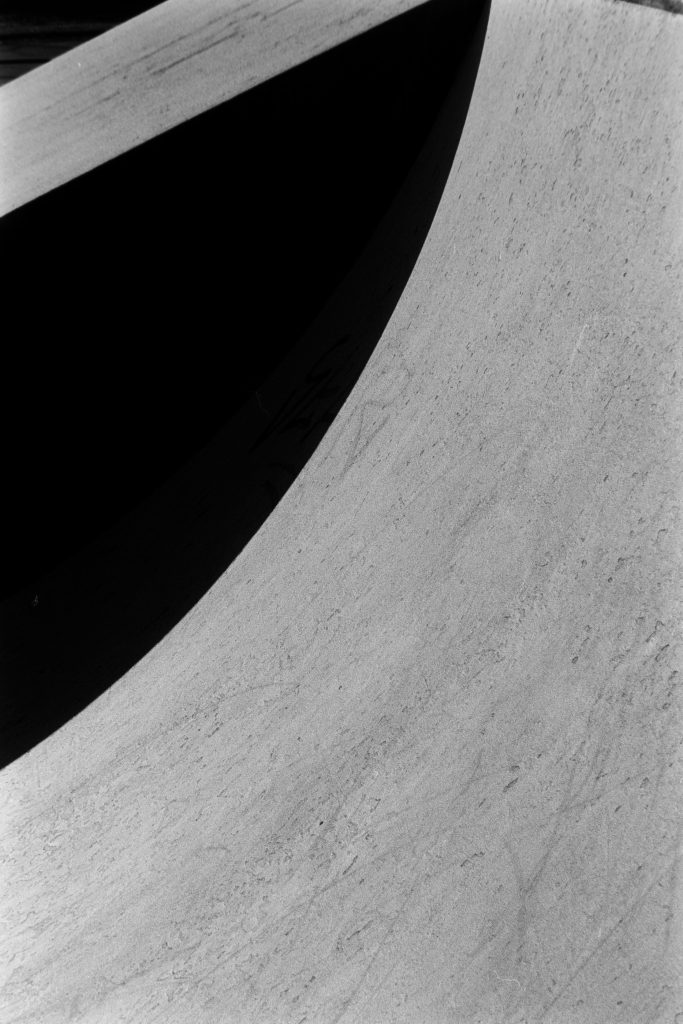
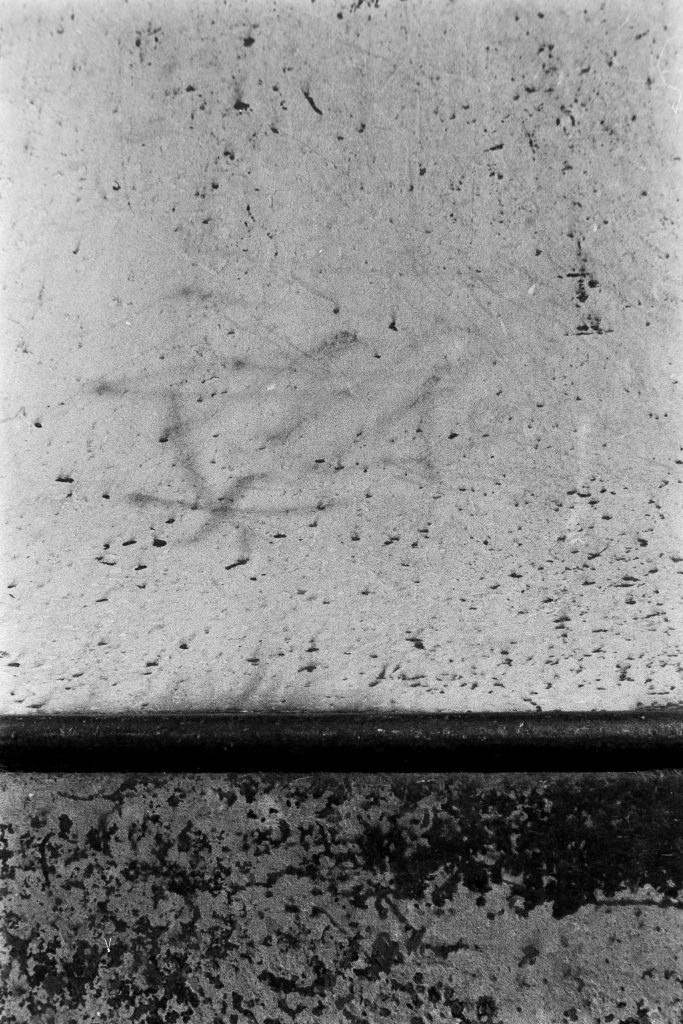
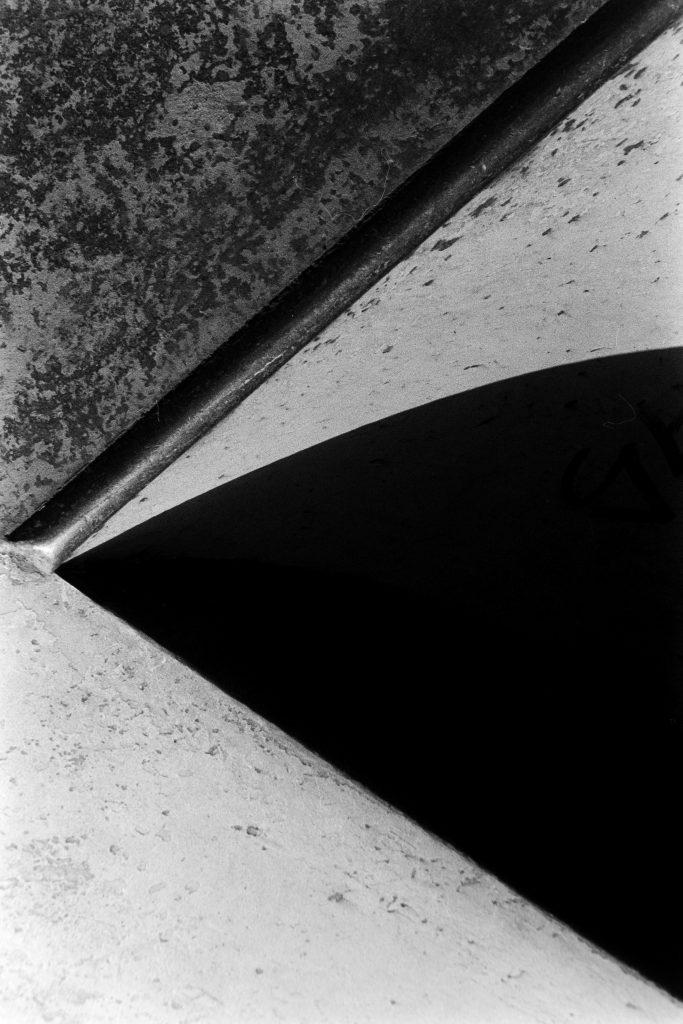
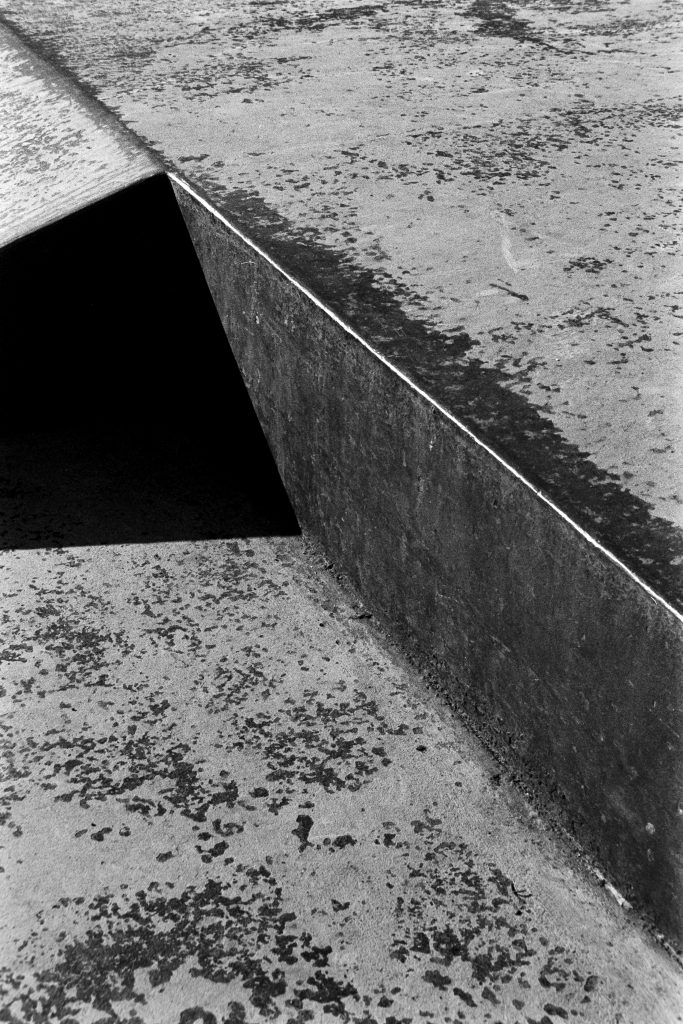
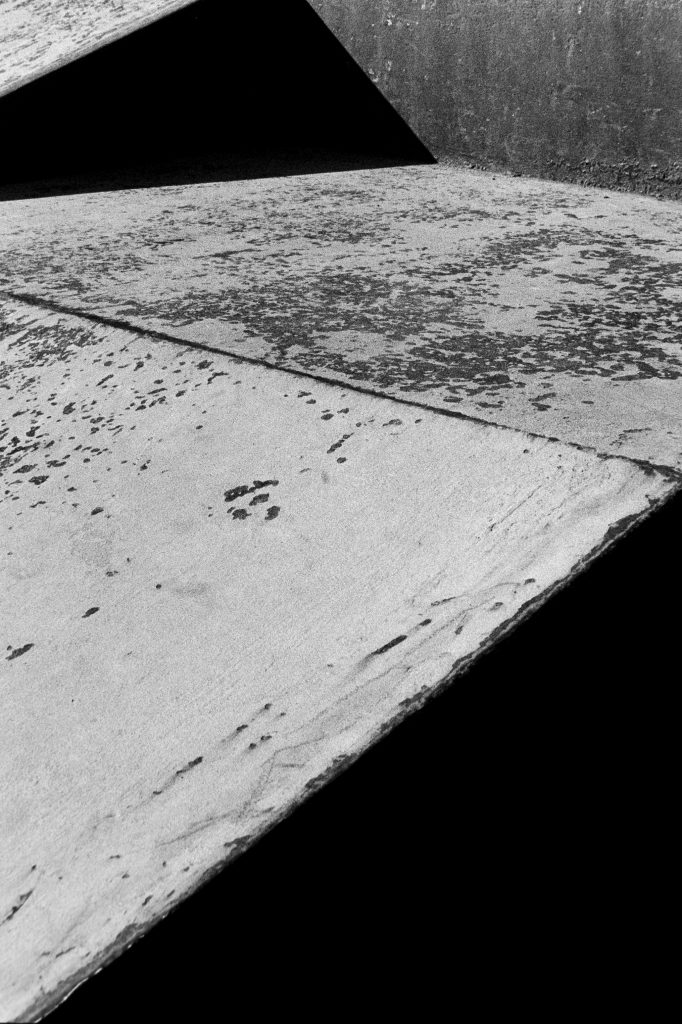
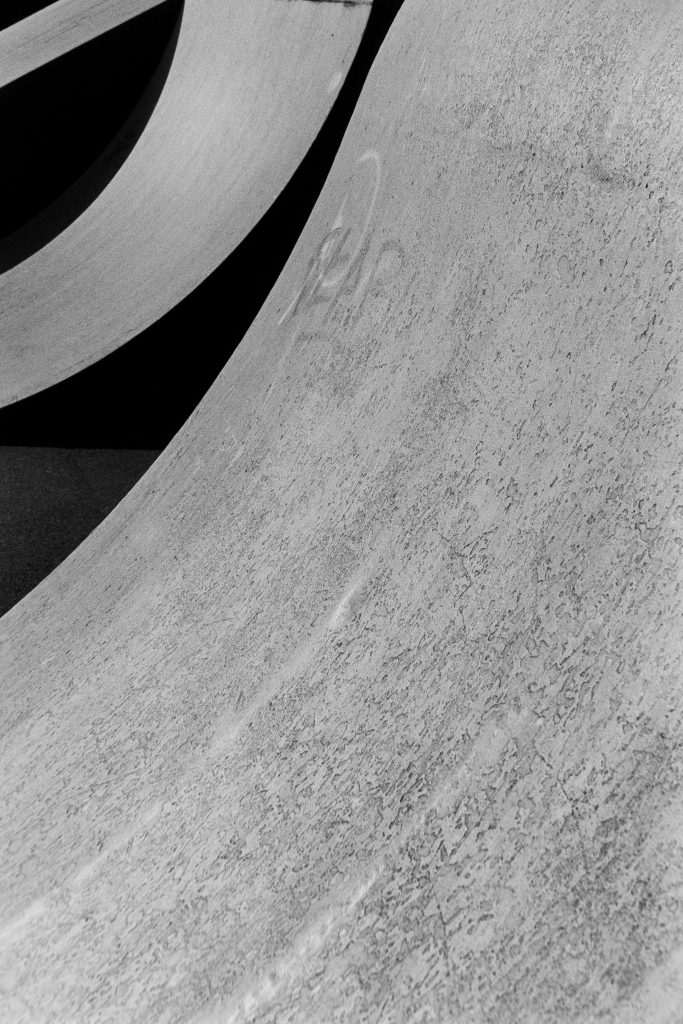
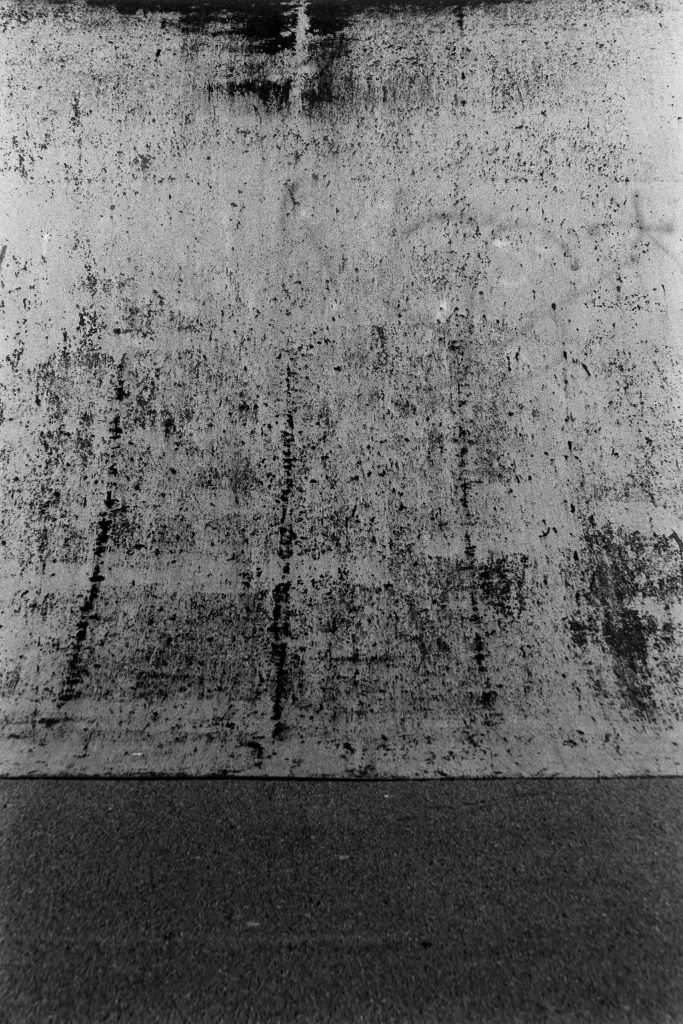
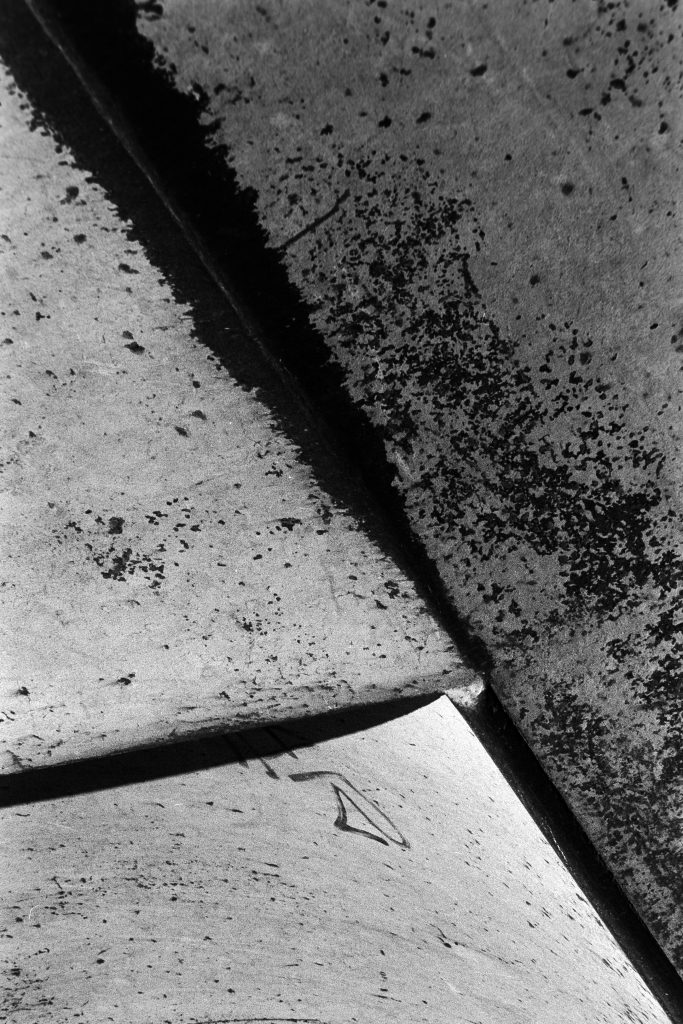
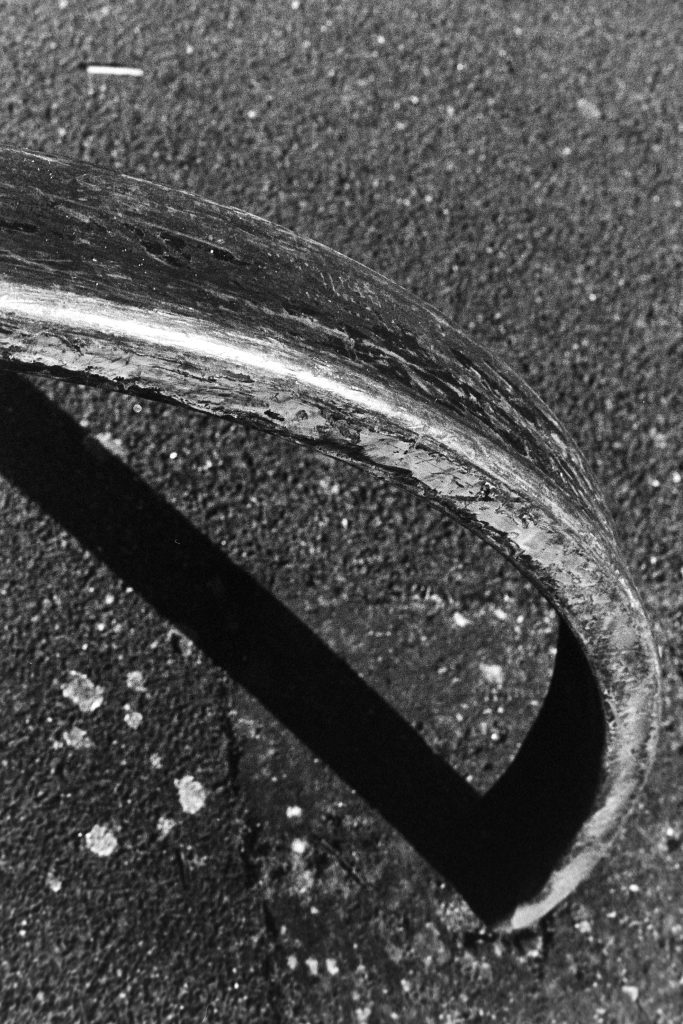
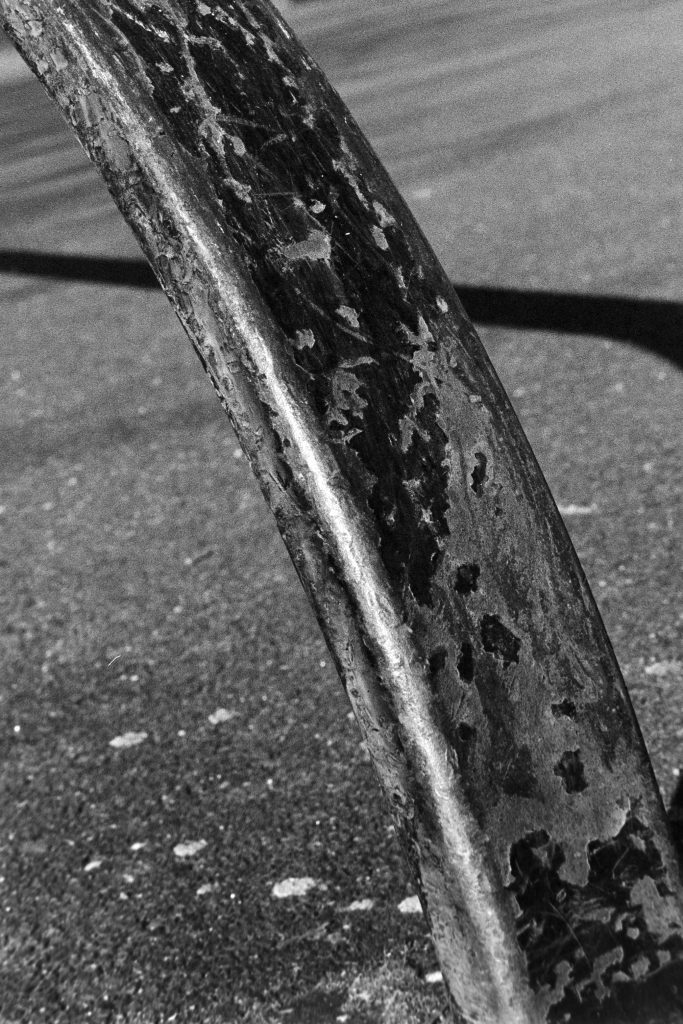
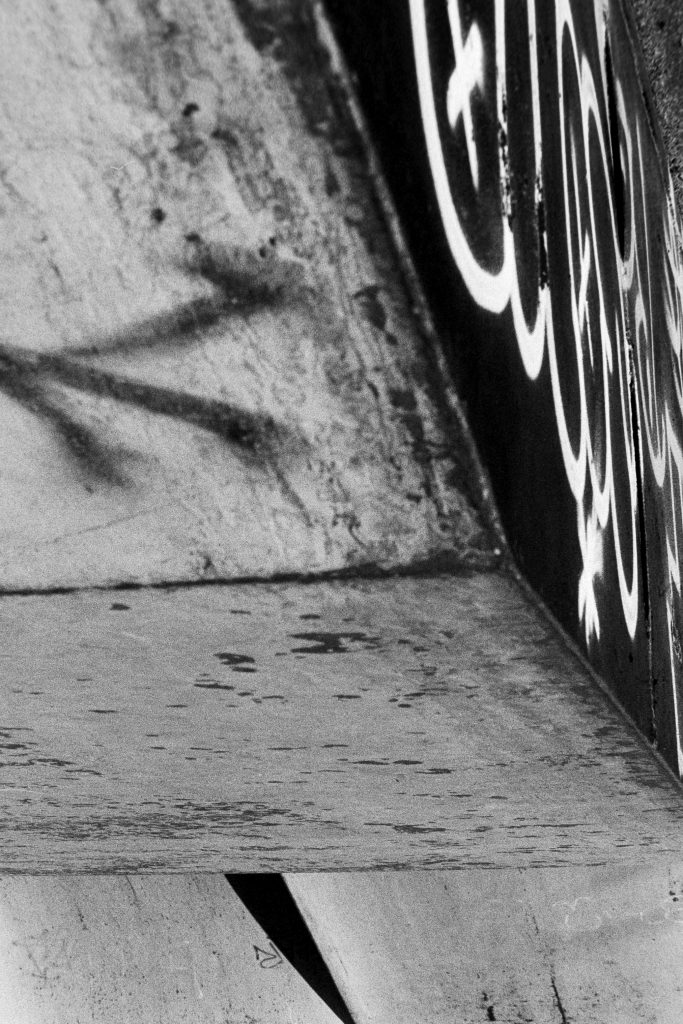
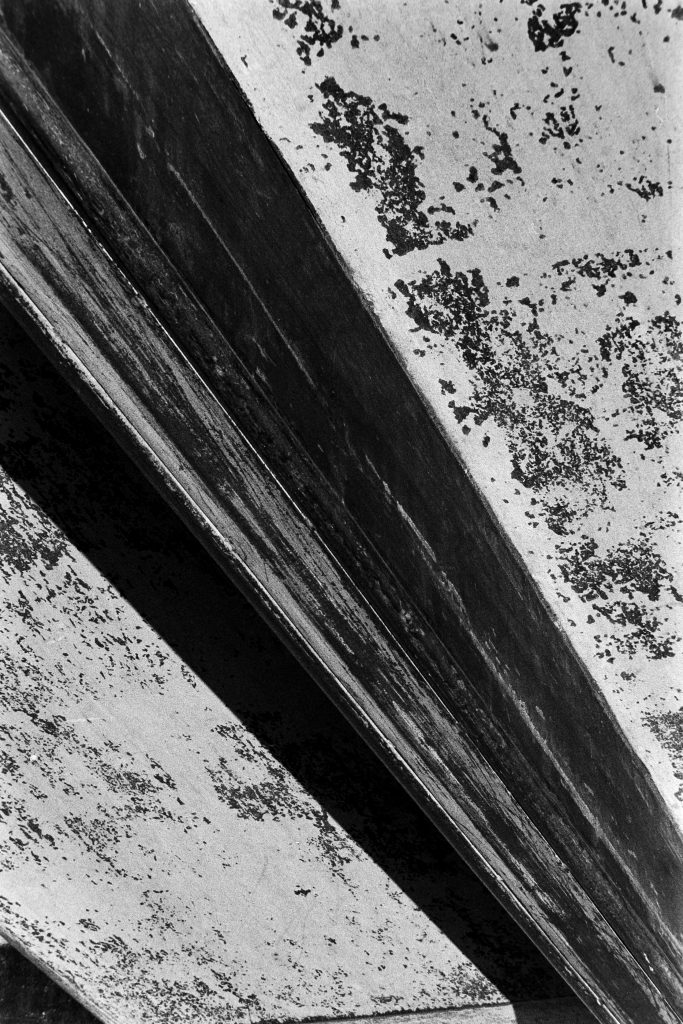
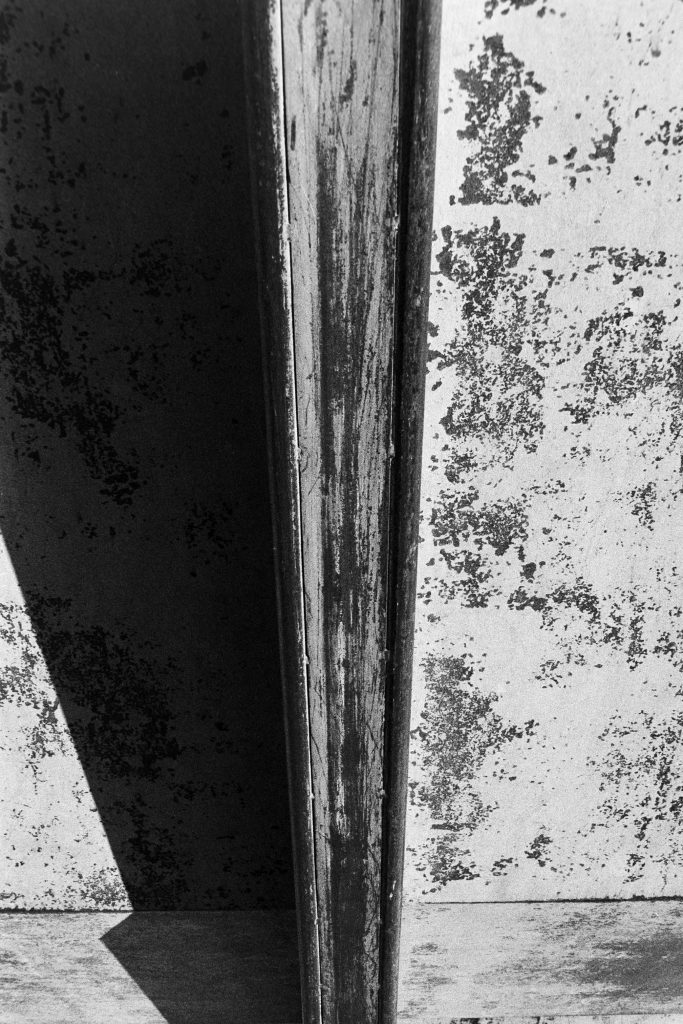
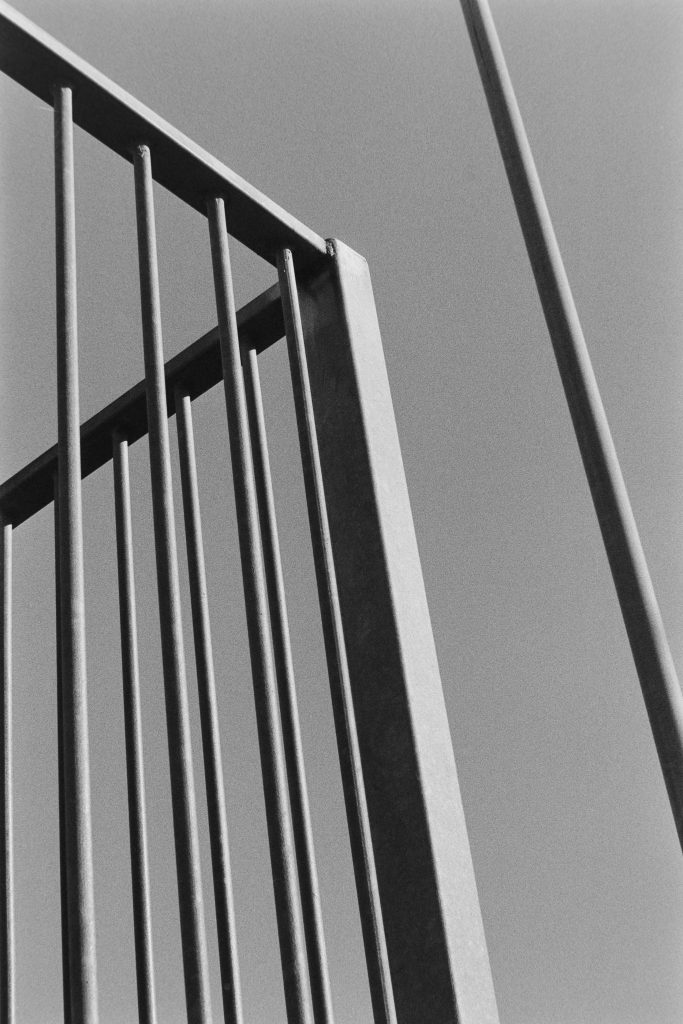
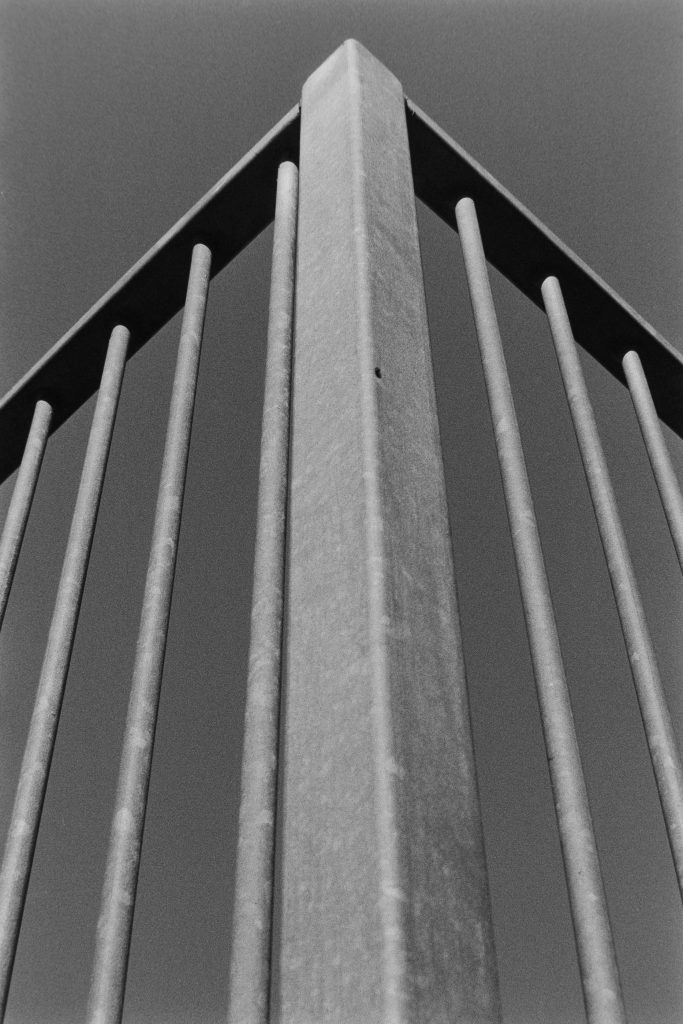
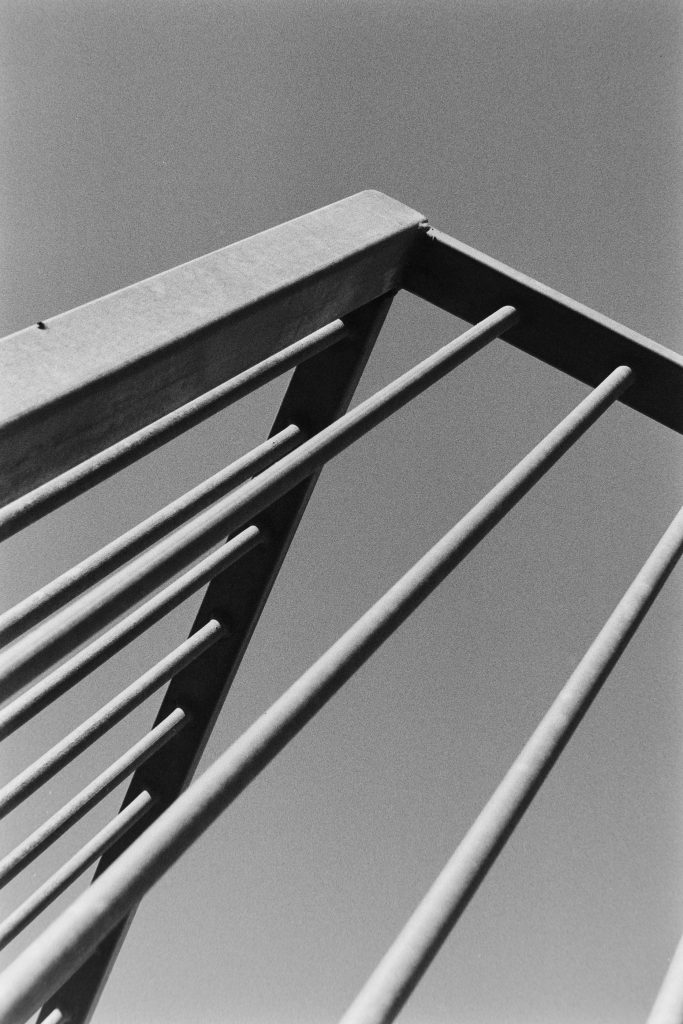
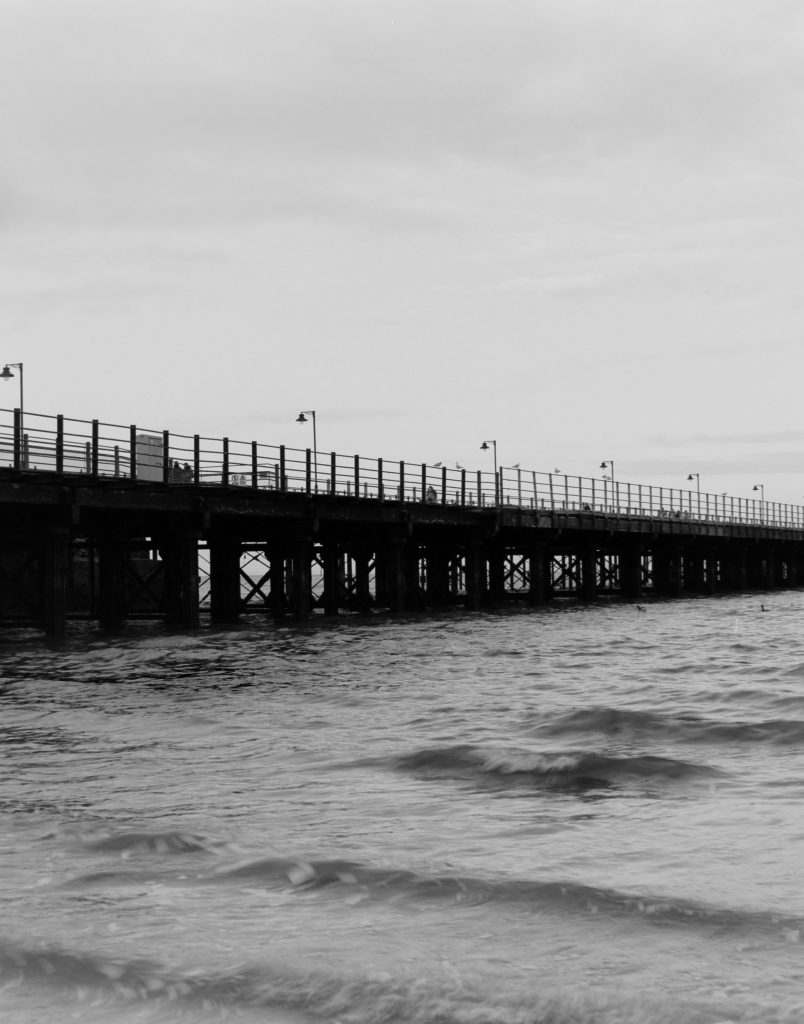
So. I found out that film is absolutely nuts in contrast. What could I shoot with it? I knew any scapes would be out of the question and I thought woodland would be not great either so I decided to go to an area called Seaview which is basically a beach but it has been modernised and has some nice sea walls and rocks and boats. Perfect.
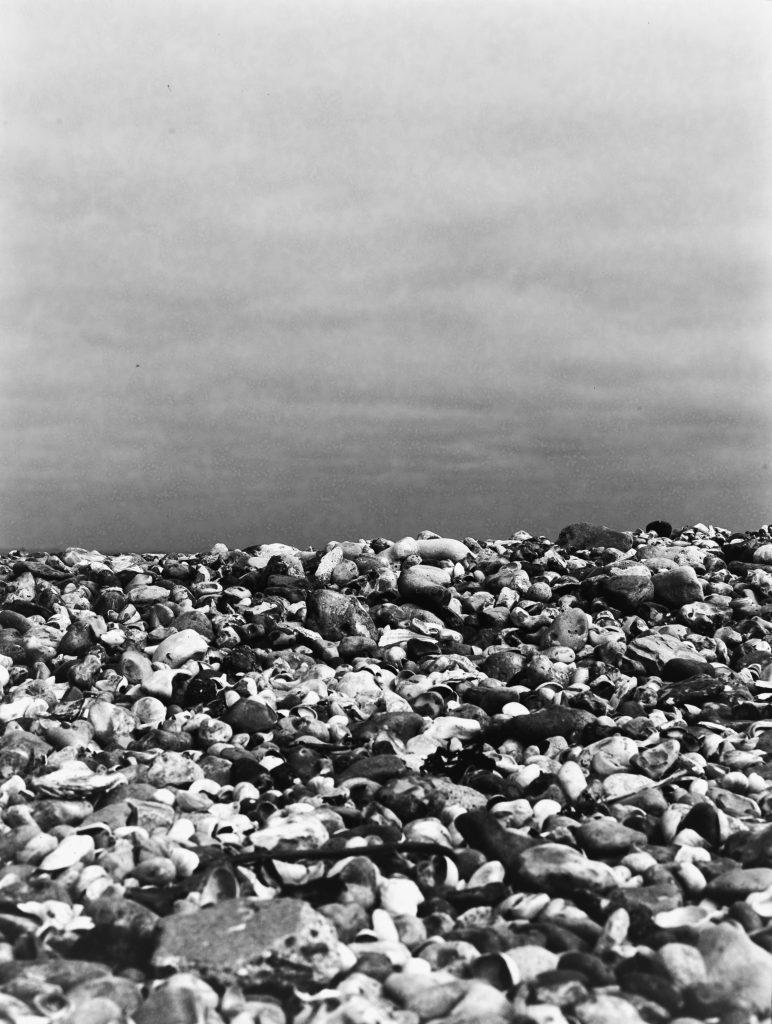
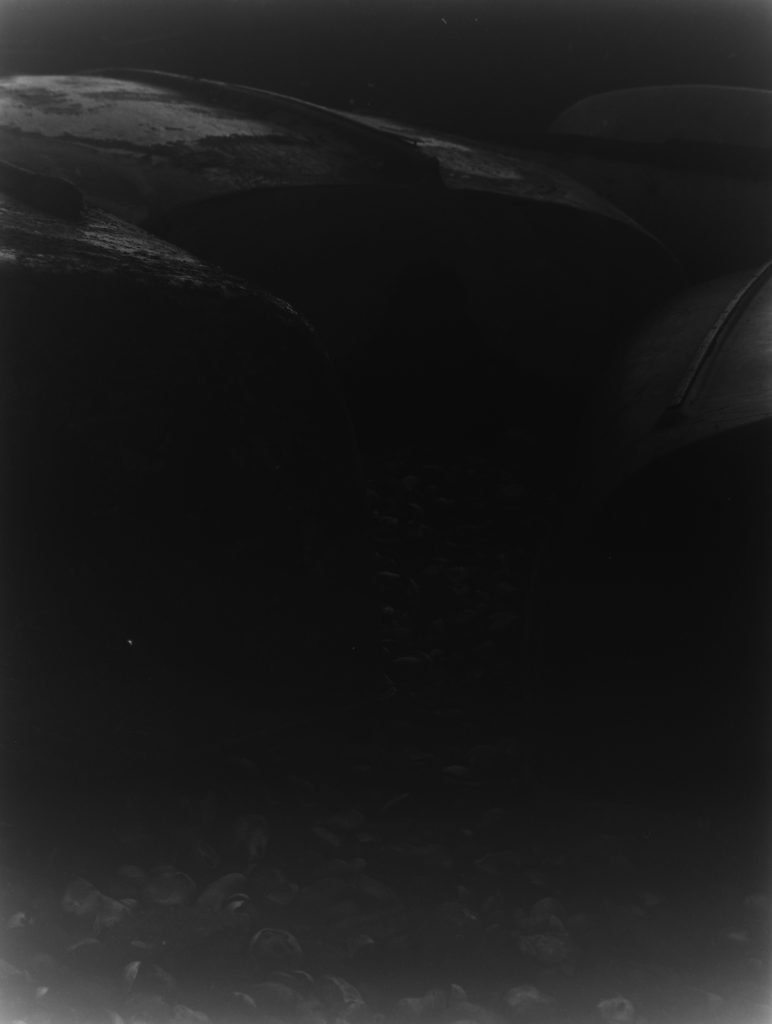
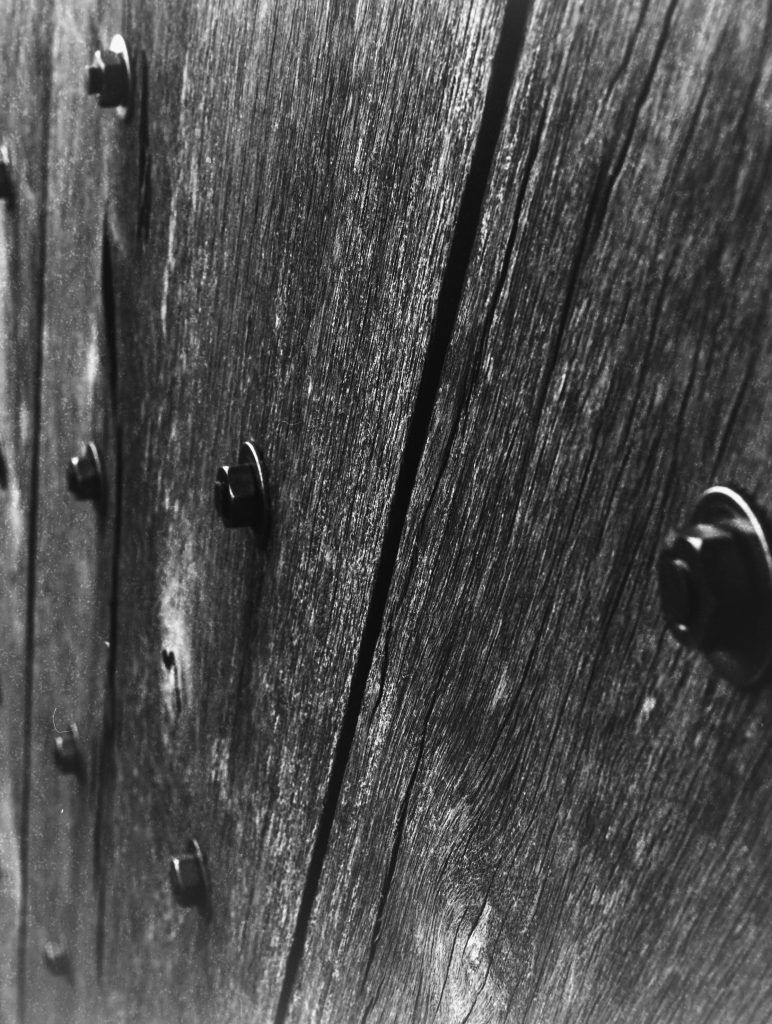
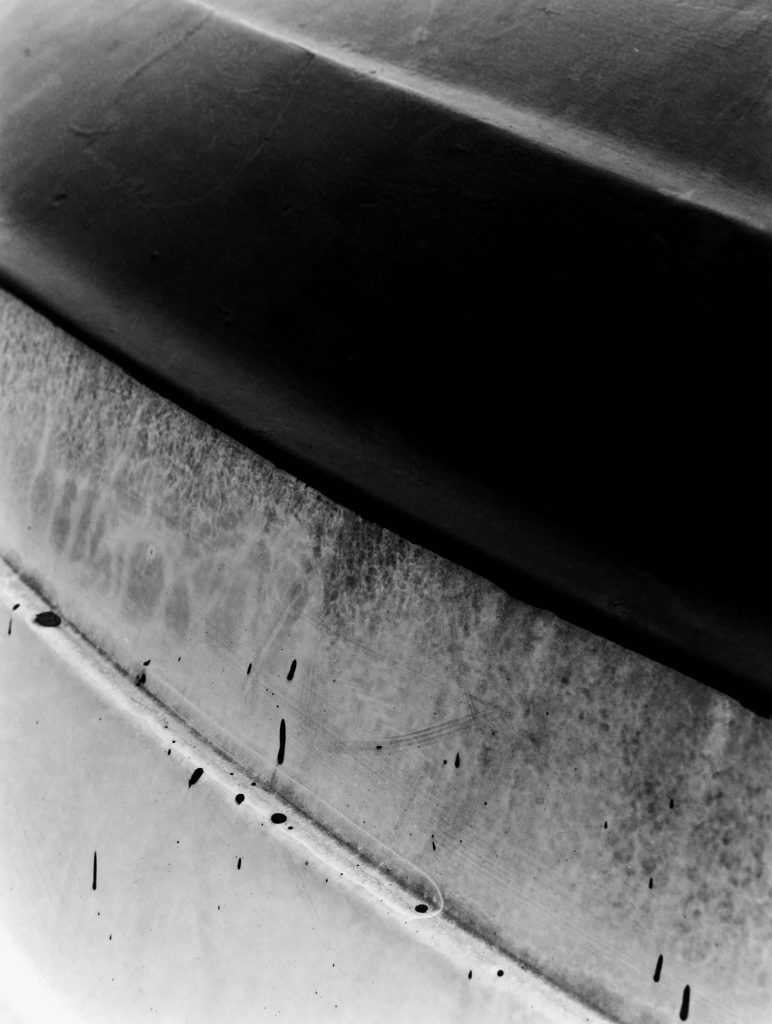
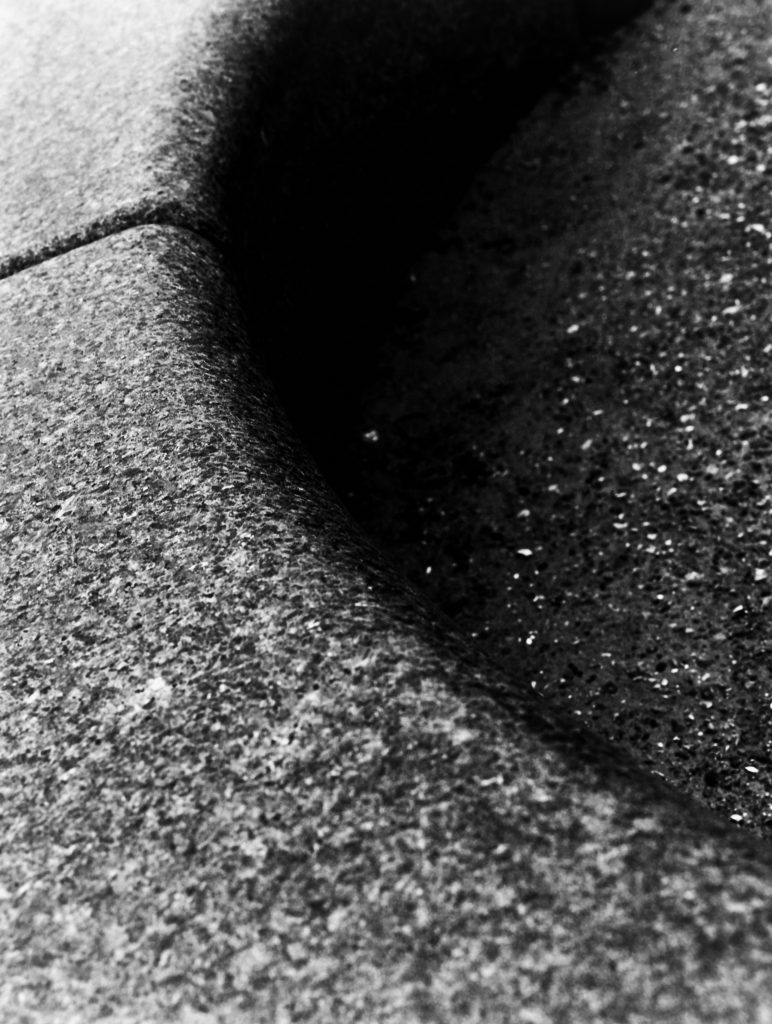
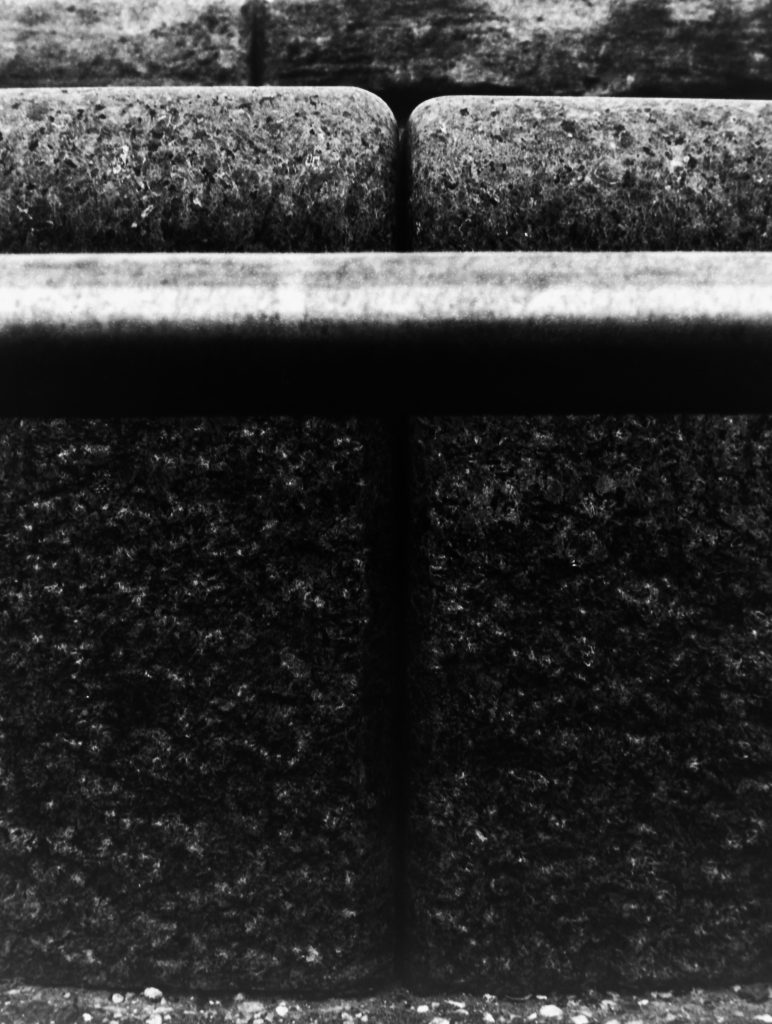
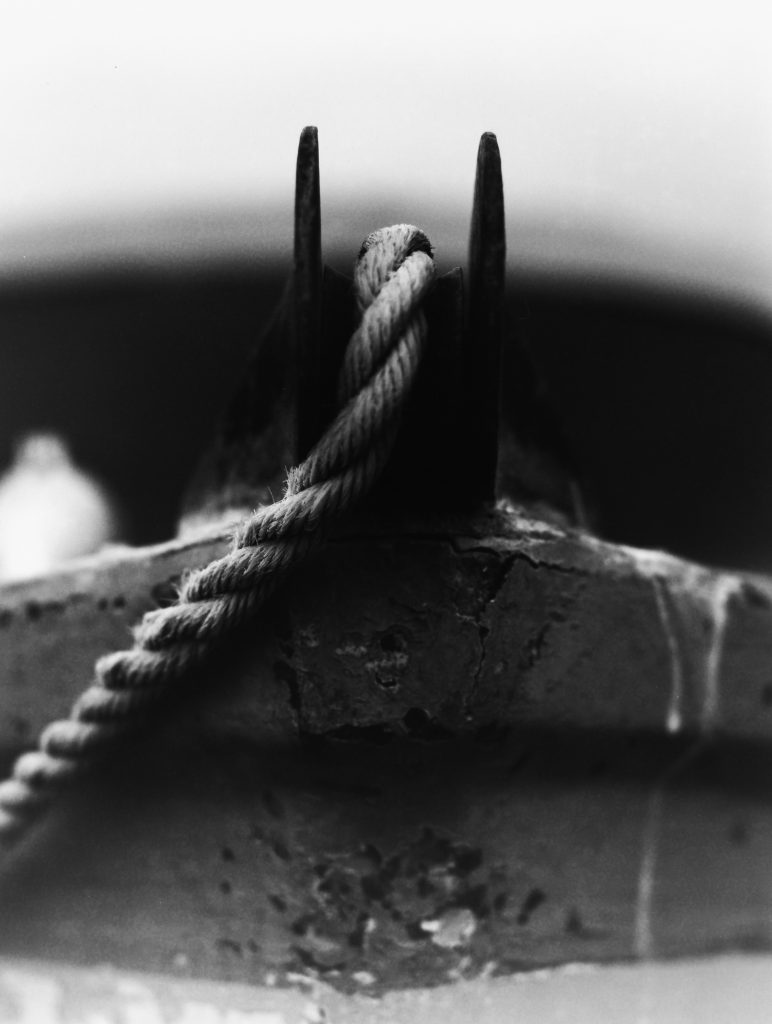
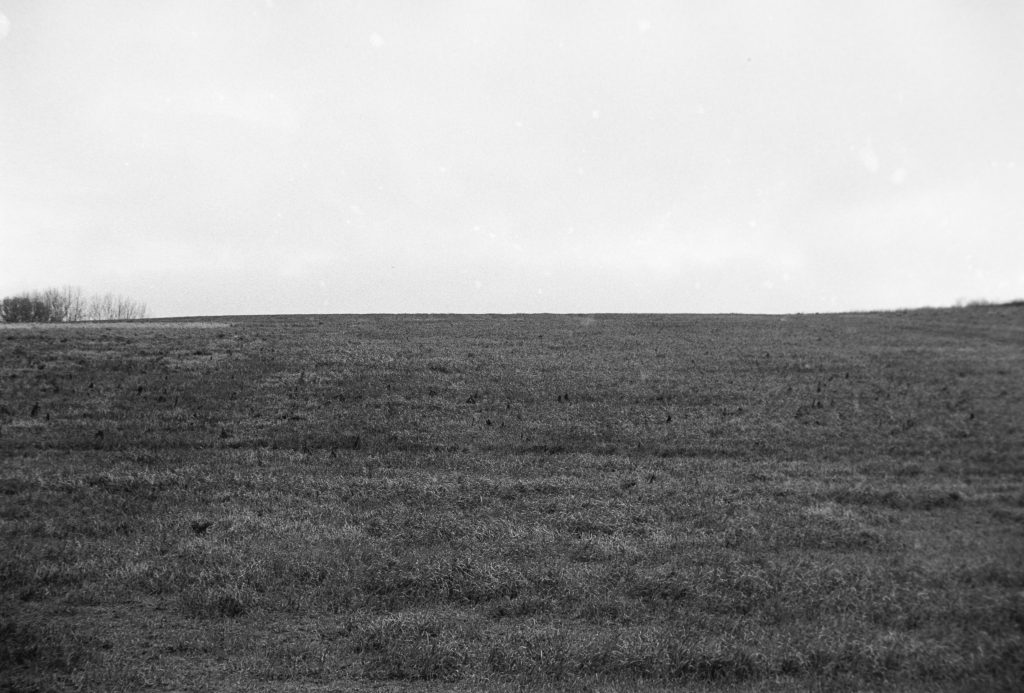
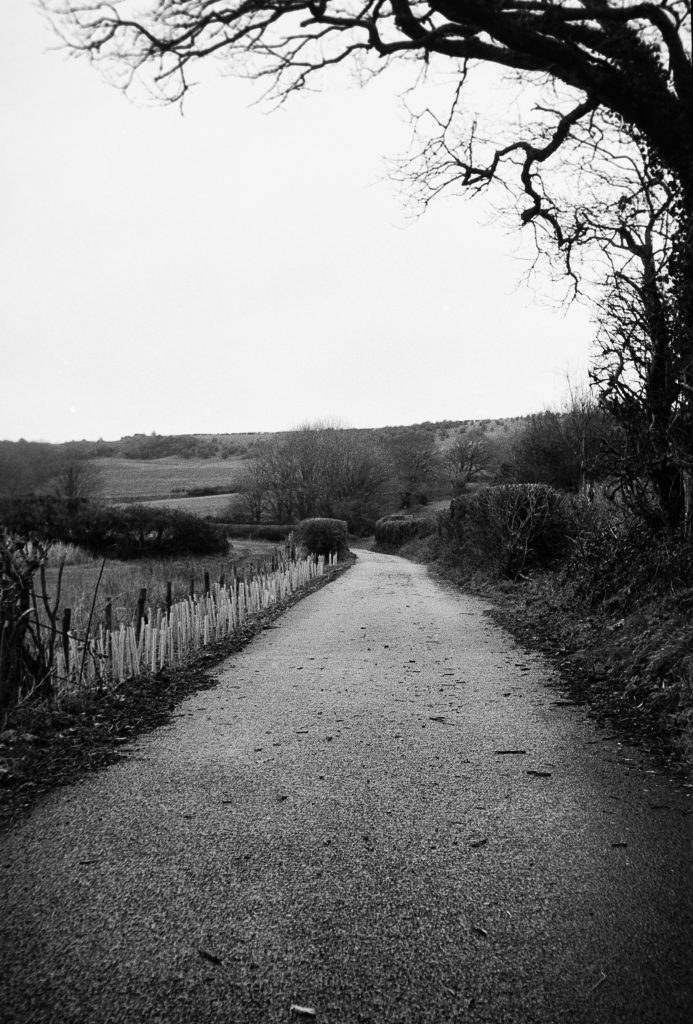
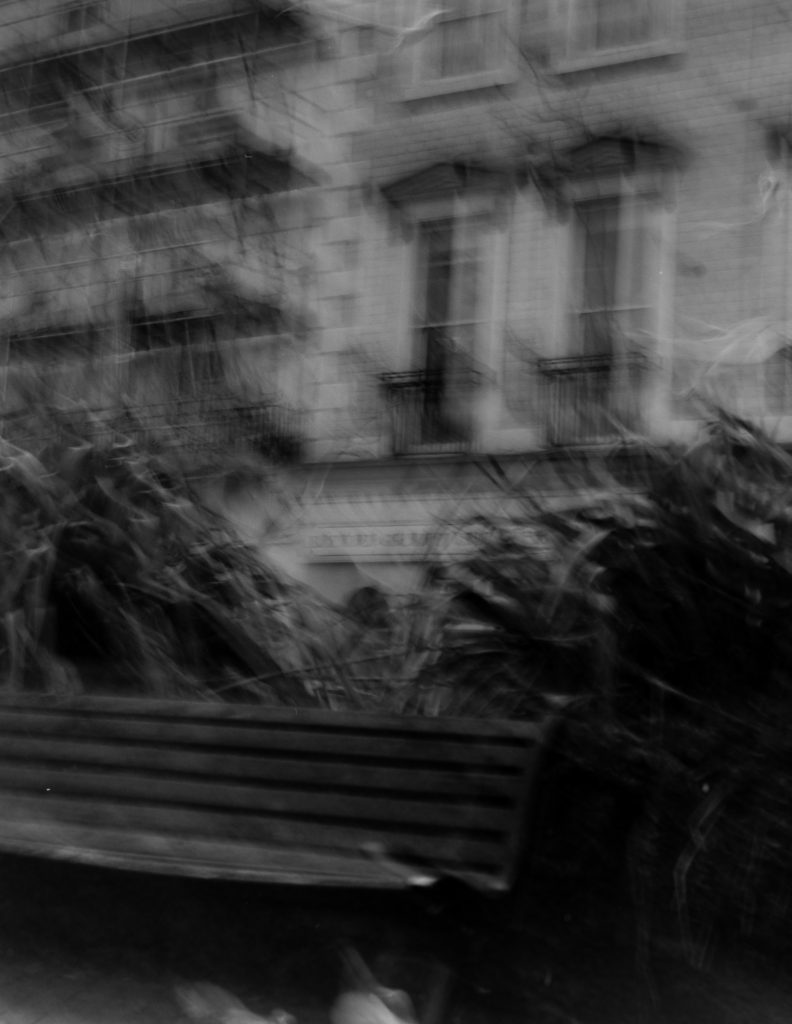
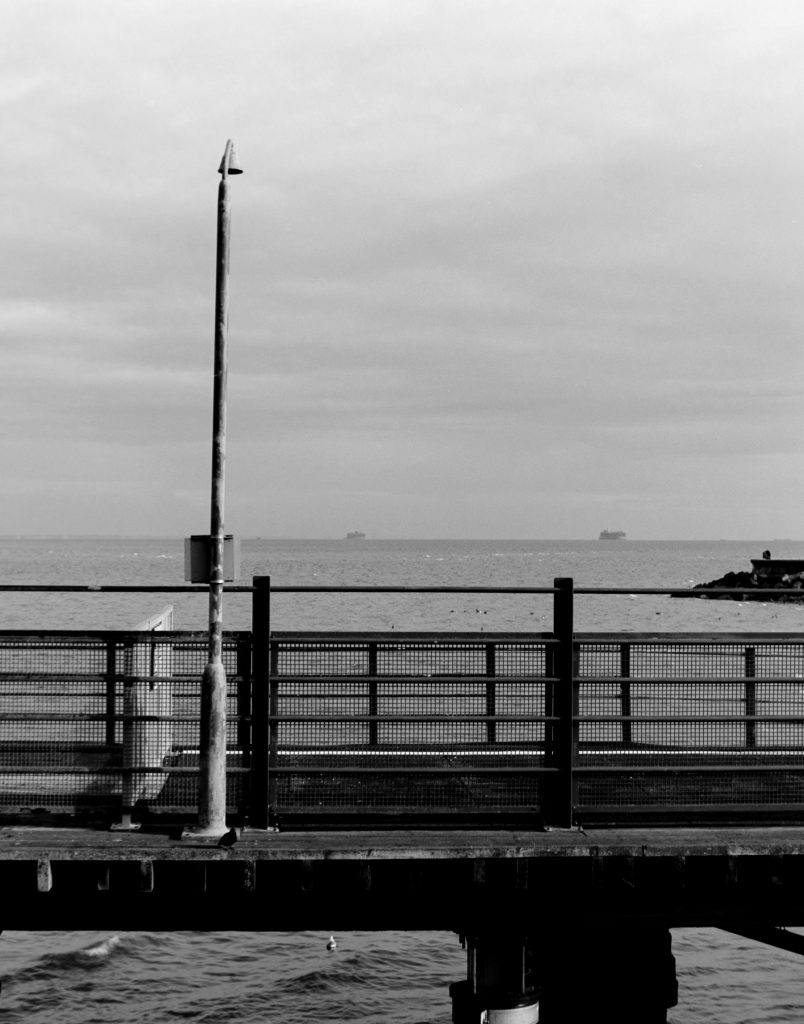
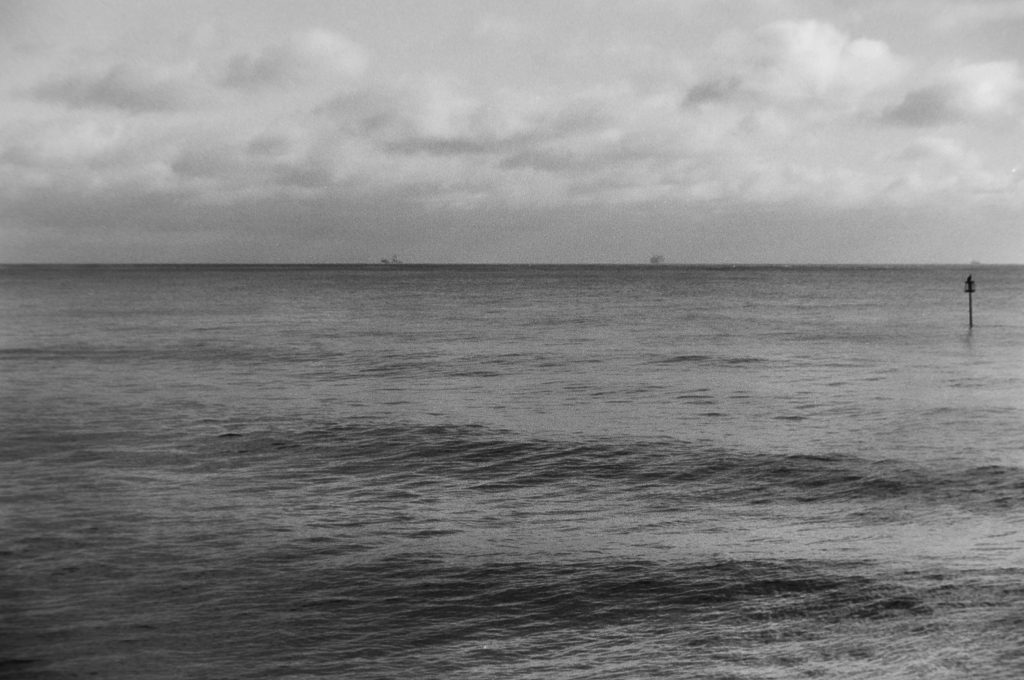
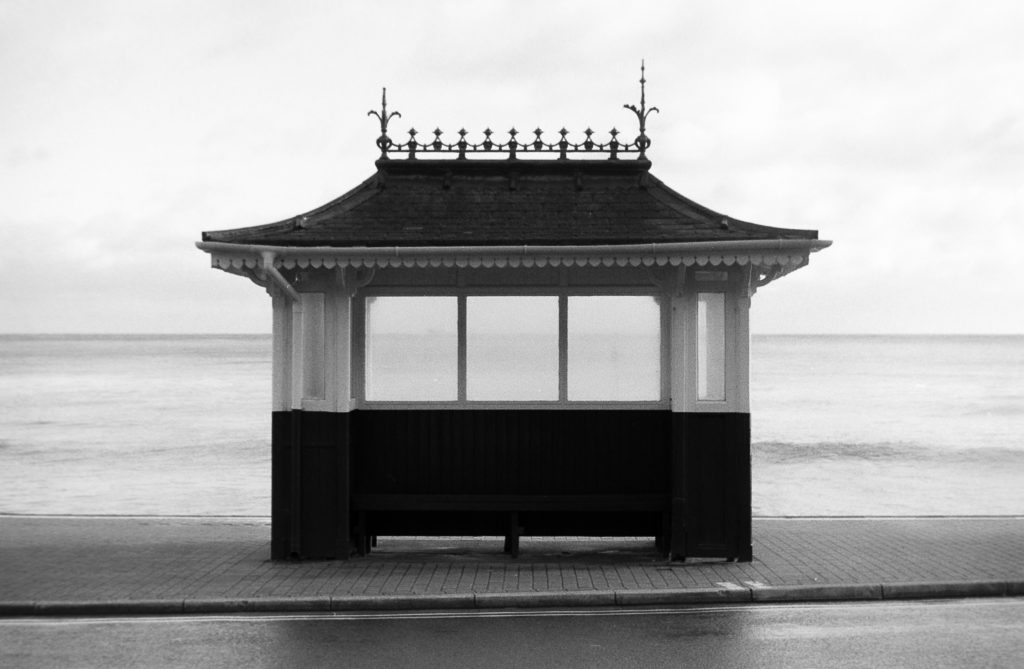
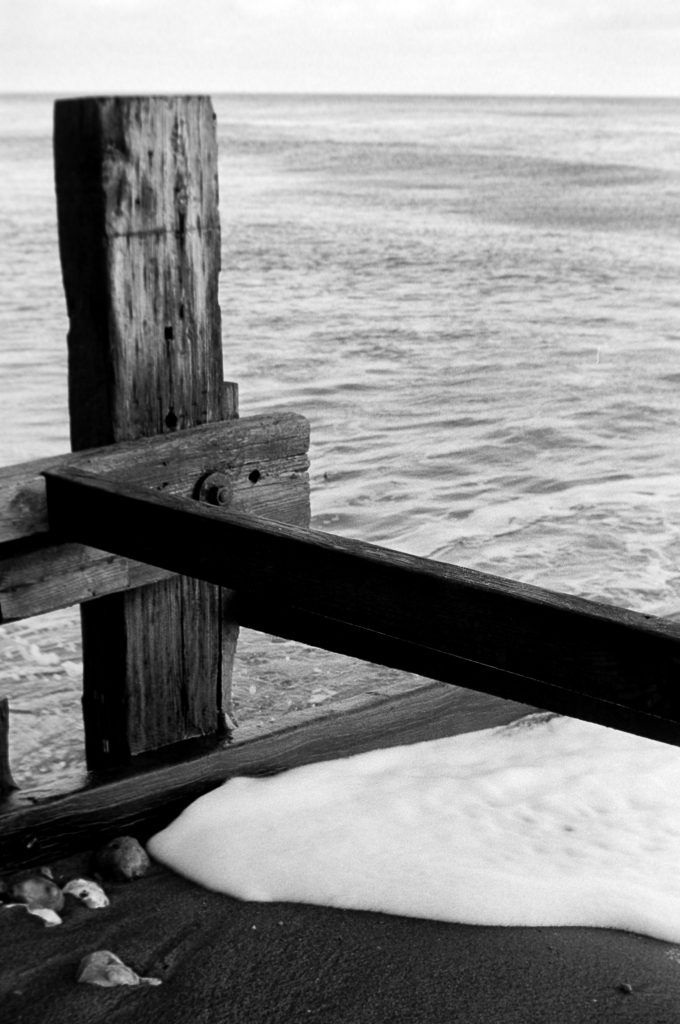
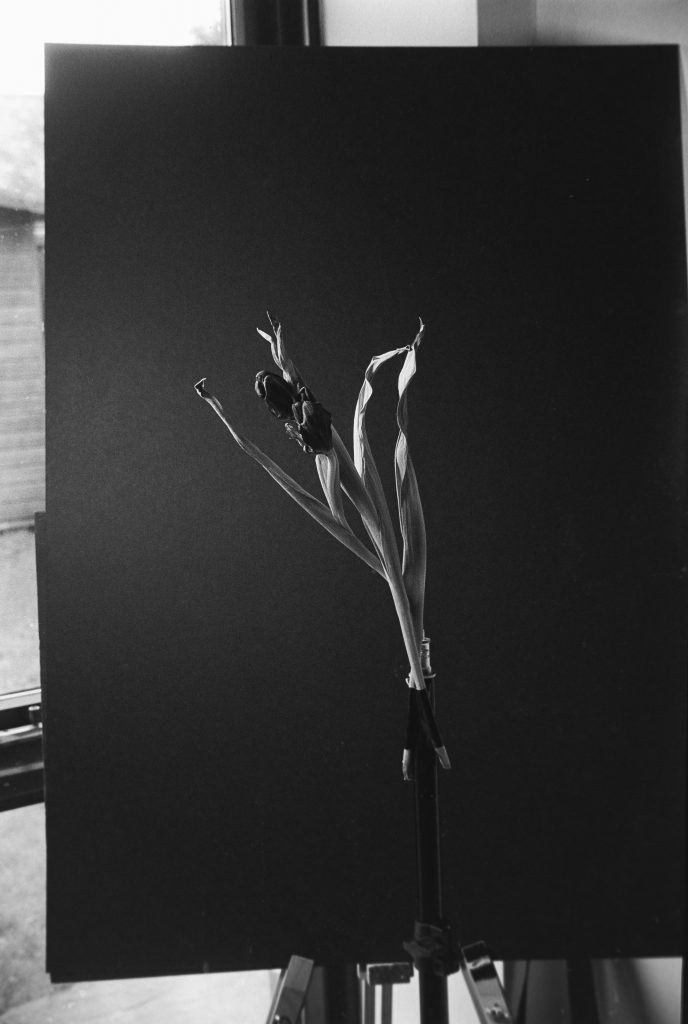
I shot the film at 50ASA and metered my scenes mostly with incident. I developed the film in ID11 at 8 mins 1:1. Here are my scanned results. I don’t know what happened with the second image. It appears under exposed, even though I know I metered this correctly and had the correct settings in camera. Totally baffled me! It was 1/30th of a second and thinking back I remember the camera, MAMIYA RZ, shutter sounded quite quick for 1/30th. Maybe the battery needs changing? Who knows…It’s film right! The first image I noticed had strange artefacts in the sky. For the life of me I don’t know what it is as it didn’t present itself in the other frames. Interesting.
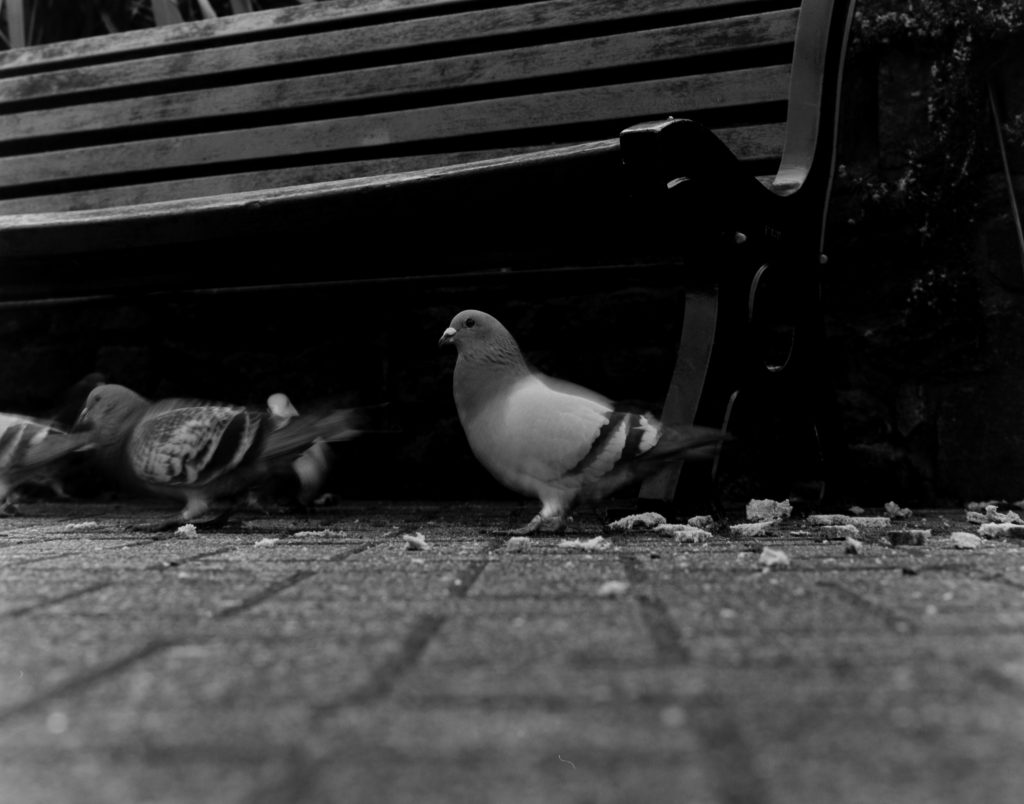
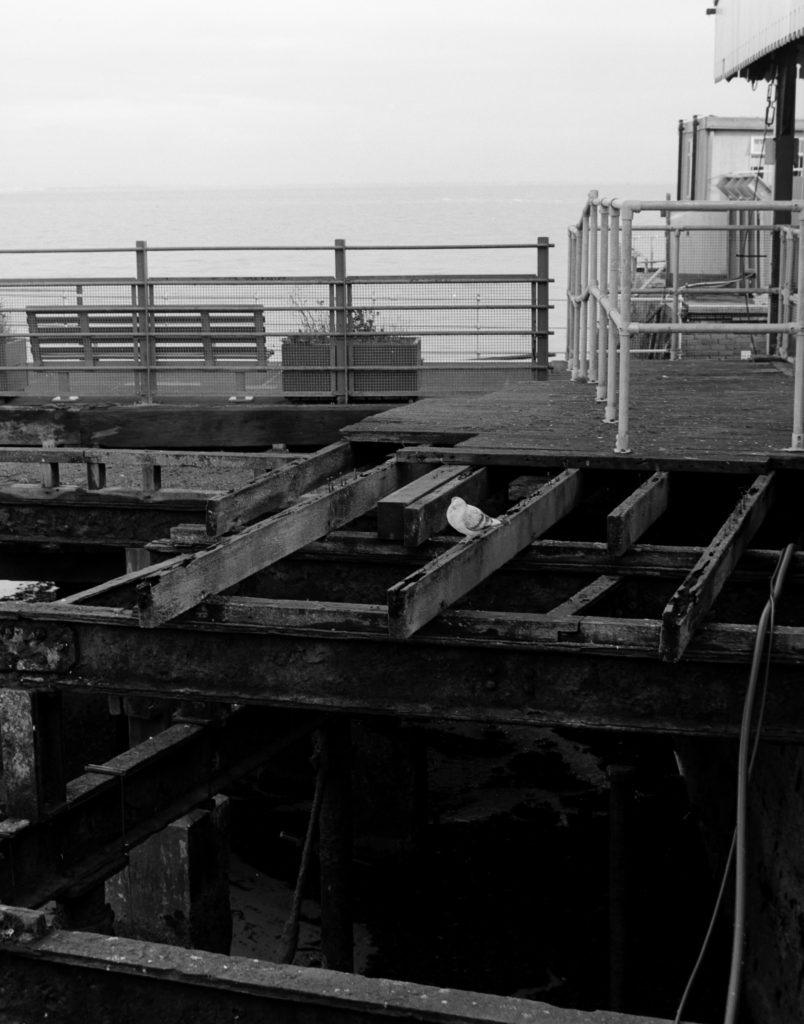
I really liked this film! I can imagine for any rugged, gritty photography such as Street or Abstract it would be great. Just don’t expect grain. I could see hardly any at all. And as for tonality. It’s there presented between bright highlights and inky blacks.
Abstract Photography Foma 400
I recently uploaded a video on the SFLaB Channel of some Abstract Photography at a Skatepark shooting Foma 400.
Original prints from the video now on Etsy for sale. All three.
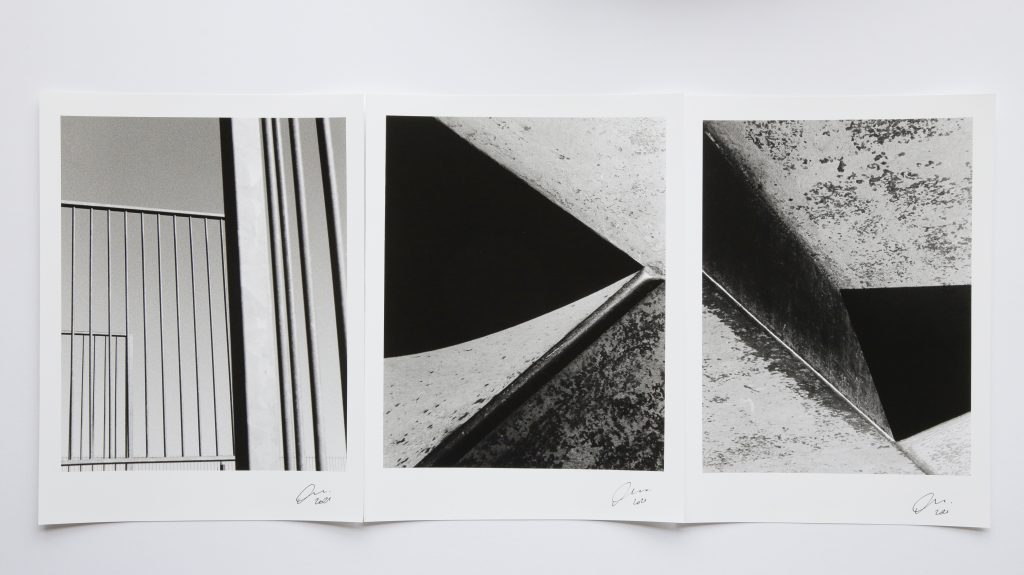
I am not really into Abstract Photography, however, I feel if you have the time to explore other avenues then why not have a go! I shot Foma 400 film and developed it in ID11 at 1:1 at 13 mins. 20°. 5 inversions each minute. The first two were under exposed. Not sure why! I metered and used the same camera settings on the others. f/16 1/250th. Metered at 400. Maybe the sun went in without me realising.
Here are the images.
Agfa APX 400
I received a couple of rolls of Agfa APX 400 from Andy Brennan in Australia and having never shot this film before I went online to see for myself what others say. There was a mixed bunch of reviews mostly good.
I shot both rolls. One just before sunset at a boat marina. The lighting conditions was light overcast. And the roll I shot the next day in mid afternoon sun around town.
I developed the film in Ilford ID-11 at 1:1 for 16 minutes with inversions for 5 seconds each minute.
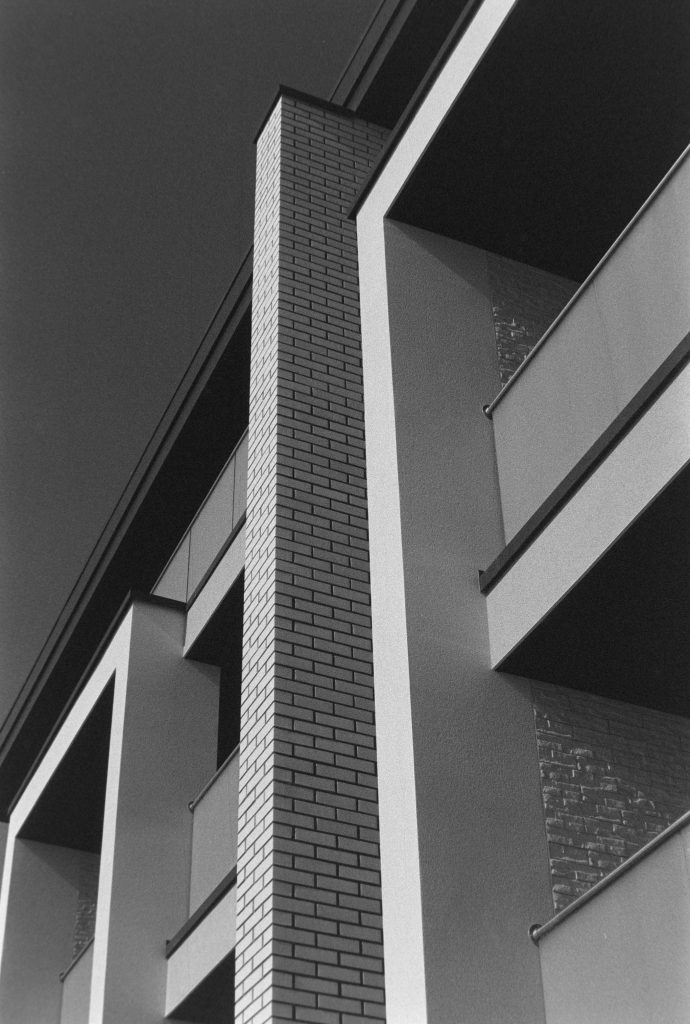
This photograph was from the first shoot in light overcast. I used the Nikon F90 X in Aperture Priority mode.
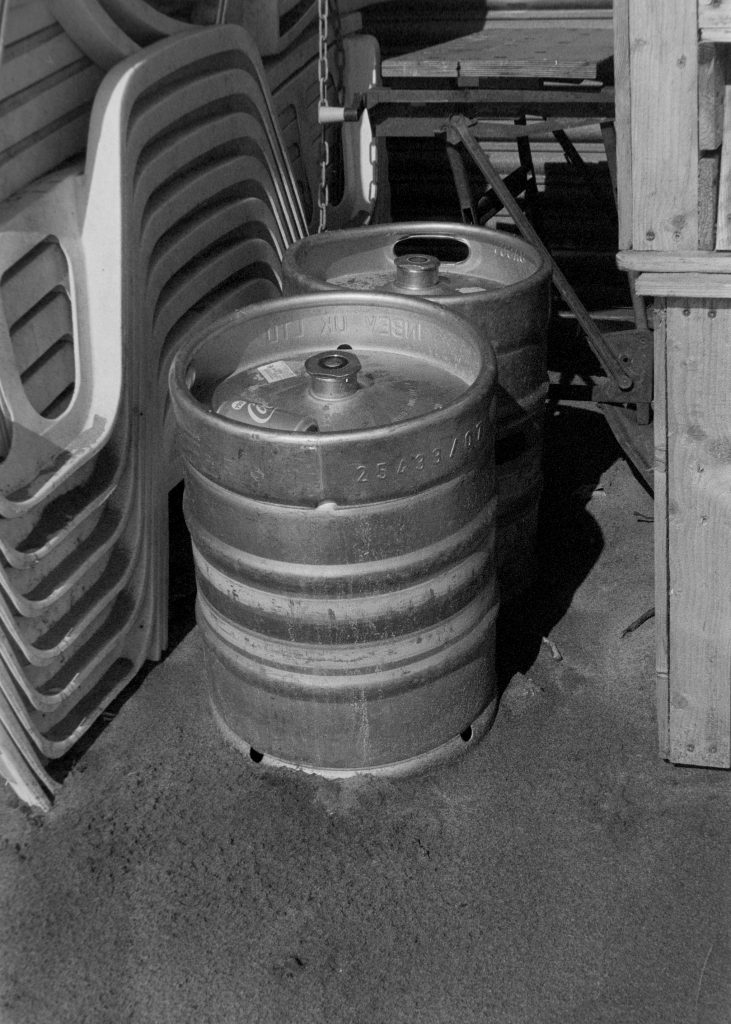
The first thing I noticed was how low contrast the film was. I had to push the contrast in Lightroom. But not too much. It just needed a bit of punch.
The highlights hold very well and there is plenty of tonality in this photograph.
It appears to be very fine grain too. The grain is there but it’s not ugly grain.
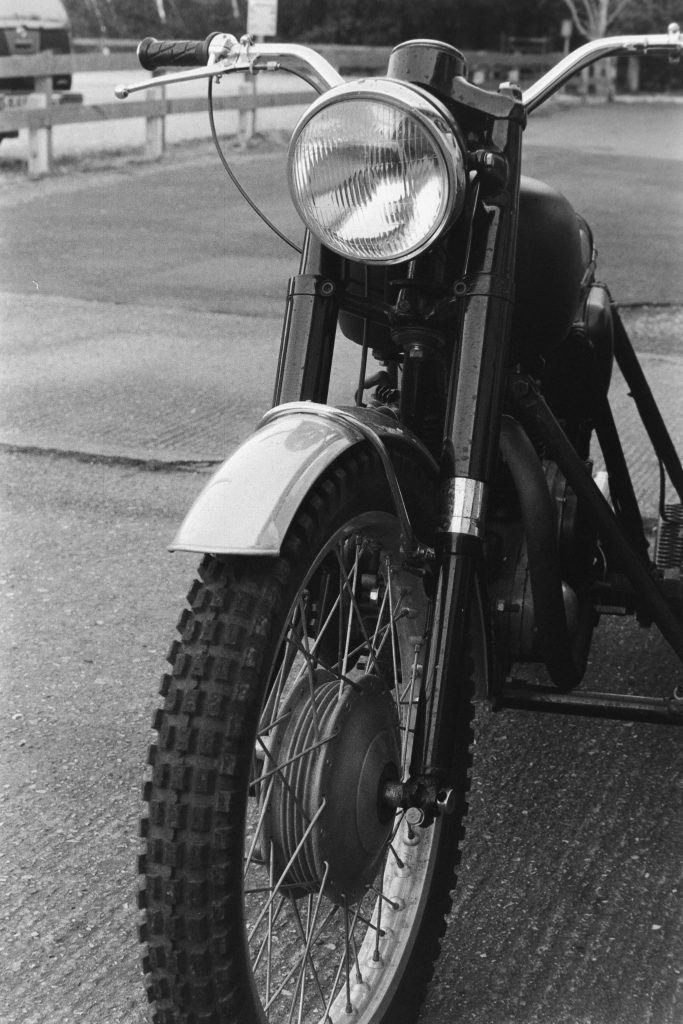
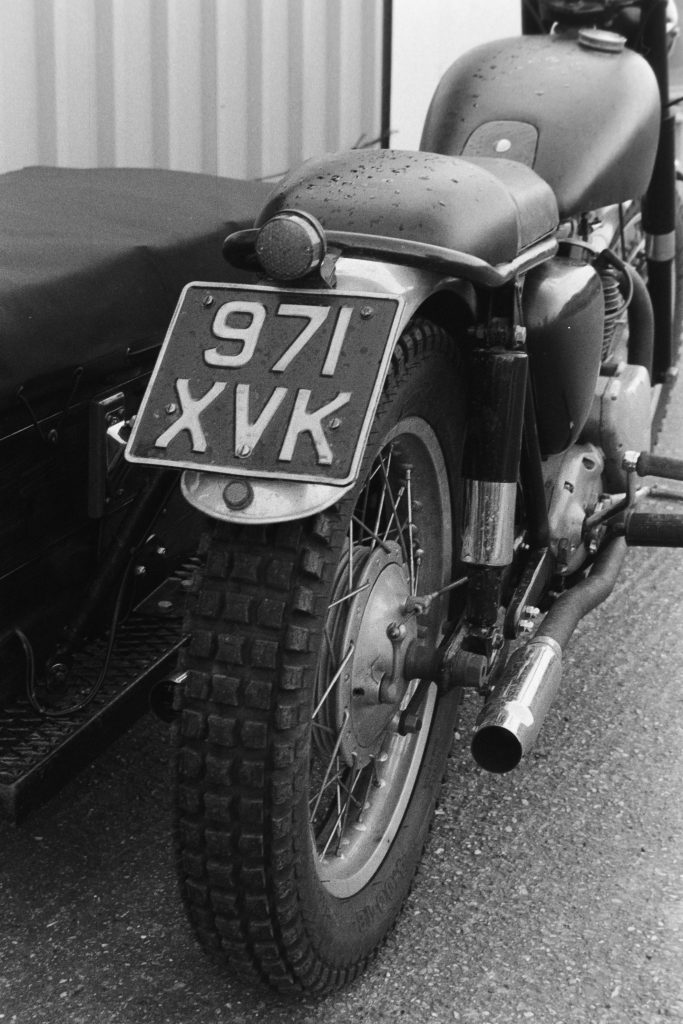
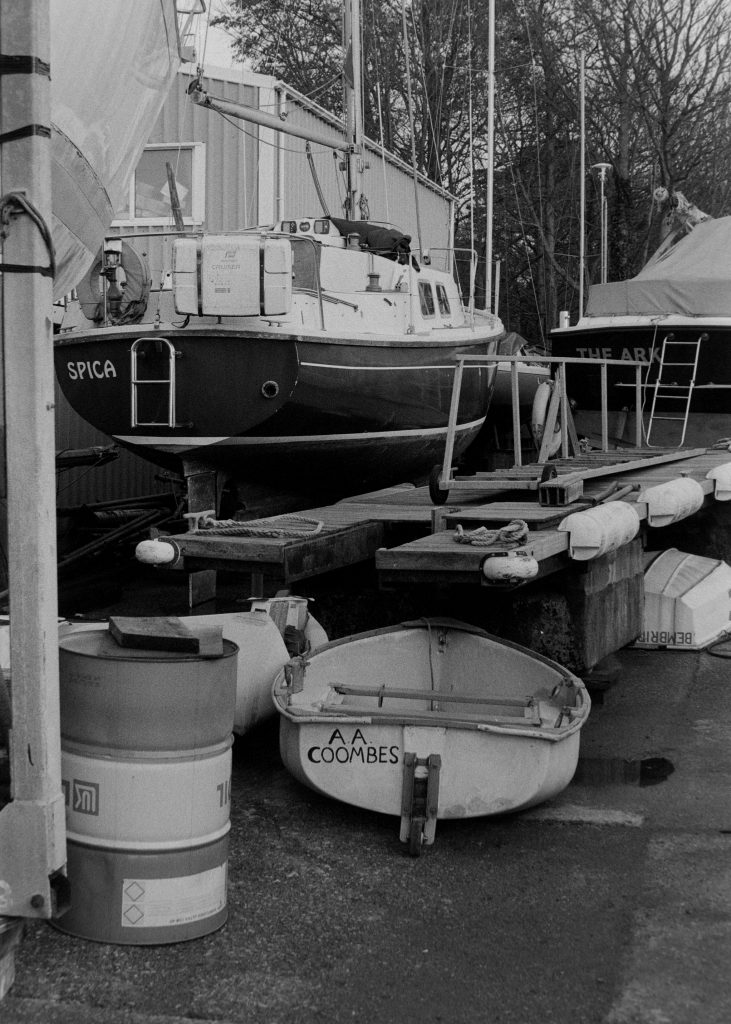
This particular roll I split into two and shot half at 400 and the other half at 1600. I cut the two halves from the camera in the darkroom and developed separately. The second half which was pushed to 1600 I developed for 27 minutes. I wasn’t quite sure if this was a film to push.
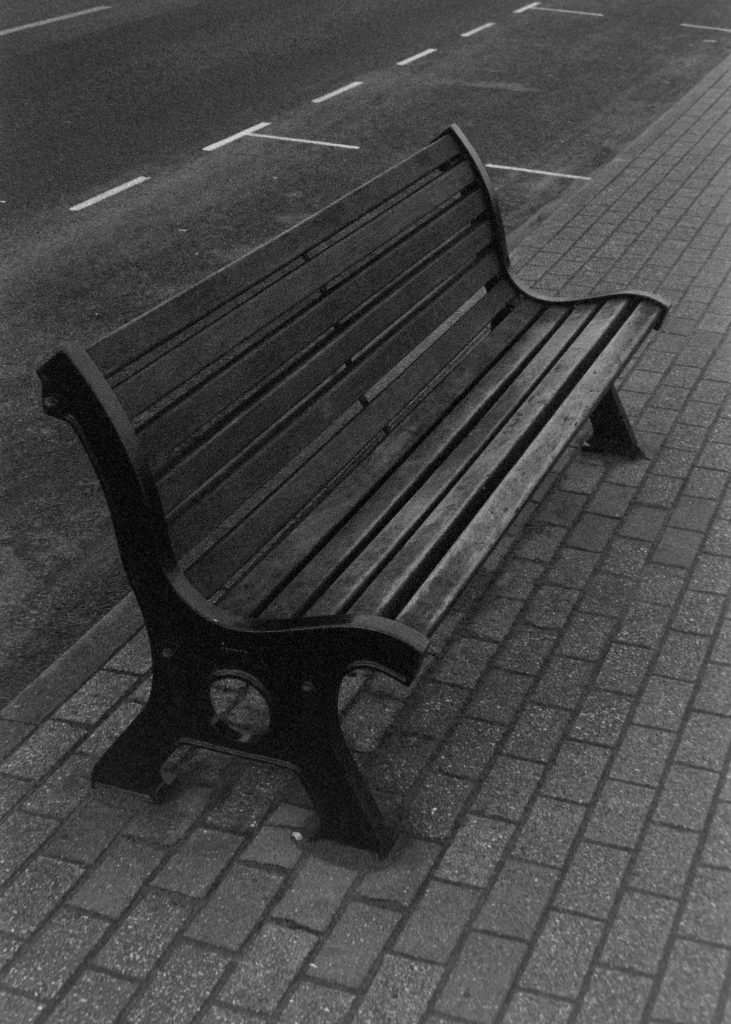
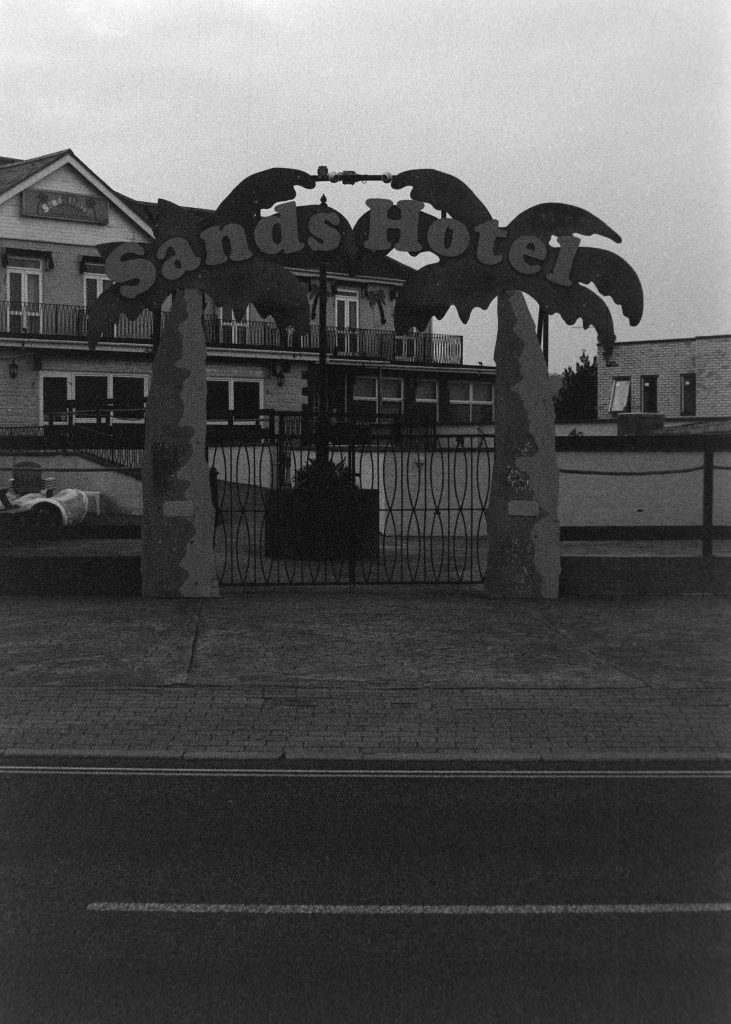
I couldn’t seem to get a clean photograph from the push and the grain is much harder. I wouldn’t push it again or at least not in ID11. I imagine Microphen or other compensating developer would work better.
The next day I shot a roll in the midday sun producing a higher contrast. This time I used a Chinon CE5 35mm camera with a Pentax 50mm lens. Again, developed in Ilford ID11 for 16 minutes. I had better results. I did have to punch the contrast again in Lightroom but that’s no different to what I would do in the Darkroom with Filters.
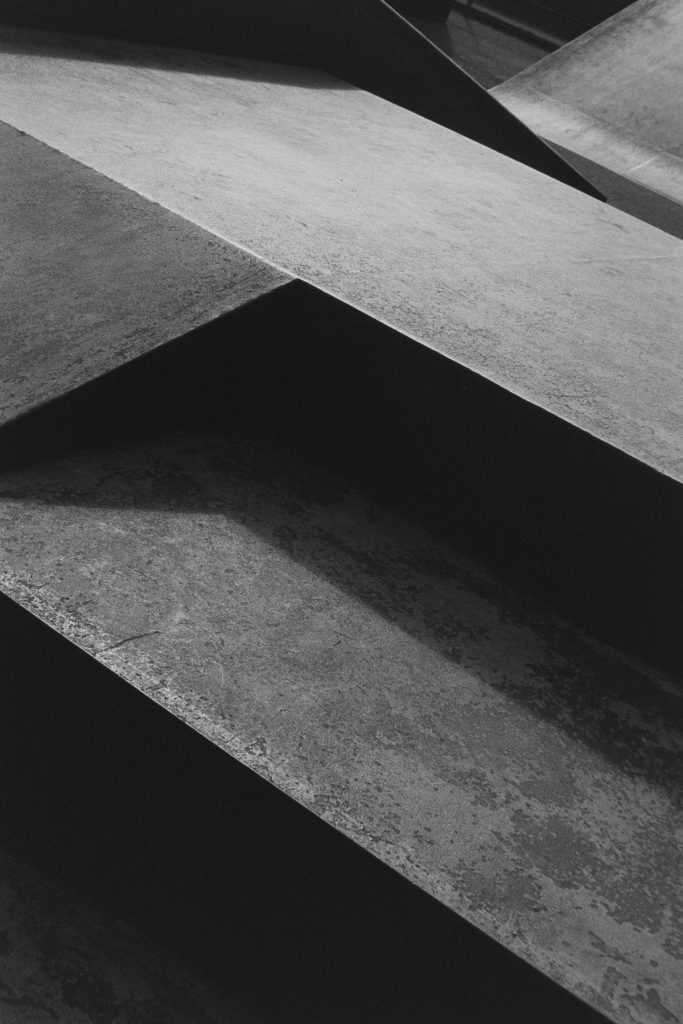
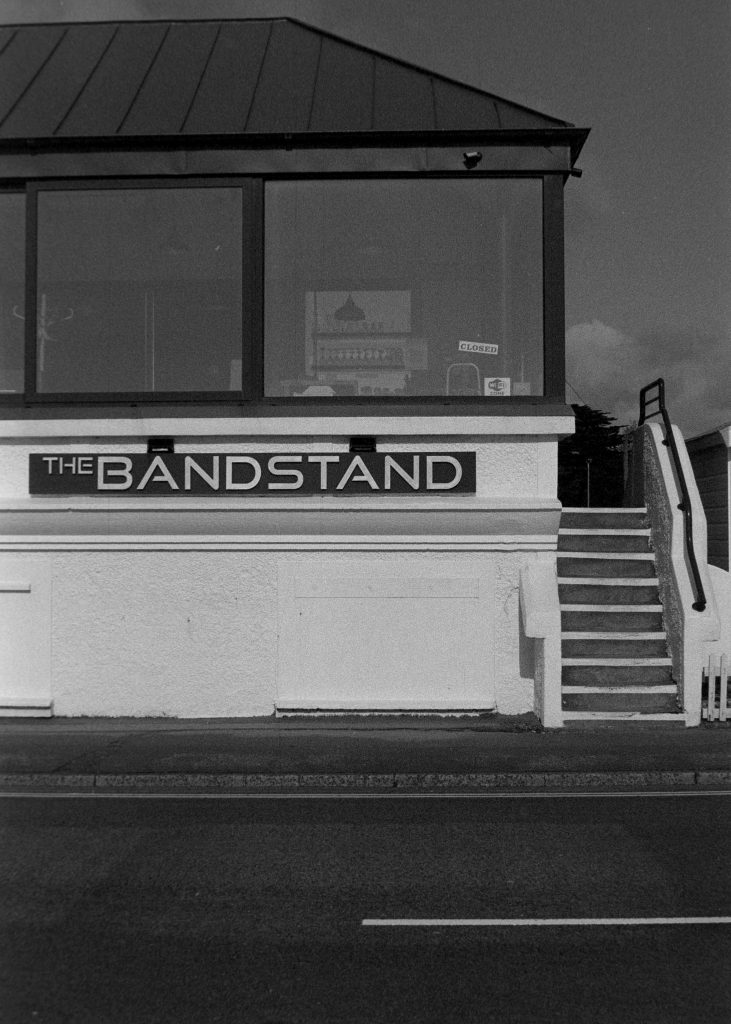
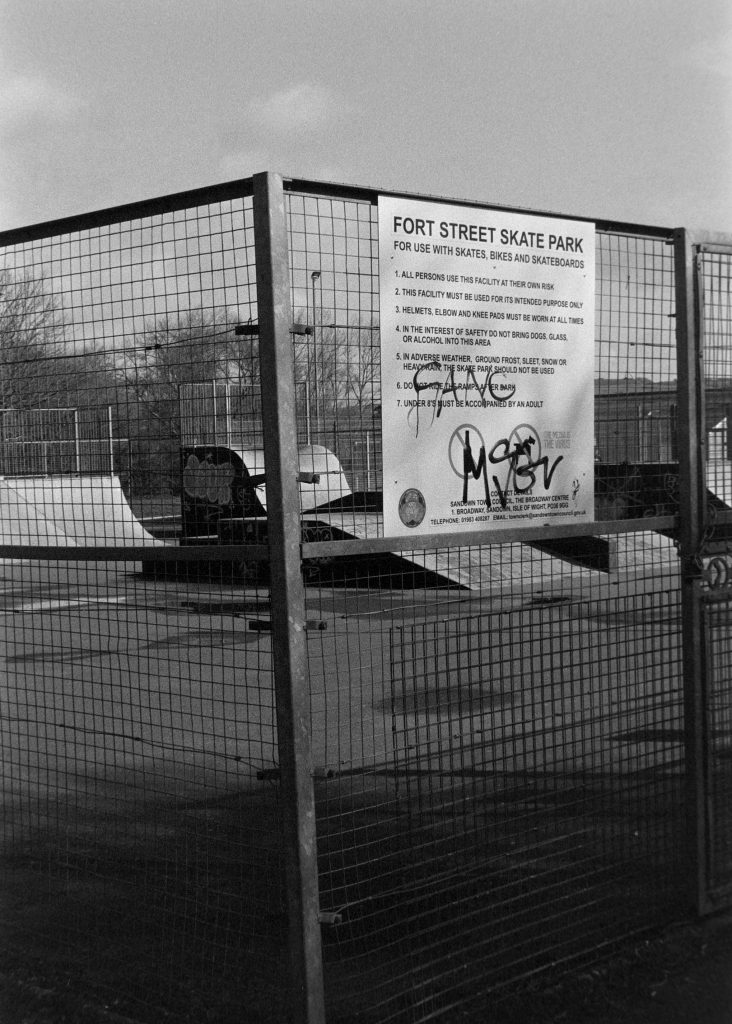
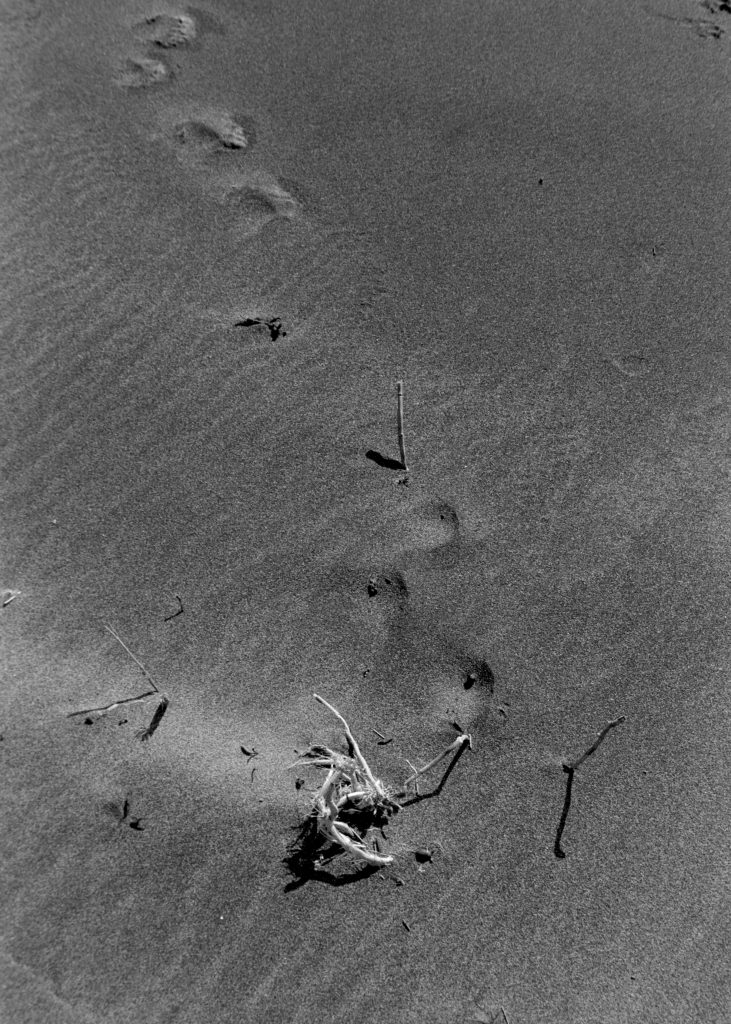
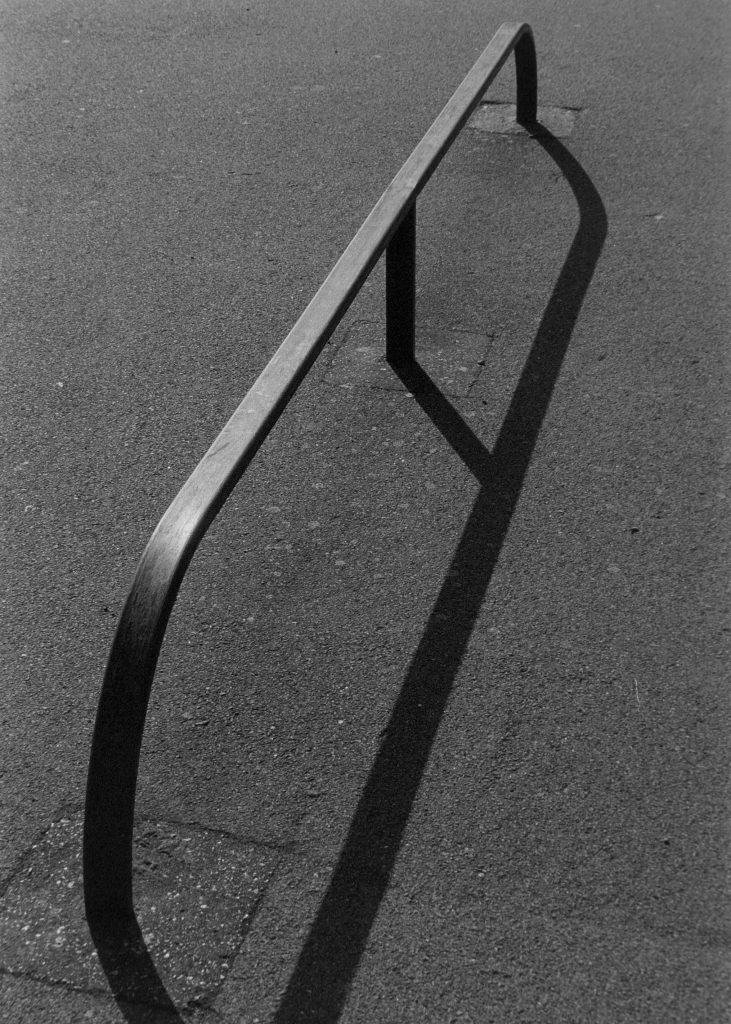
So my first impressions I would say this film lacks punch but delivers good tonality and a lovely smooth grain. It handles highlights very well and I’d say is a good allrounder. I’d also say this would be a good film for a beginner with it’s flat looking contrast leaving room for scanning and editing contrast without blowing highlights.
It appears to be a relatively in expensive film probably on par with Kentmere, taking of which reminds me very much of! Could it be Kentmere in disguise? Who knows. There is no branding on the actual film itself. Not even frame numbers.
I did notice that the fog and base of this film was quite heavy. I don’t have a densitometer but that probably contributes to it’s low contrast.
Best Film for Beginners?
When starting out in Film Photography what is the best film to go for? I say one of these two.
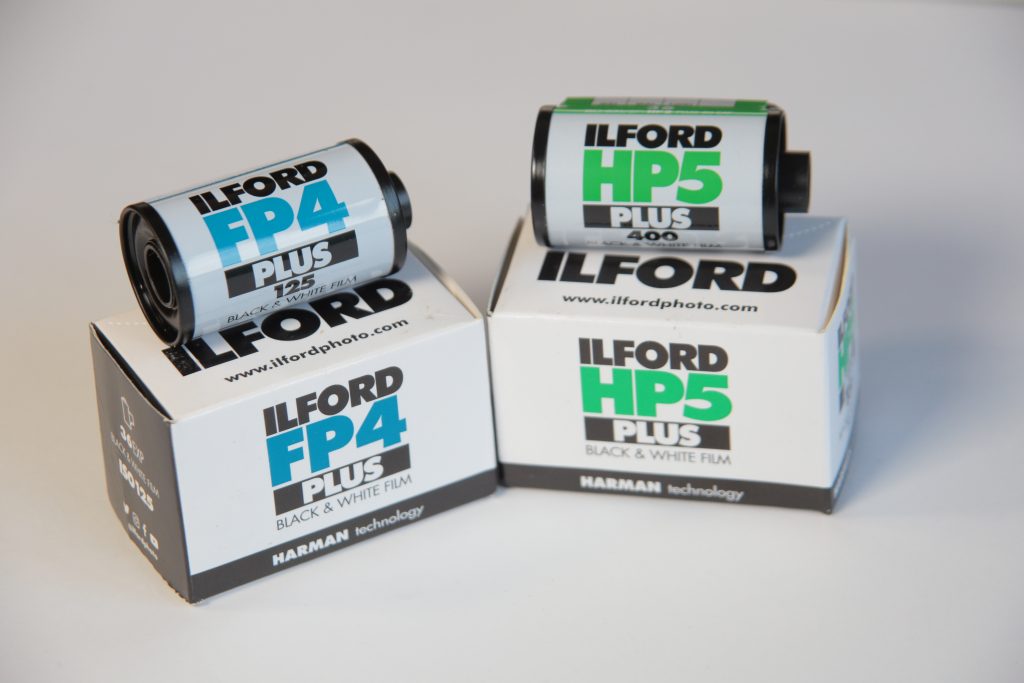
I have a whole section on this in my Beginners Guide to Film Photography and recently put a video out on the SFLaB YouTube Channel shooting both films side by side.
There are many films to choose from when you first start out in film photography and it can get a bit overwhelming when deciding which film. I can only go on my own experience and in this case I was pointed towards Ilford Fp4. Mainly because it is a good solid film and widely available in local stores. The last thing you want is to be used to some film that you order online, run out, need to shoot film that day and your local stores don’t sell it. Made sense to me.
I used FP4 extensively with the same camera and developer whilst I was feeling my way into film photography, however, I would occasionally become unstuck when I needed a bit more speed. That is when I started to try Ilfords HP5 400 speed film. I knew nothing about it apart from I could get more speed when shooting certain lit conditions. For example Street Photography. With FP4 I would find myself opening my aperture or slowing my shutter speed down to get light into the camera. It wouldn’t make for good photographs when I did that. So HP5 would be the obvious choice for me. Being a faster film I started using HP5 a lot and then I started to notice its characteristics. I noticed it was more contrasty and more grainy than FP4. I learned this the hard way shooting HP5 for seascapes. The sky would be full of grain and I would lose detail in my shadow areas more than I did with Fp4. That’s when I realised there is a film for all occasions!
I tried both films for my areas of photography. Portraiture, Scapes, buildings and street.
I found I liked FP4 for Portraiture and scapes because I would get less grain. And I liked HP5 for Street and Buildings as it gave better contrast and looked more gritty. I eventually moved on and started trying many other films, all with their own character. But for starting out I found FP4 and HP5 good solid films to start my photography journey with. Readily available, reasonably priced and without any problems.
Here are some images I took for the video.
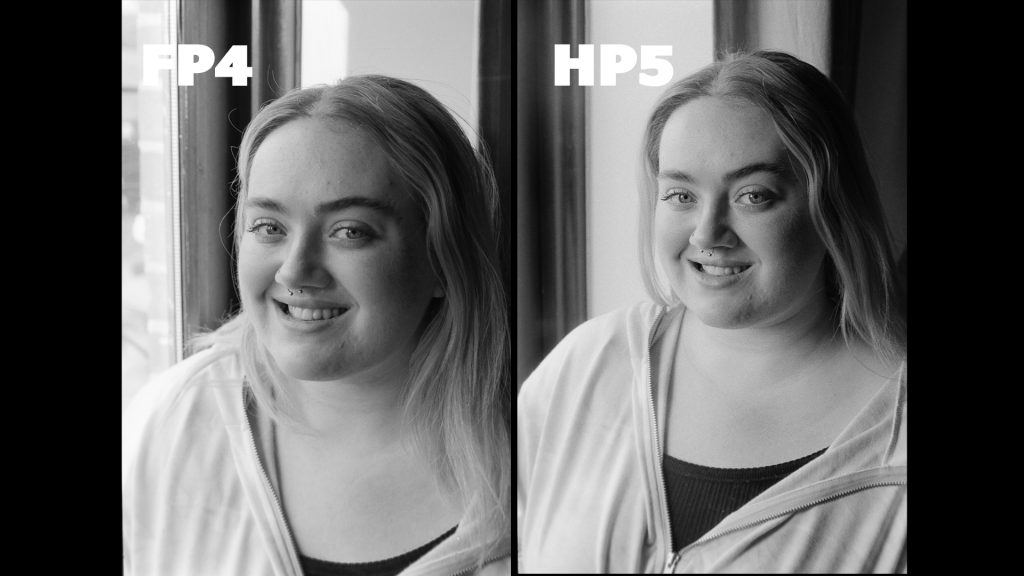
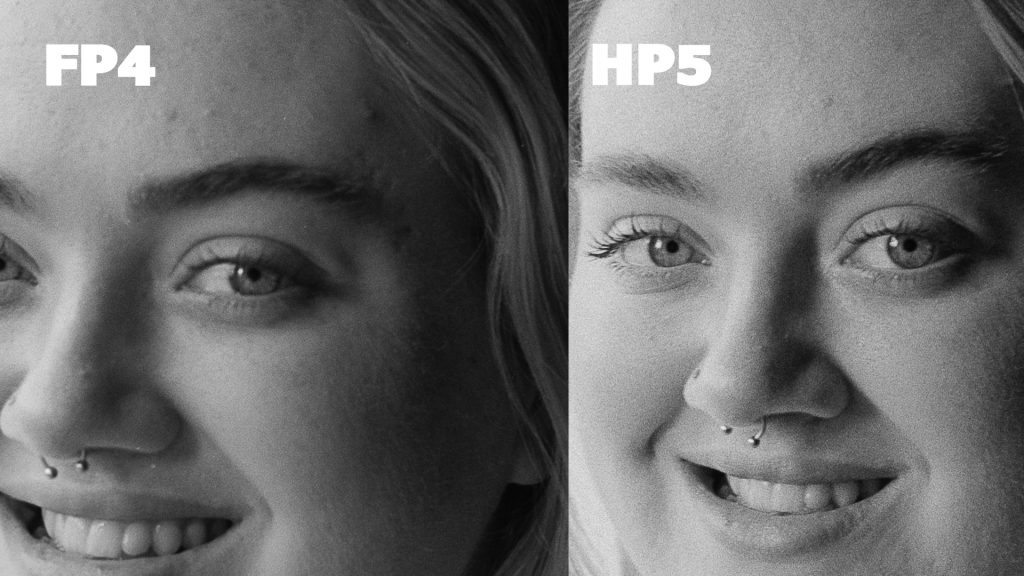
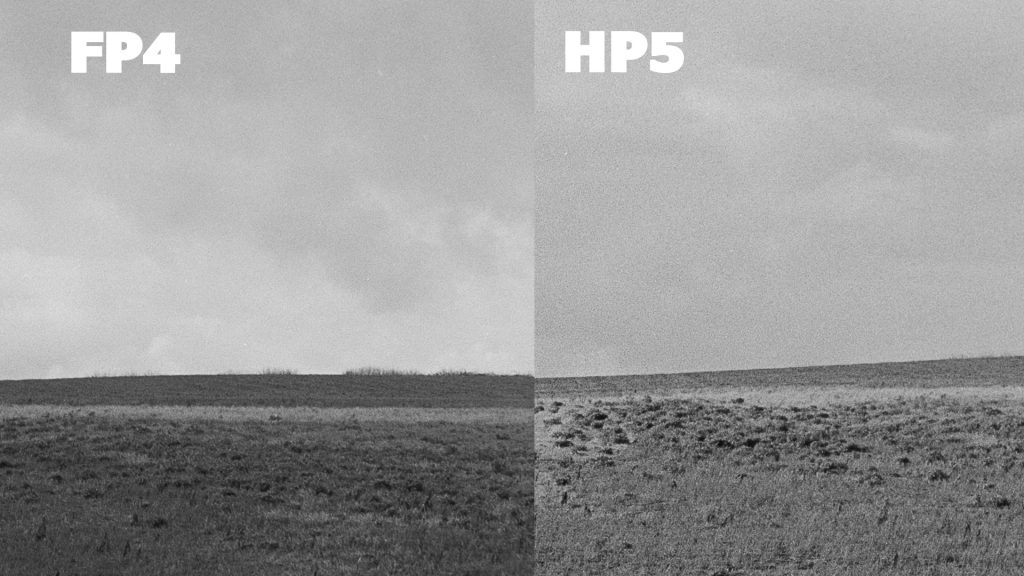
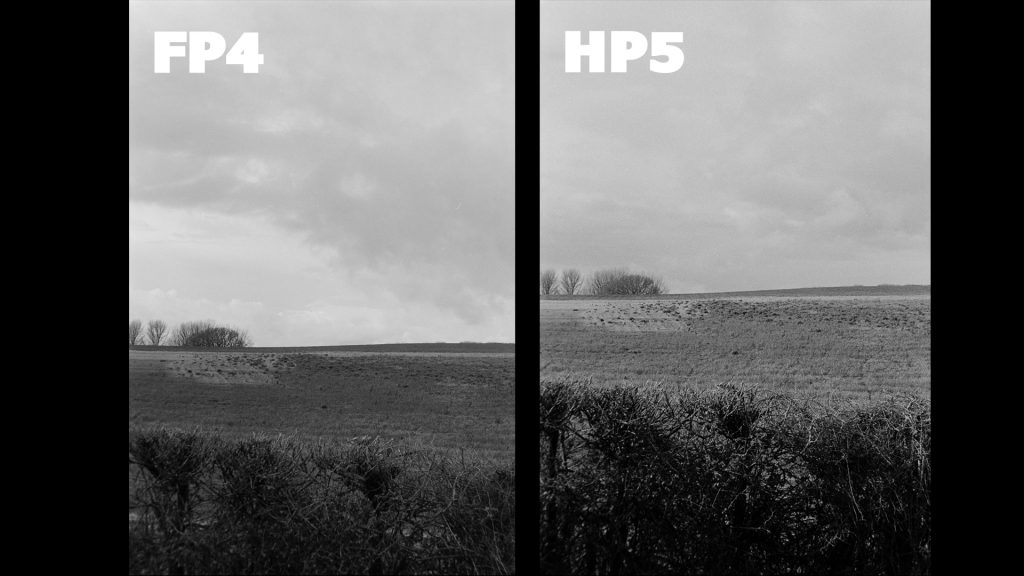
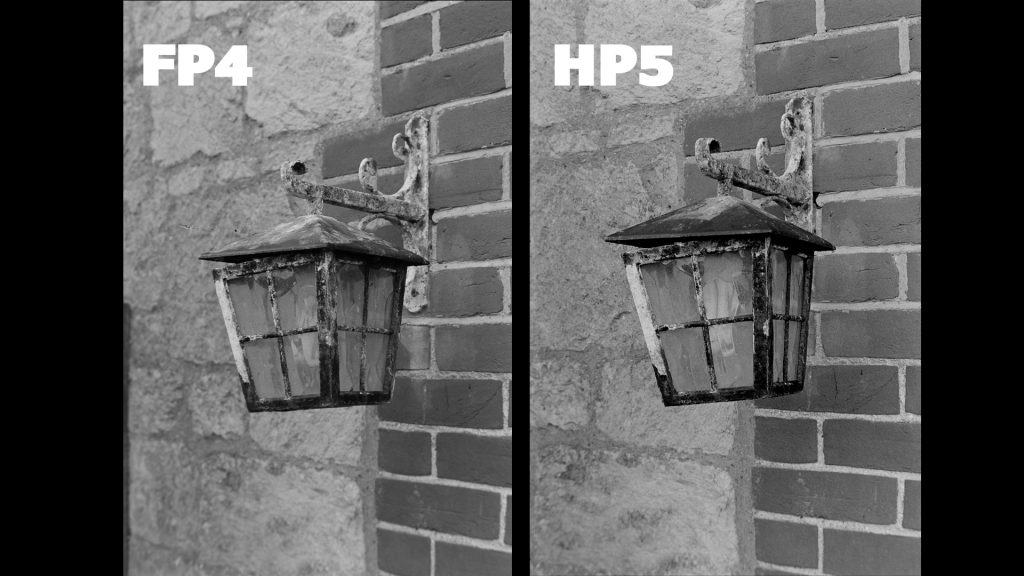
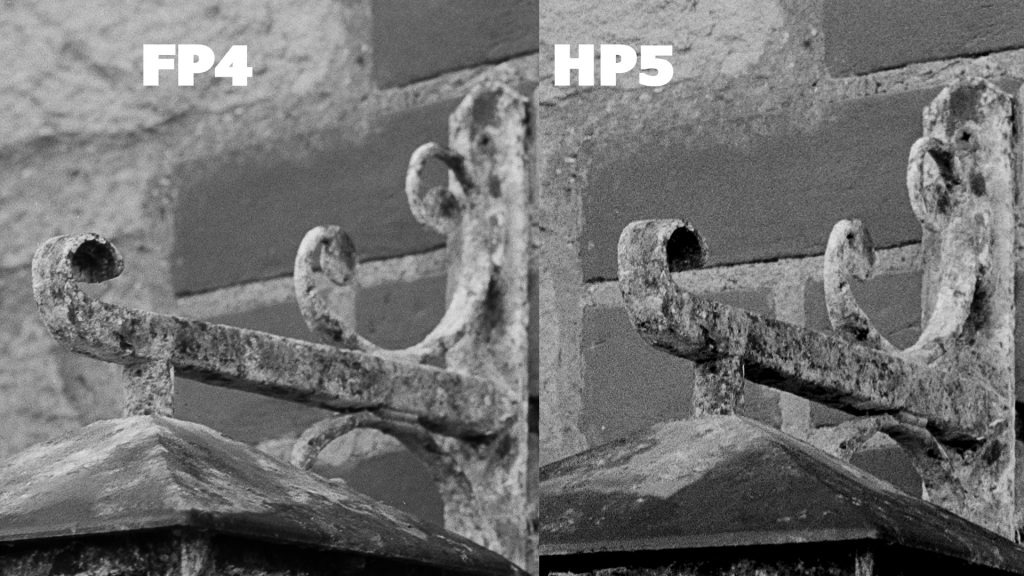
Like I said both are very good films and each have their purpose for my photography. But if I was to choose one over the other it would be HP5. Because it gives me more to play with when it comes to speed. Of course I can push or pull any film but when starting out it’s probably something that you would not feel comfortable with doing. That comes over time.
You can find out more on these films on the Ilford Website data sheets.
Seagulls
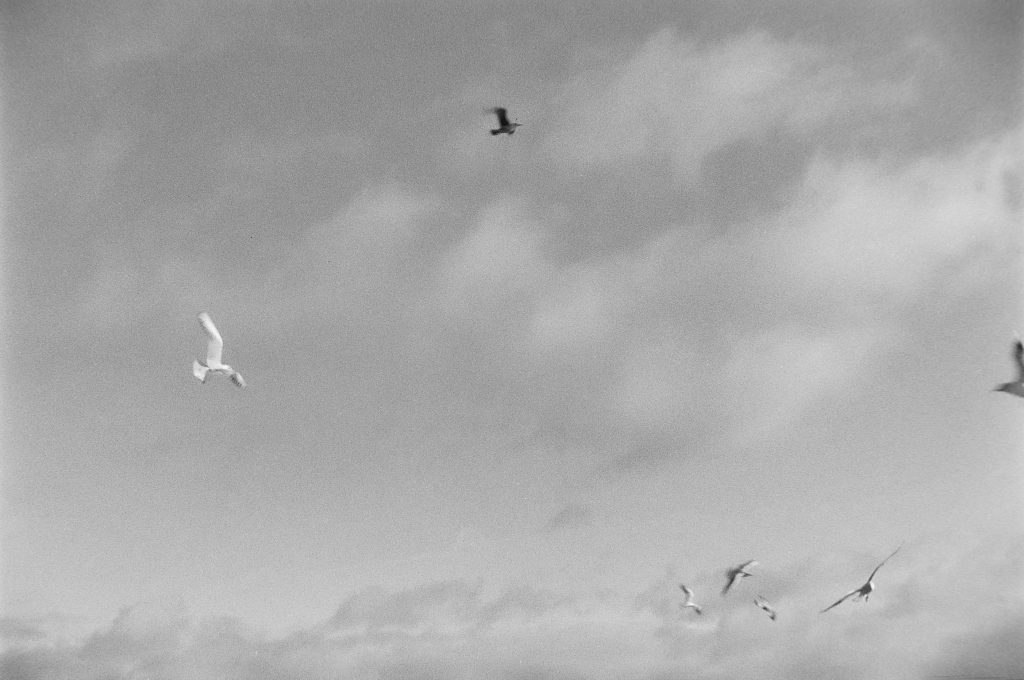
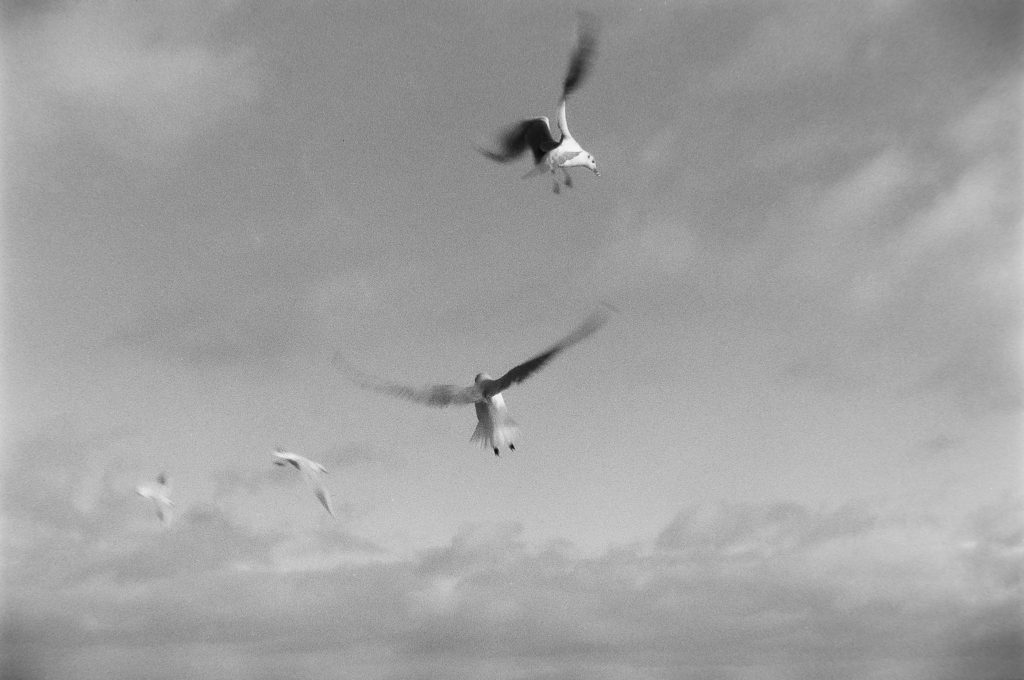
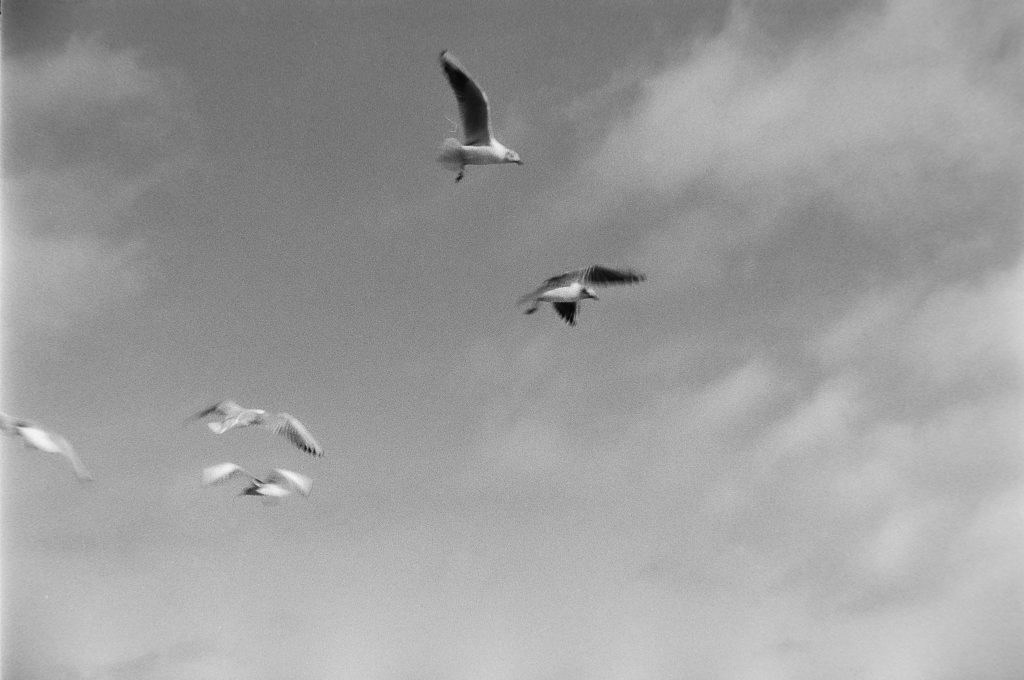
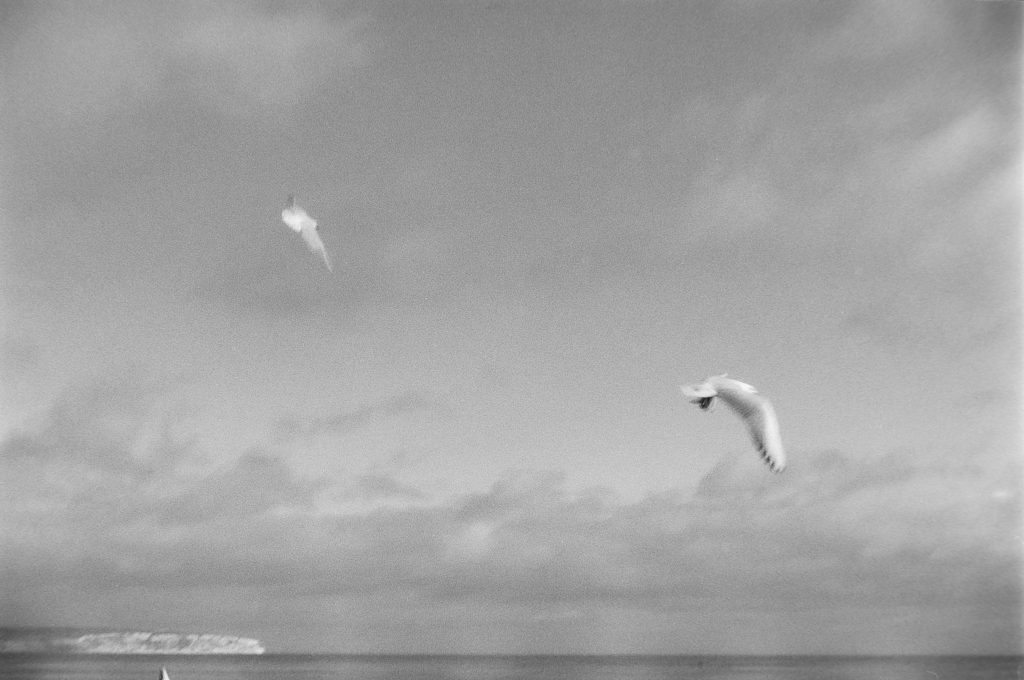
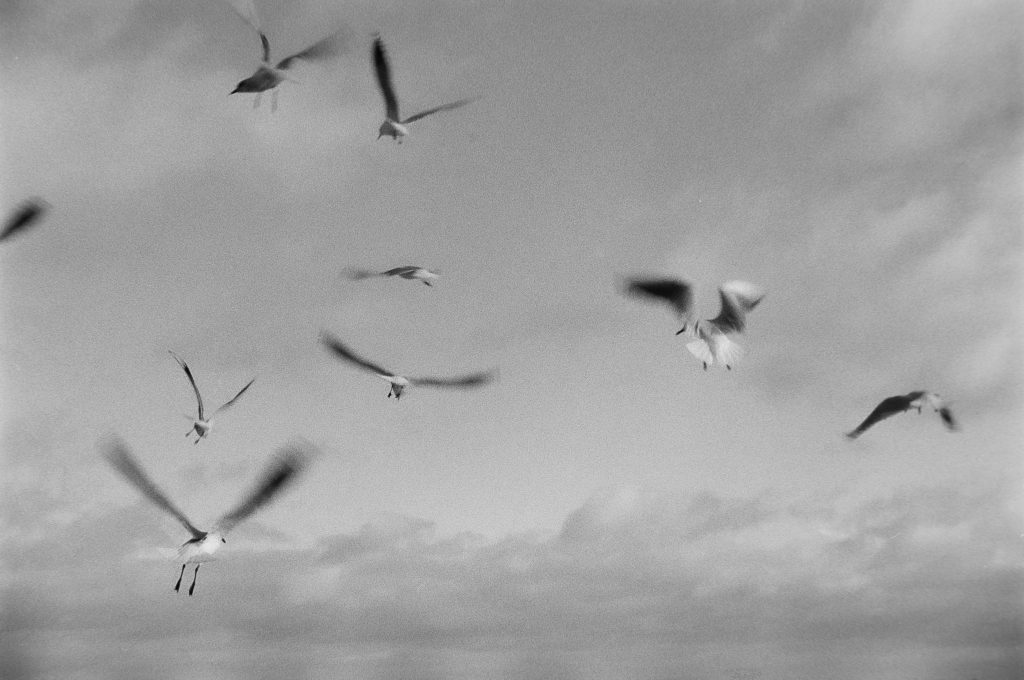
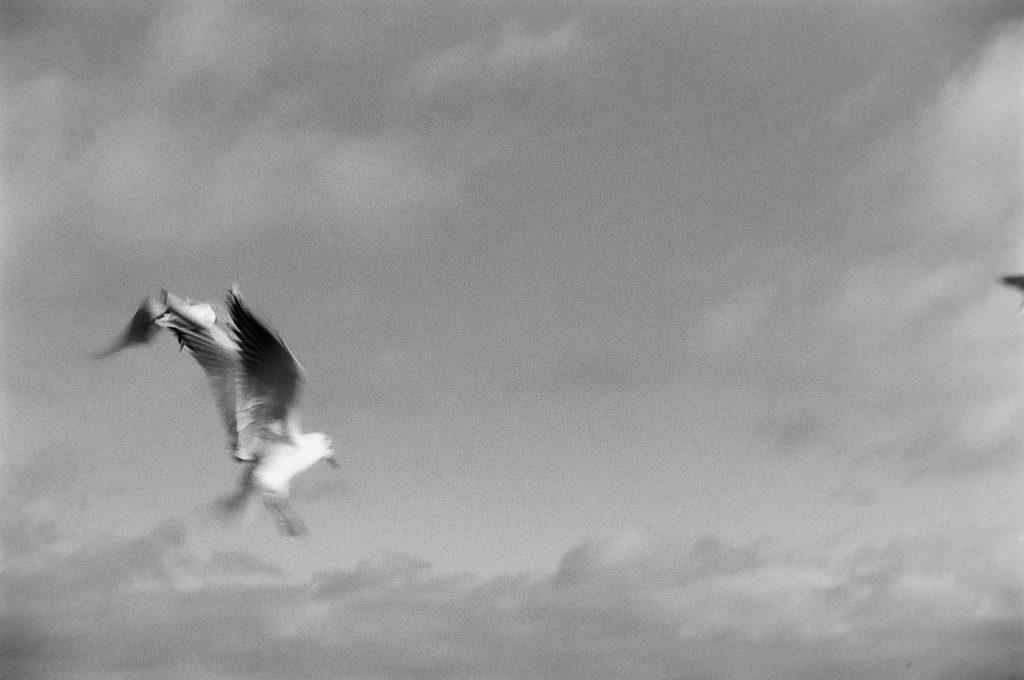
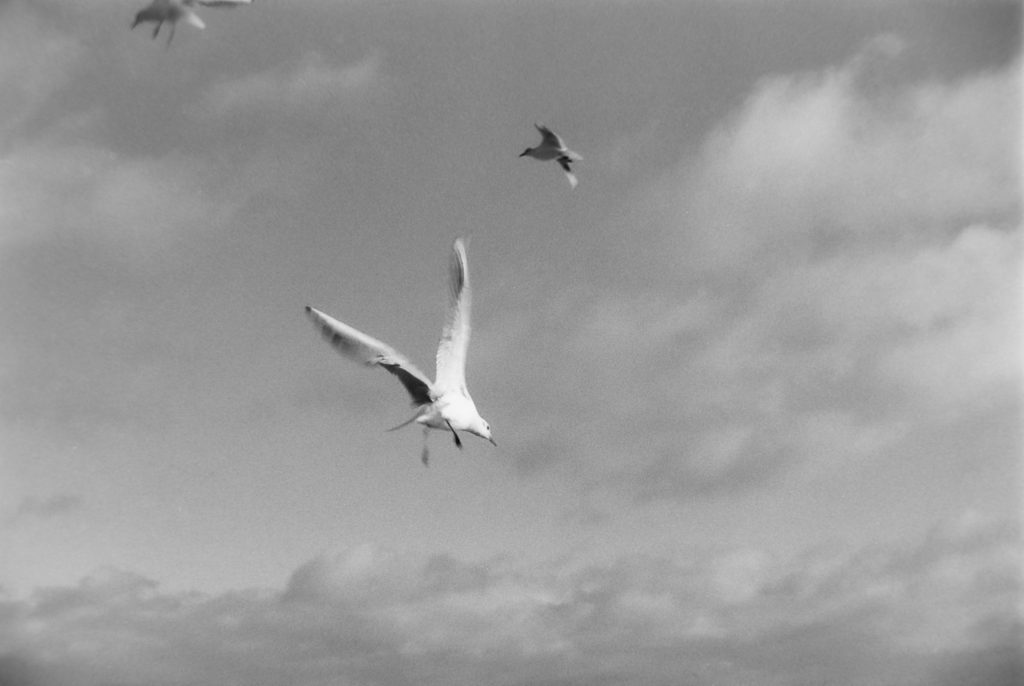
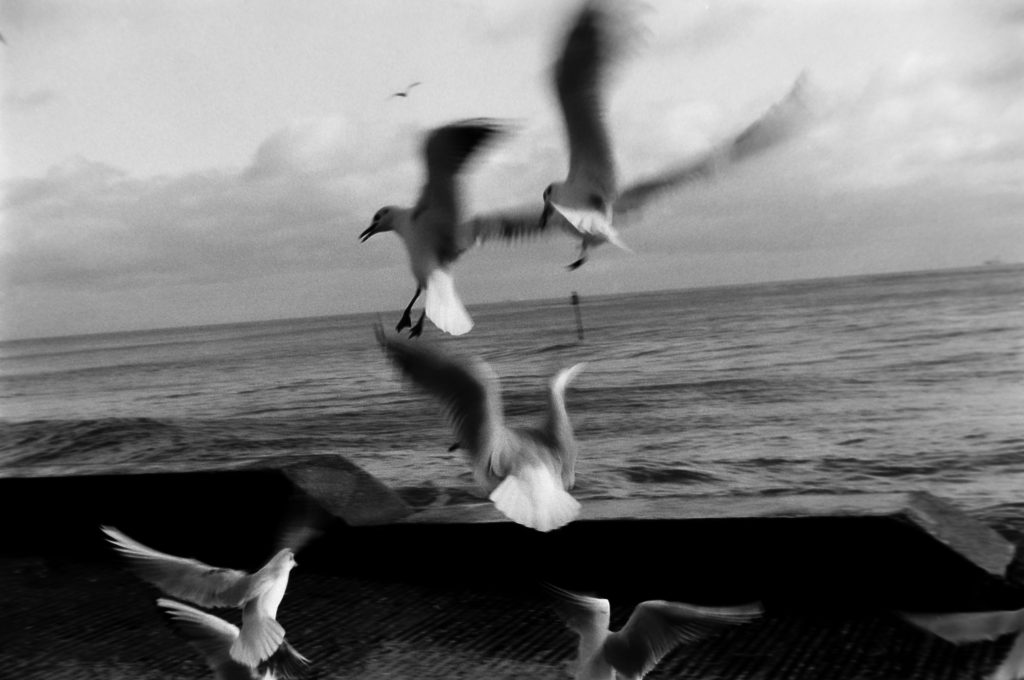
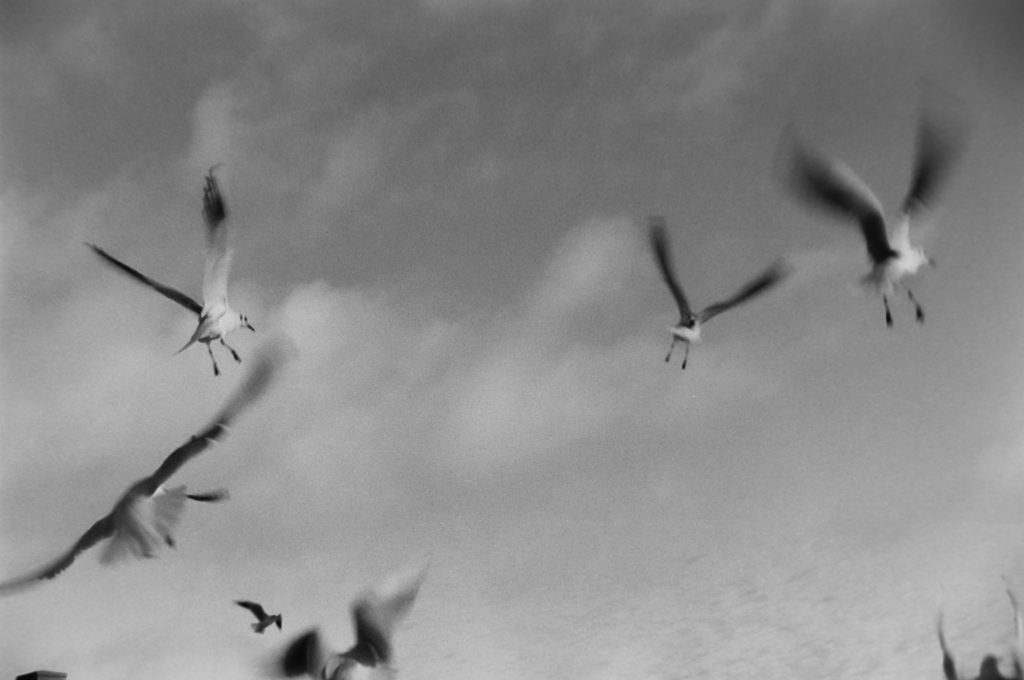
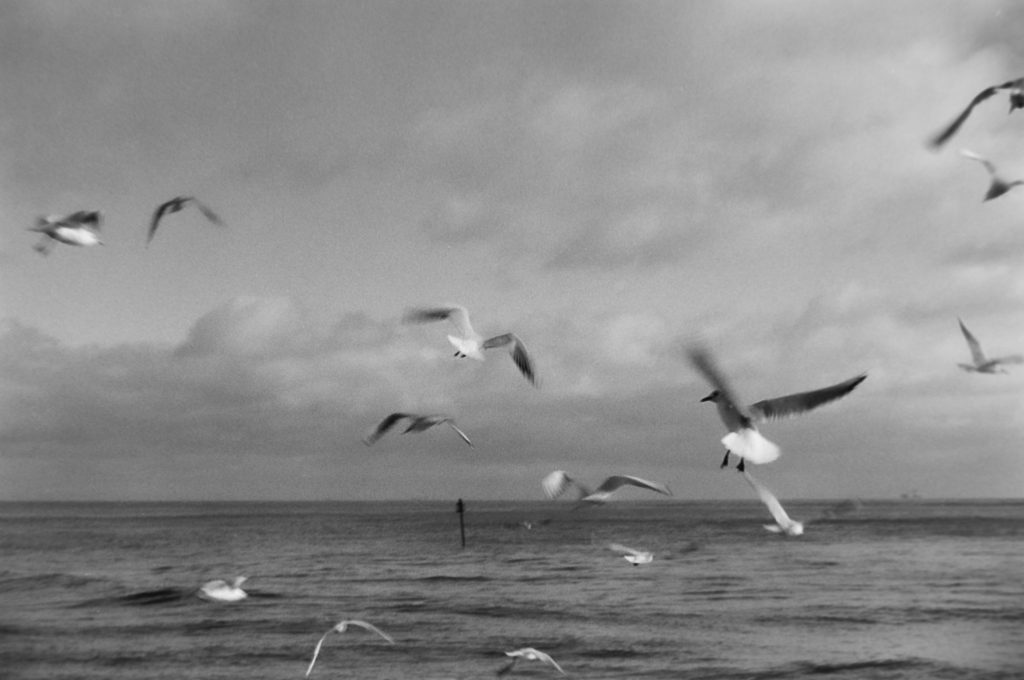
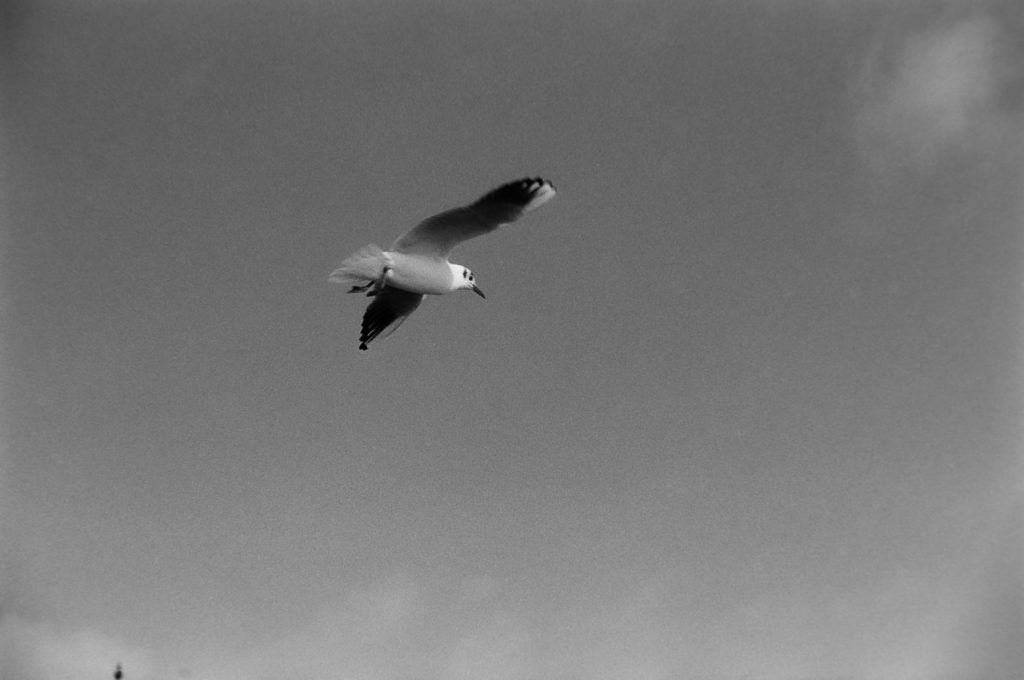
Using the Kodak Retinette 1A camera and a roll of Ilford HP5 35mm Film I went to the beach, which is 10 mins from me, to photograph seagulls in action. I wanted to give the images a live feel so I used a 1/125th shutter speed for some motion blur and used an aperture of f/16. The conditions were not ideal for a 400 speed film but the HP5 is very forgiving for over exposed negs! Here are some of the scans. I developed the film in XTOL 1:1 for 12 mins. Knowing that I was over exposing I should have, looking back, under developed by a couple of minutes.
Kodak Retinette 1A 35mm View Camera
A few times my mate Gaz has turned up at my home with a camera he has found in a charity shop. I must admit most don’t work or are in a bad condition, but still, he thinks of me. And I am not the best person to give a broken camera to! I have tried a few times in the past to fix old cameras but there is usually some part or other that is left behind or that I can’t fit back in place.
So when Gaz turned up with this Kodak Retinette 1A in a leather case I had my doubts. I didn’t even know what it was! I’d never seen or heard of it. But. It was in beautiful condition. I had to take notice. Especially as I noticed the words “Made in Germany” on the front. Must be quality!
It didn’t work. It wouldn’t fire. But looking at the top case I figured that is where all the clockwork is and it appeared to be easy to open with only a few screws holding it together.
So I went to work and took the top off. Apart from the viewfinder parts falling all over my desk everything else seemed solid. Straight away I noticed the firing pin was loose. So I positioned it and the camera started to fire. All I needed to do now was get it all back together. Before I did that I ventured more and removed a few more bits so I could clean the viewfinder and associated mirrors. They cleaned up nice and I managed to get it all back together.
I now have a mint working Kodak Retinette 1A to shot. If it worked still!
All I needed to do was check that the focus was accurate, there were no leaks and that the shutter speeds were well in tune.
I loaded a roll of Ilford HP5 and set up a small scene of dead Tulips. With the minimum lens focus distance of 3.5ft and using a tape measure I got exactly 3.5ft from the Tulips to the cameras film plane.
I could now test the focus and shutter speeds and aperture blades all in 4 frames. I metered the scene and started at F/11 1/30th. First frame taken. Then I went through the speeds compensating with the aperture.
f/11 – 1/30th
f/8 – 1/60th
f5.6 – 1/125th
f4 – 1/250th
If all of my negatives were relatively the same exposure AND in focus then everything works.
I also took a few frames outside to test the focusing on Infinite and another frame on a broken Buddha where I used Zone Focusing measuring just in front of the Buddha to be 3.5ft at f11 and anything between 3.5ft and 6ft would be in focus. It was.
Here are my images.
f/11 – 1/30th 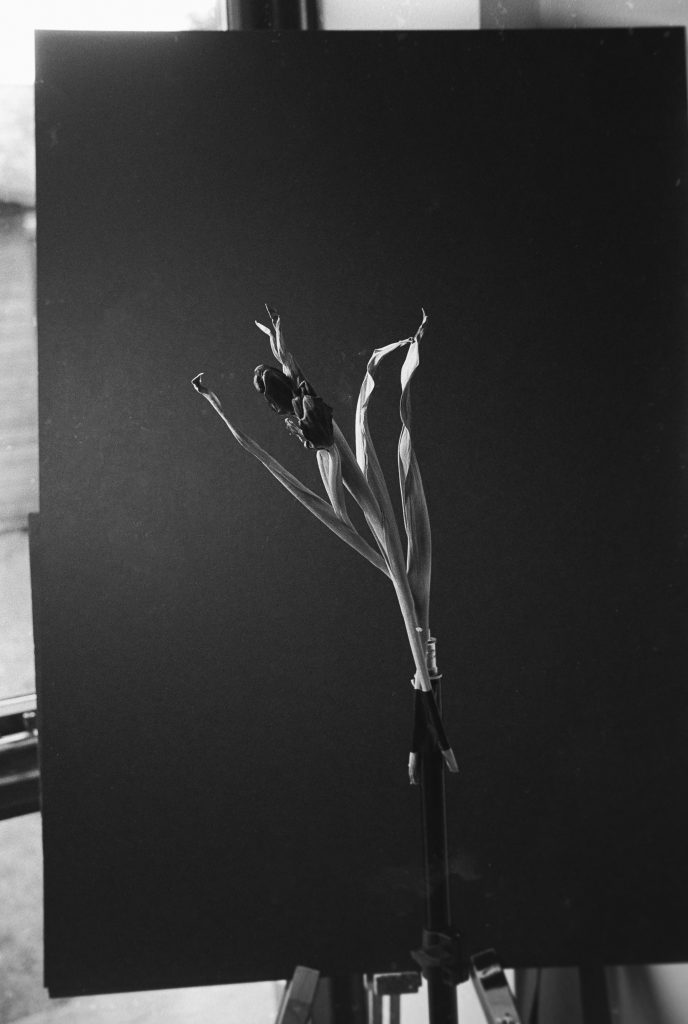
f/8 – 1/60th 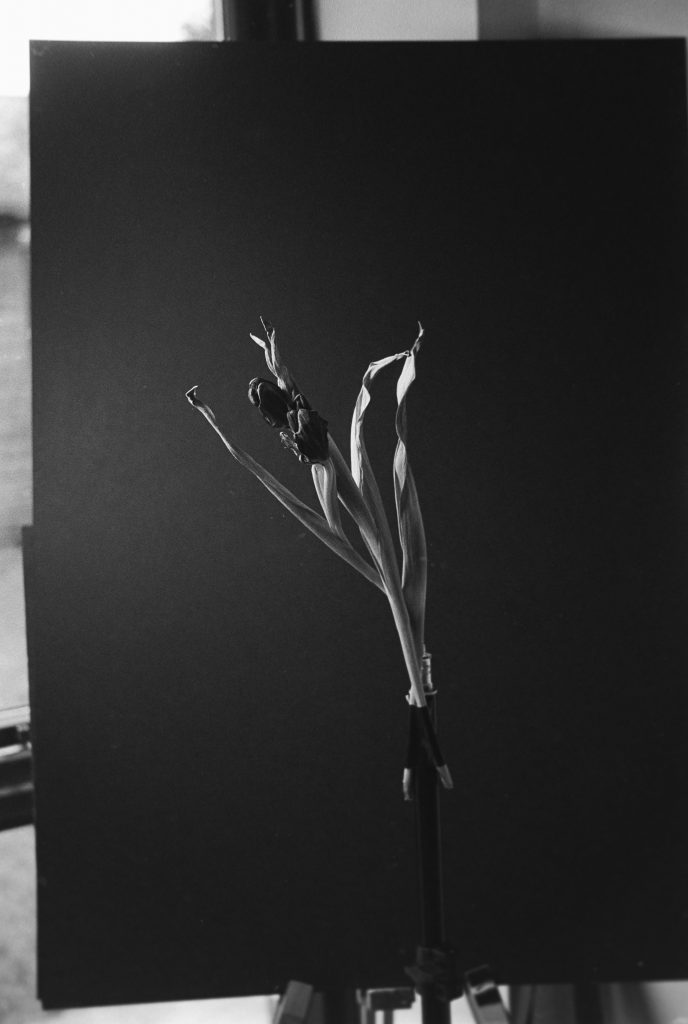
f/5.6 – 1/125th 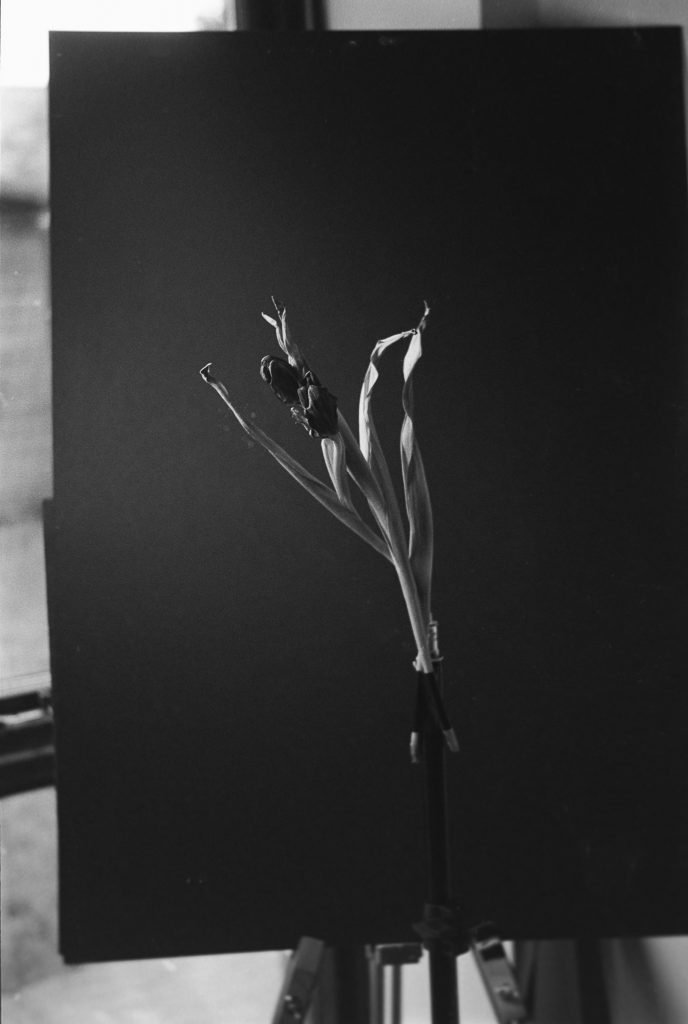
f/4 – 1/250th 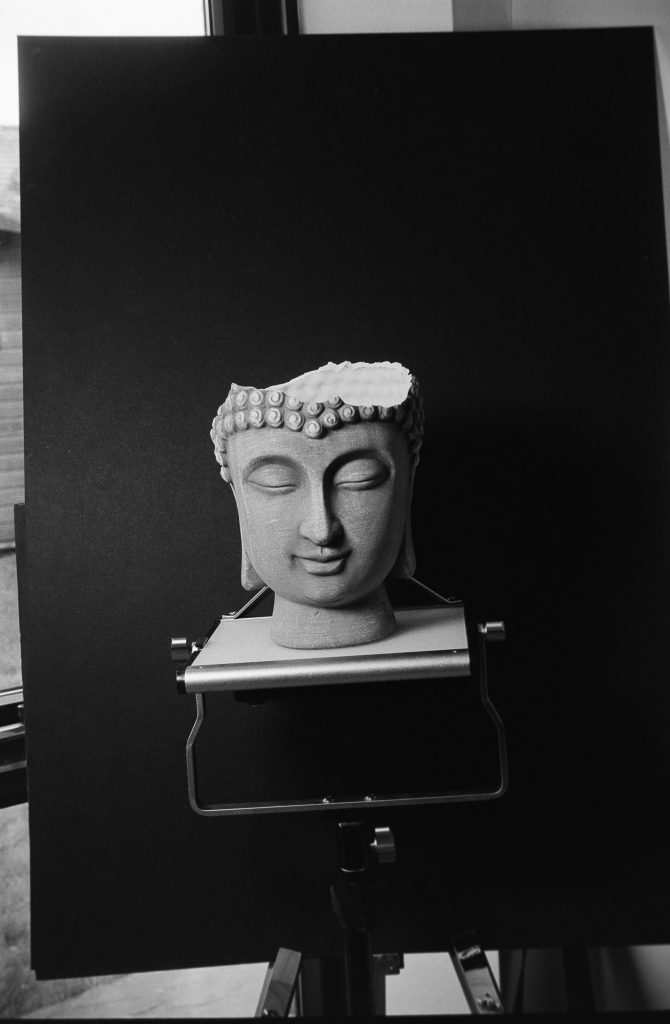
I don’t need to bang the history drum of this camera. It’s all online to find but I’m just pleased I got it working again and looking forward to trying some more creative photographs with it in the future.
Cinestill Monobath DF96
Thanks to Garygeezer on Instagram for sending me this developer to try out for the first time and thanks to all that have commented on the video I released in my “Wednesday Wonder” series.
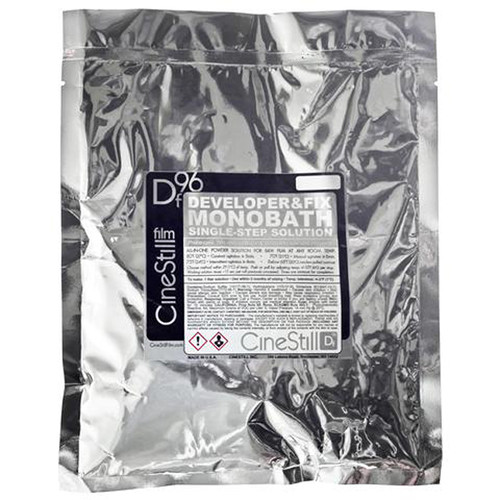
Gary sent me the powder version to try out. It makes 1 Ltr.
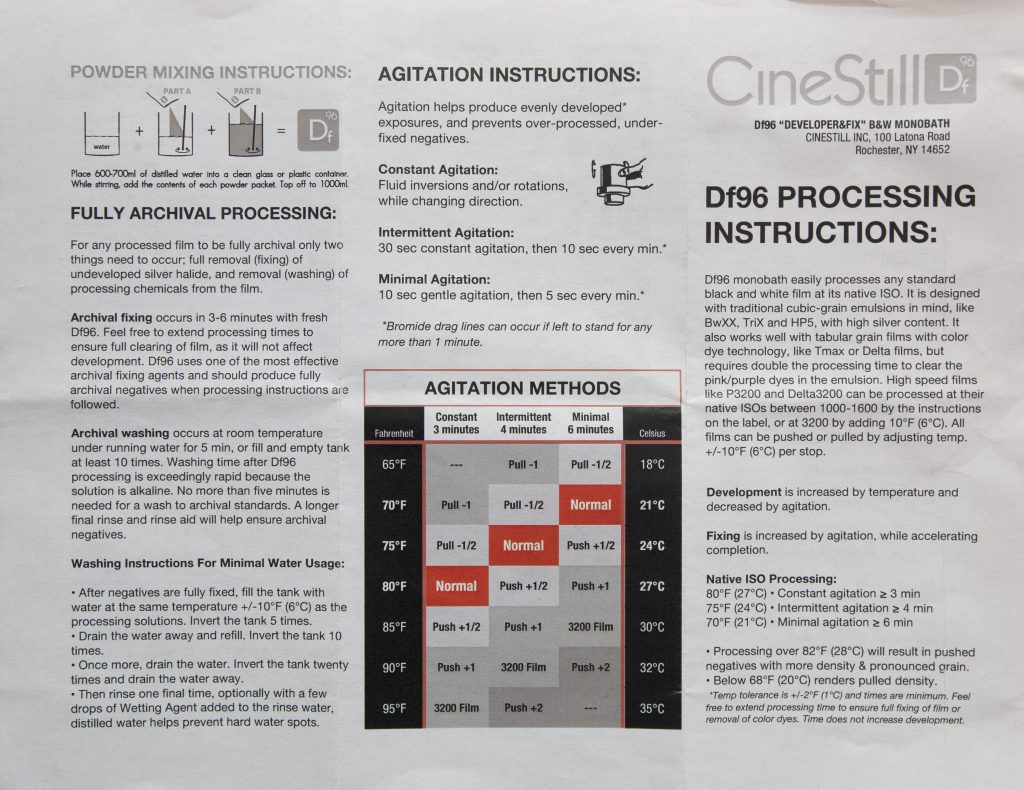
First of all let’s get on with the mixing. The instructions are very clear and similar to other powders such as XTOL and D76. Part A and Part B.
It says to use Distilled Water, however, I always use our tap water which I’ve never had any issues with. I filled a jug with 700ml of water at room temperature (20°) and mixed in part A. It took about 10 minutes or so to fully dissolve with constant stirring. The colour was a muddy looking colour. I then poured in Part B which looked like Hypo Crystals. These took a bit longer to fully dissolve and once they did the colour of the soup was not as clear as I imagined. Almost a very light yellow. I then put the 1Ltr liquid into an accordion bottle which is where it will keep.
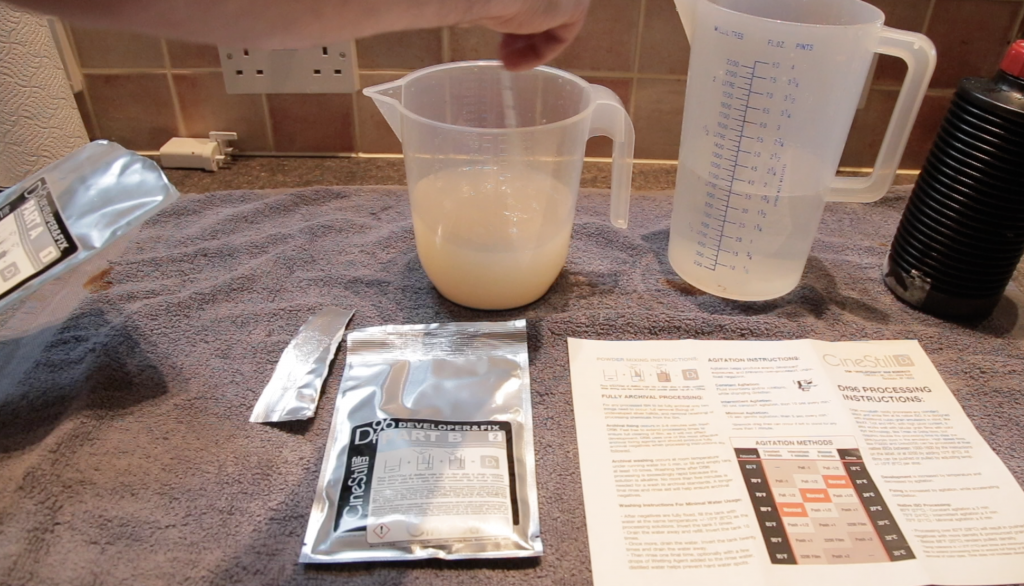
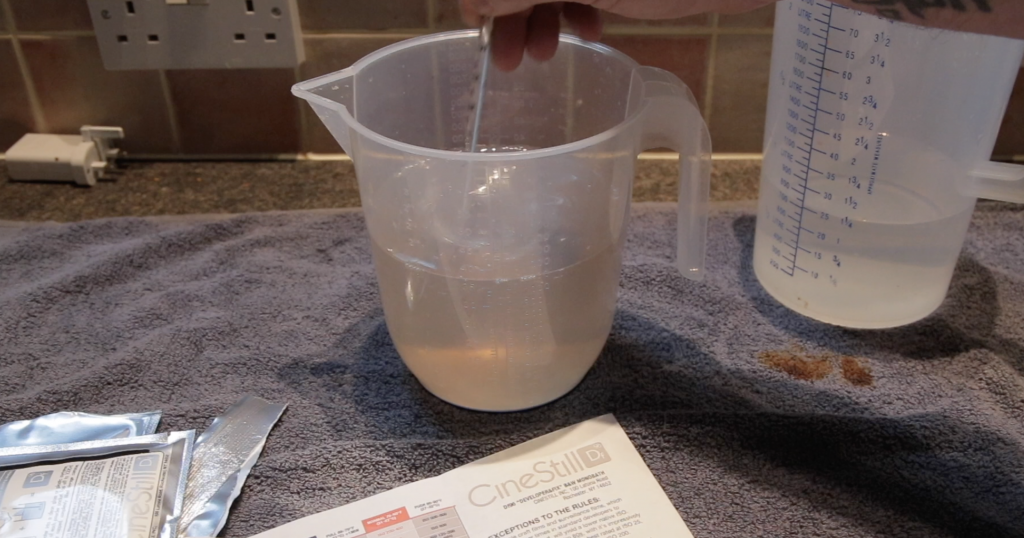
Next step was to take some photographs. I chose to shoot a tulip against window light. For this I used a Mamiya RZ67 and a roll of expired Ilford FP4 (2014).
After the shoot I then proceeded to develop the film.
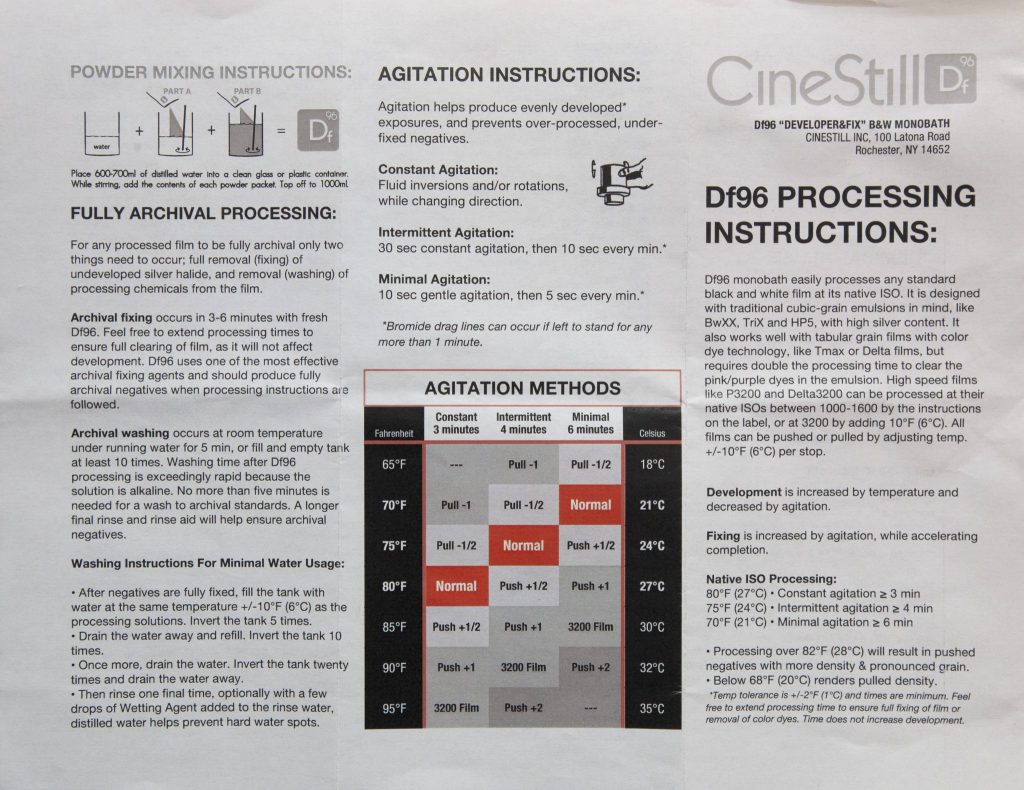
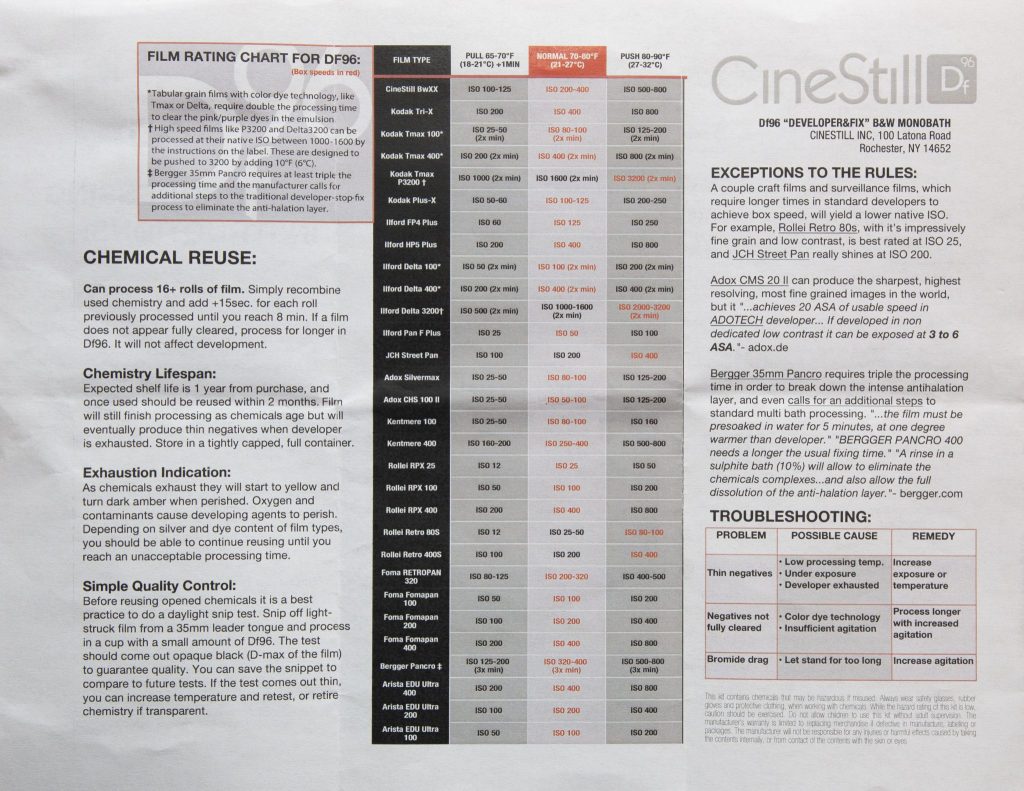
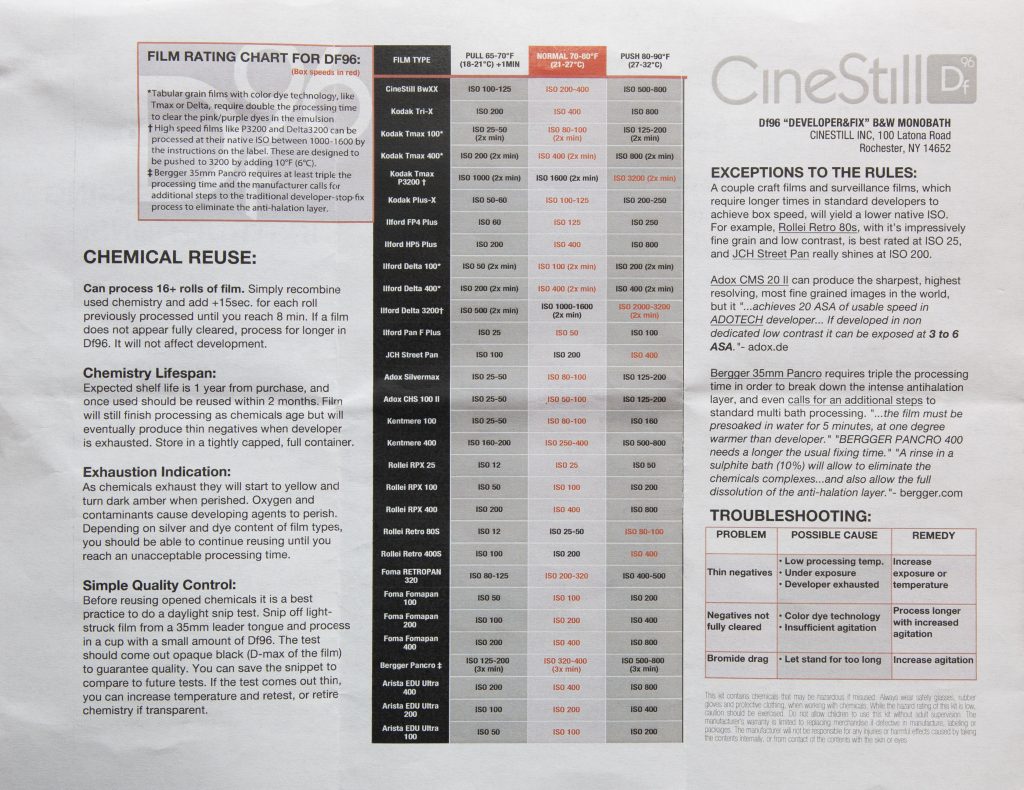
The instructions are quite simple to follow. For my film I chose “Minimal Agitation” 6 minutes with 10 seconds Gentle agitations to start and then 5 second inversions every minute after. (see instructions)
After the wash the negatives were very flat and looked under developed. I followed the instructions.
I guess it wasn’t fair to use an expired film on a test so I took another roll of 2014 FP4 and took the same shots and developed in Rodinal. This time my negatives were as expected.
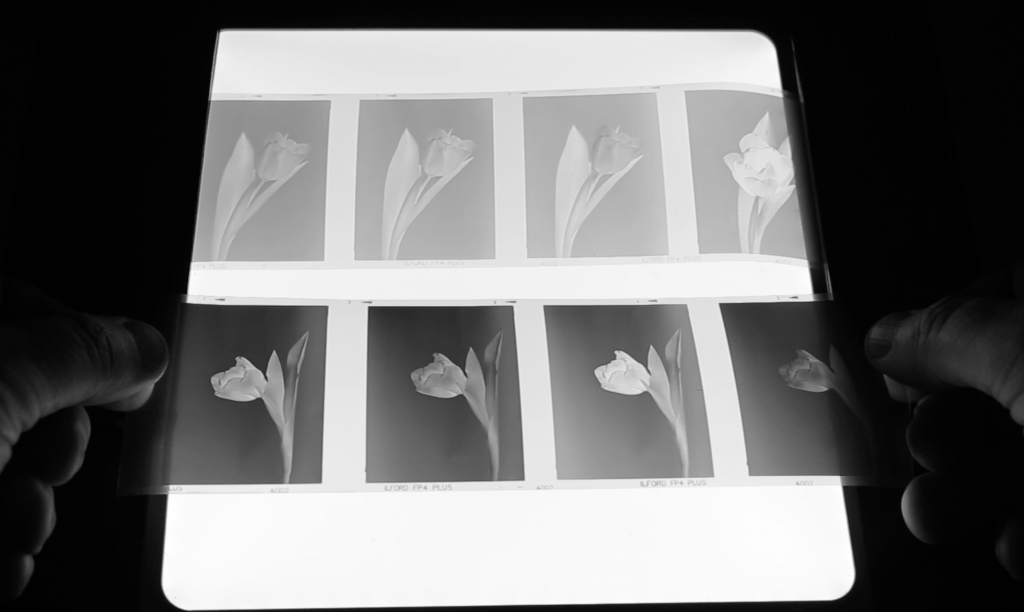
So what went wrong? I followed the instructions for FP4.
I ran out of FP4 and made a few more tests with Ilford Ortho 80 film by shooting single frames and cutting them out of the camera in the dark and used the films container as a dark tank to develop.
The one below was 6 minutes. 10s inversions to start and then 5 inversions each minute at 21°. Still under developed.
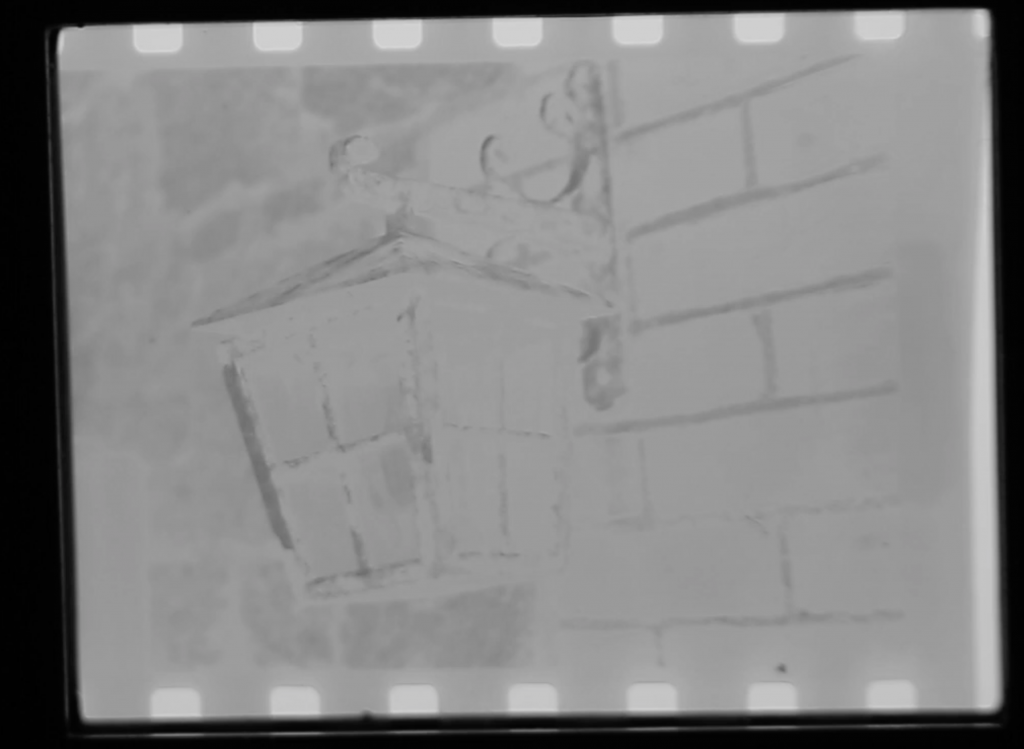
The one below was 6 mins constant inversions! 21°. Still under!
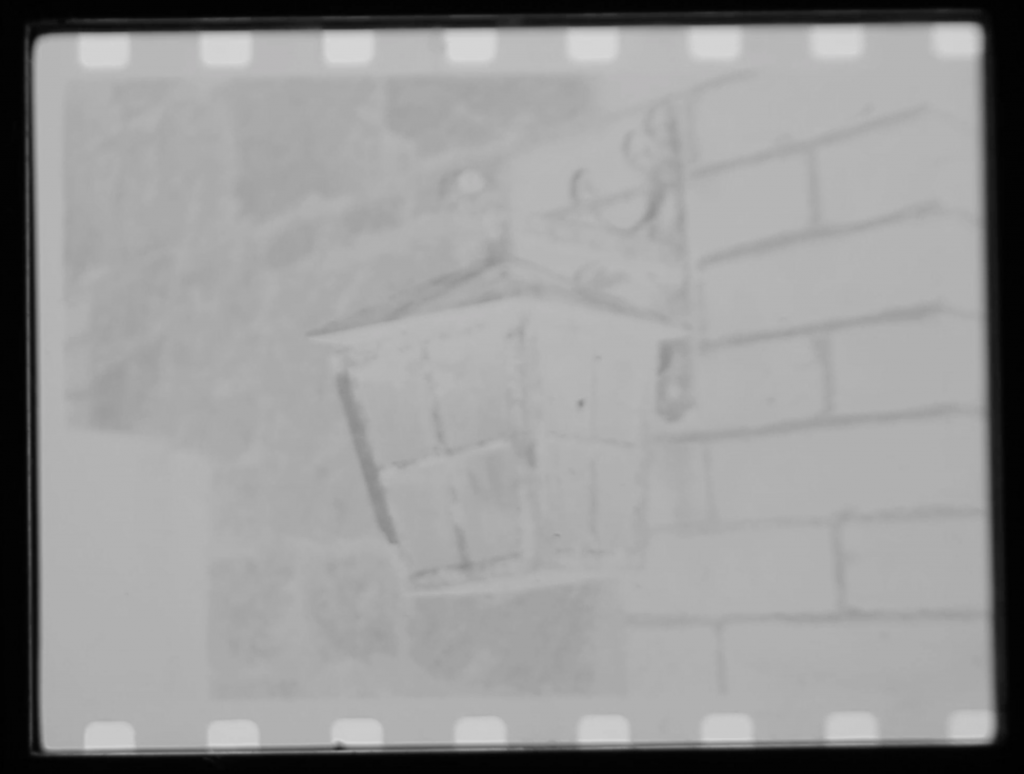
This one was 10 minutes constant inversions at 30°. I now have better results. I now know the developer is working!
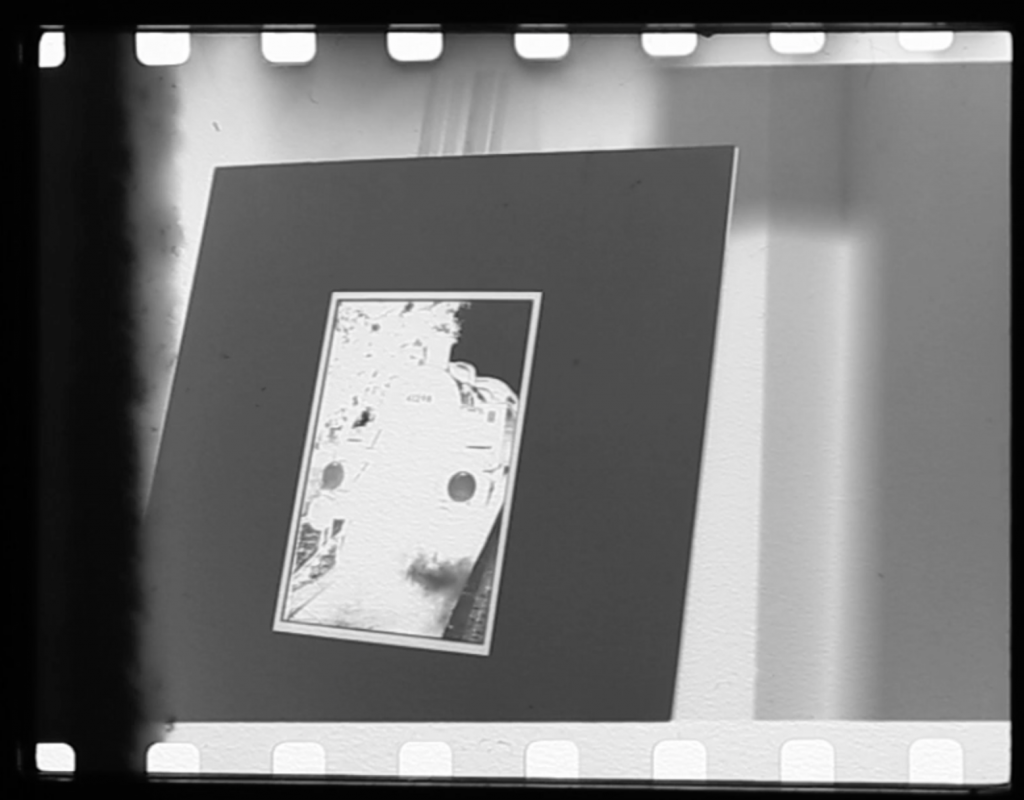
The instructions say DEVELOPMENT is increased by Temp and Decreased by agitation. FIXING is increased by agitation. Interesting as I inverted this continuously for 10 minutes. Maybe it was the temp that got the development up to speed.
So going forward maybe I need a higher temp and less agitation going against what the instructions say. So I decided to make more tests .
The one below was 6 minutes at 27°. 10 second inversions to start then 1 inversion every minute. At last. A result!
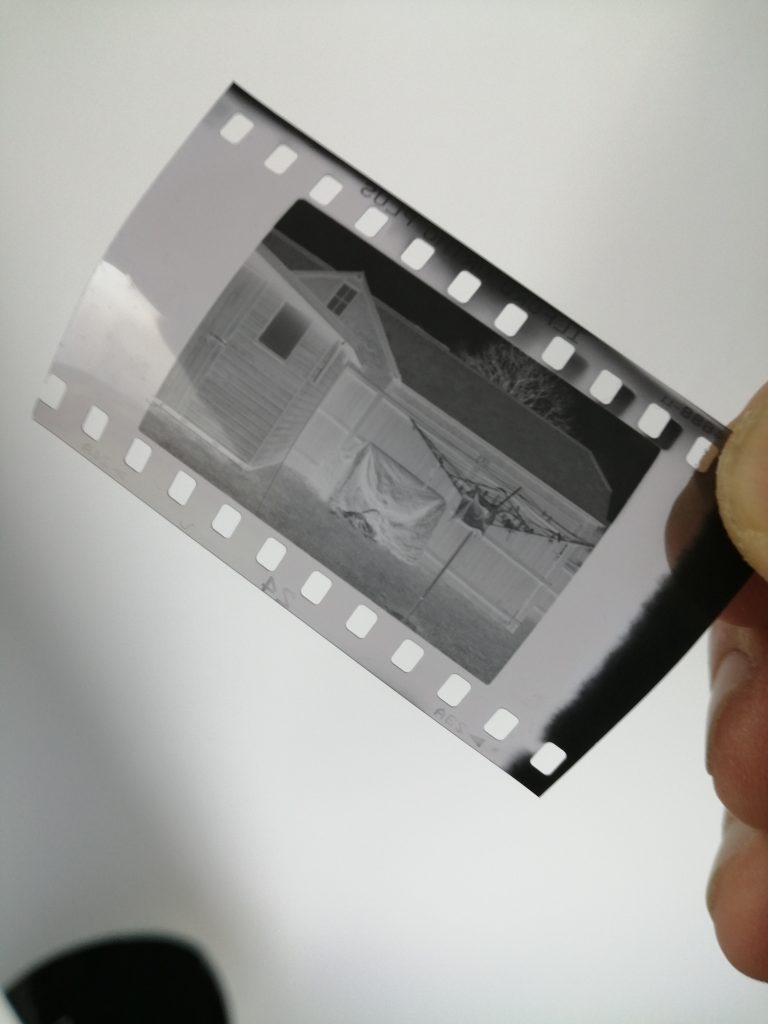
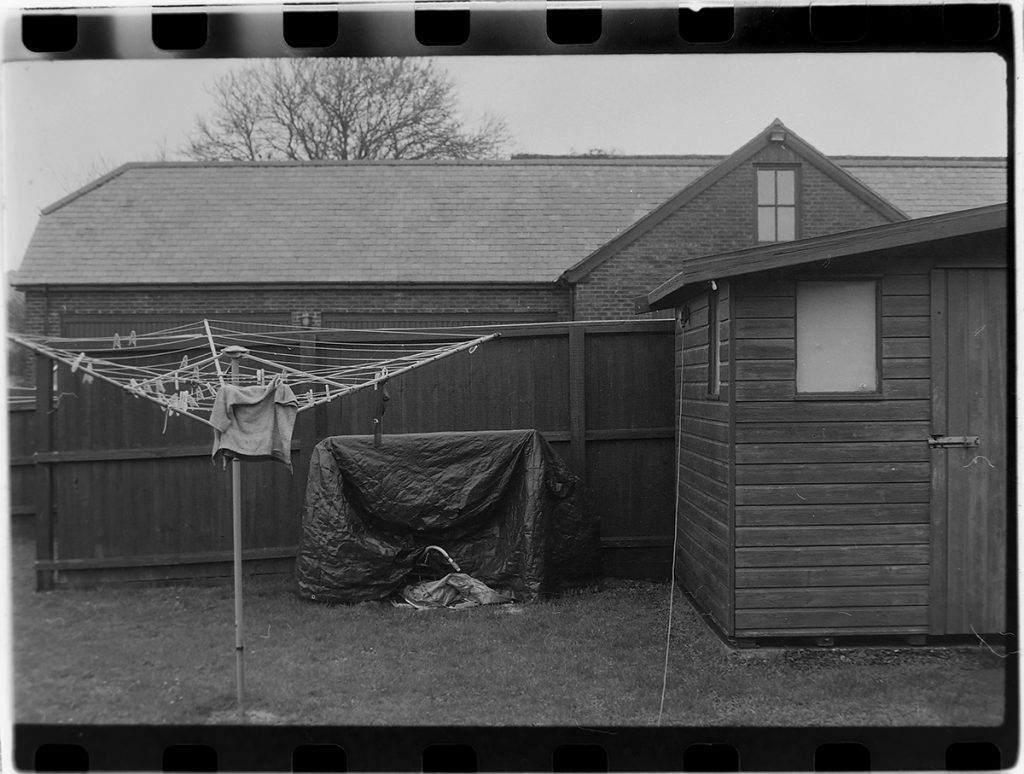
So with that in mind I shot the last of the Ortho 80 which had 8 frames left on some Tulips and proceeded to develop using the above times. Here is what I got…
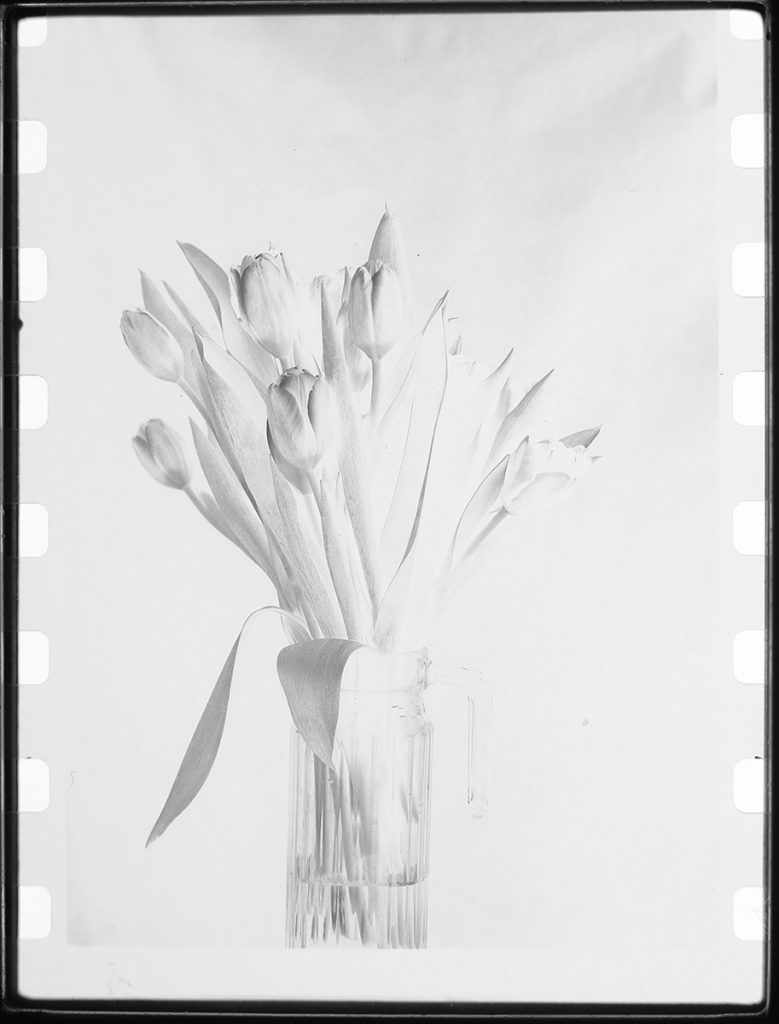
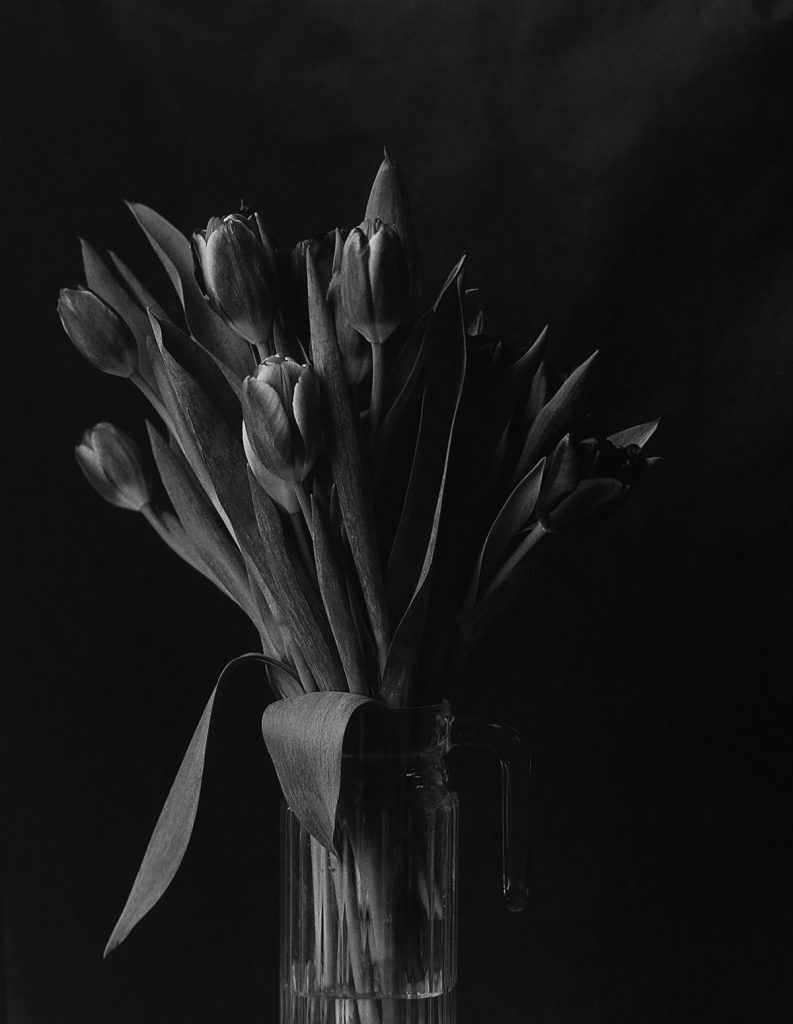
So these are Red and Orange Tulips shot on Ortho Film. That explains the dark flowers, regardless this has not come out that bad at all and I am impressed. I had to scan the Negative using my DSLR and just pulled the blacks down in Photoshop.
So onwards and upwards. Like anything new we have to play and experiment until we find a sweet spot and then decide if we like or dislike the process.
Will Cinestill Monobath pull me away from my regular developing practices? Not at all. I know where I am with my choice of film and developers but it sure is interesting to try something new that I would have otherwise never bothered to try. Saying that I do like to play around with single film frames in my darkroom trying out camera leaks, solarisation, toning and other fun stuff whilst using the films container to develop so I can imagine monobath will be much easier for me to develop my film without going through the stop and fix making my experiments quicker when developing. Of course not for testing film though!
I also think that it is great for those just starting out that don’t have the space and want to get into developing film without all the added extra of stopping and fixing. Of course it doesn’t take long to do but it’s something else not to worry about. Just Dev & Go! But… In time you may want to try other developers where you will need to use stop and fix.
You can see the video of my first try on my YouTube Channel on this link.
Cinestill Instructions
Here is the instructions for Cinestill monolith if anyone is interested in having a read.
Ilford Ortho 80 & and Yellow Filter
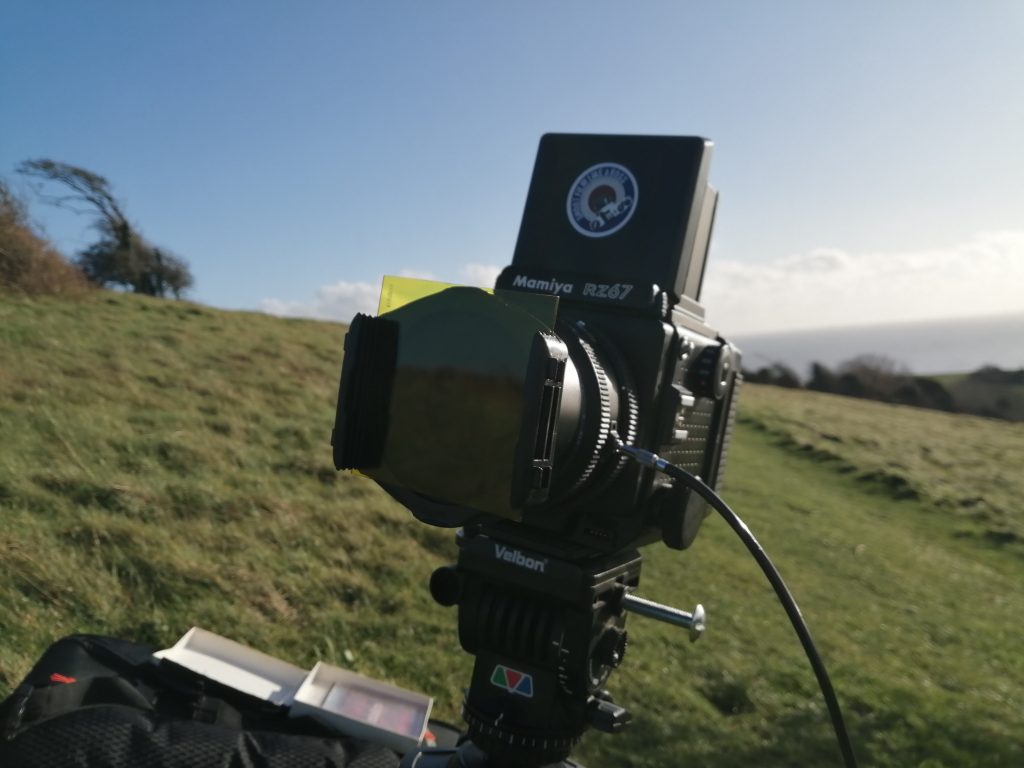
In my recent filter activities I took the Yellow Filter to the Downs. My Yellow Filter (Cokin) says allow 1 stop compensation when using it. But this is Ortho Film. Ilford say allow 2.5 Stops for a Yellow Filter. So with that in mind I took a series of shots taking one with and one without. I am pleased with the results too.
I metered at f16, 1/125th shutter. So when I used the Yellow Filter I simply allowed to stops compensation bringing my exposure to 1/30th with the Yellow Filter.
These are DSLR Scans of the negatives. I developed the film in Rodinal 1:25 for 6.5 Minutes at 20°.
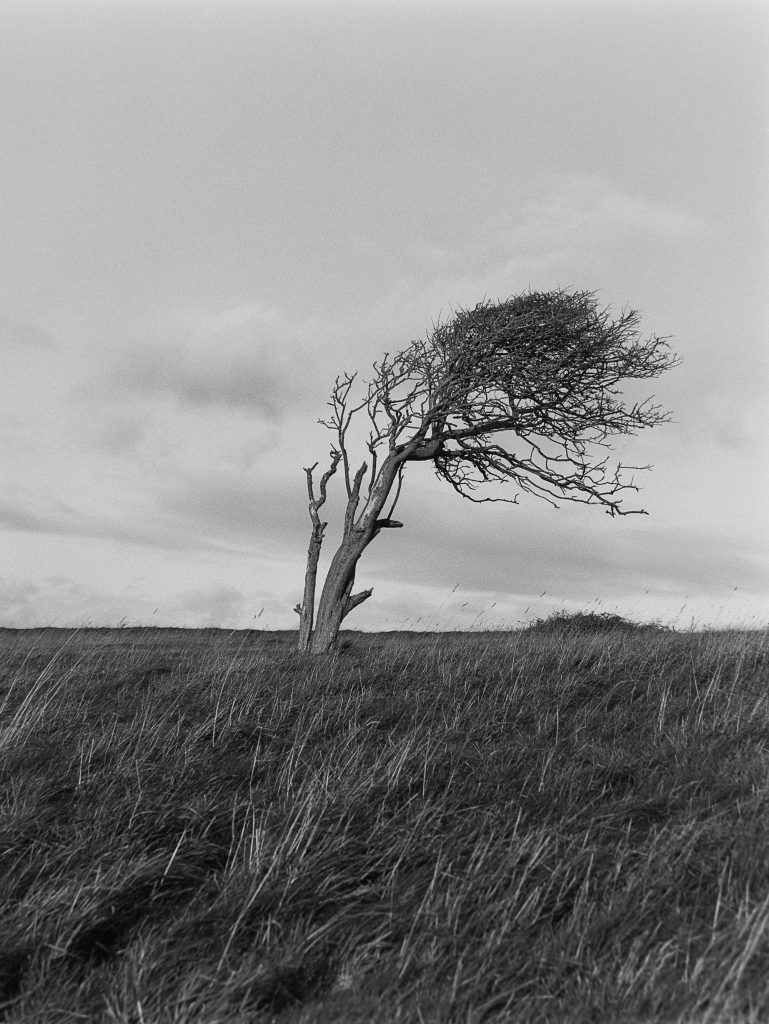
Normal 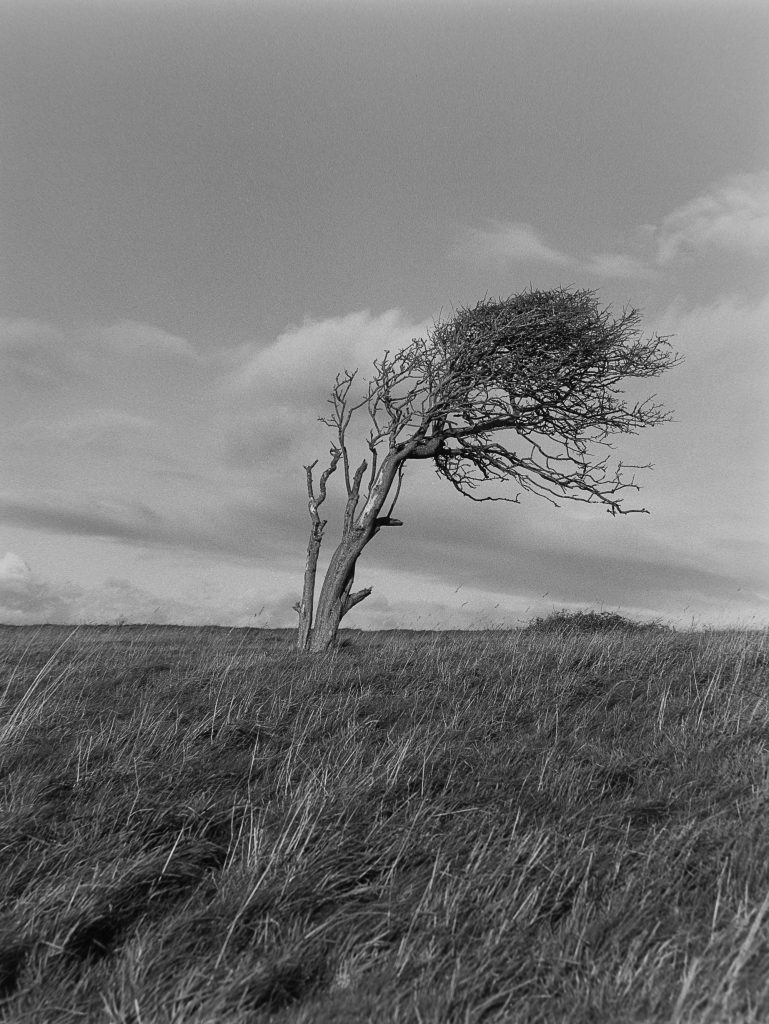
Yellow 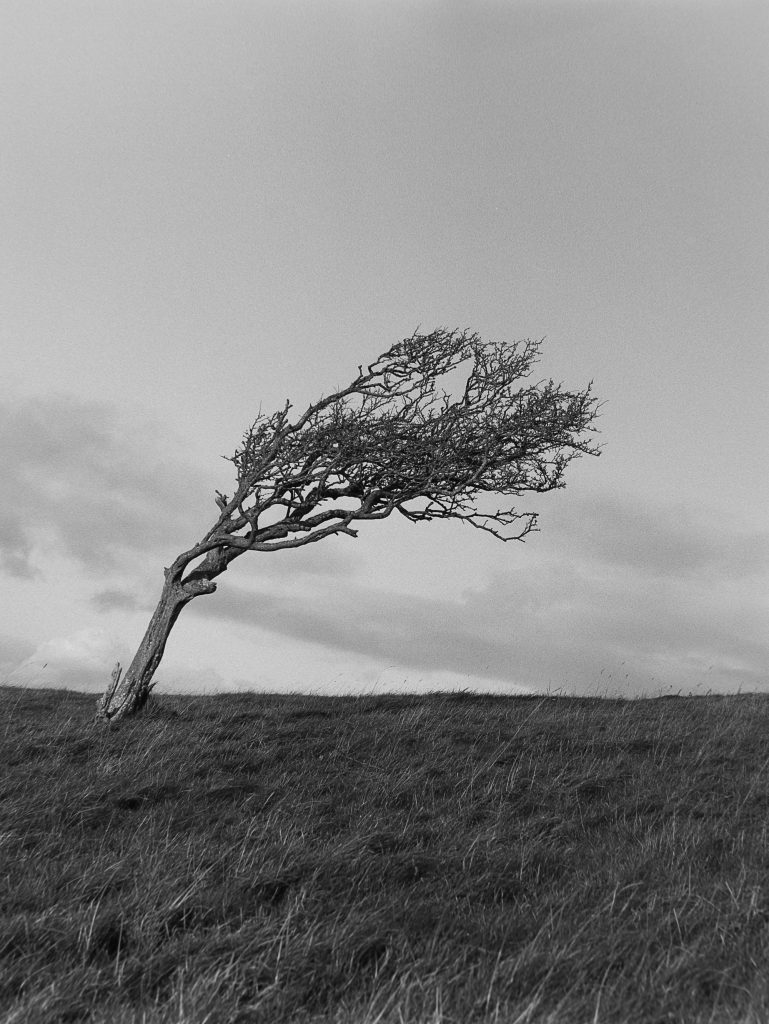
Normal 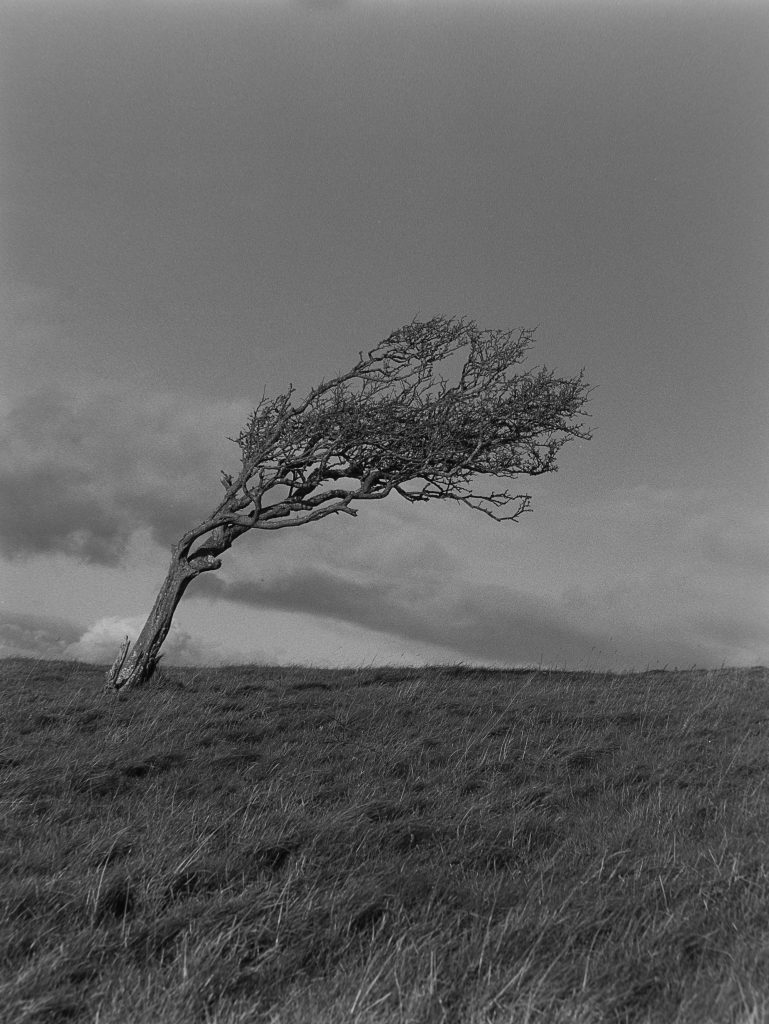
Yellow 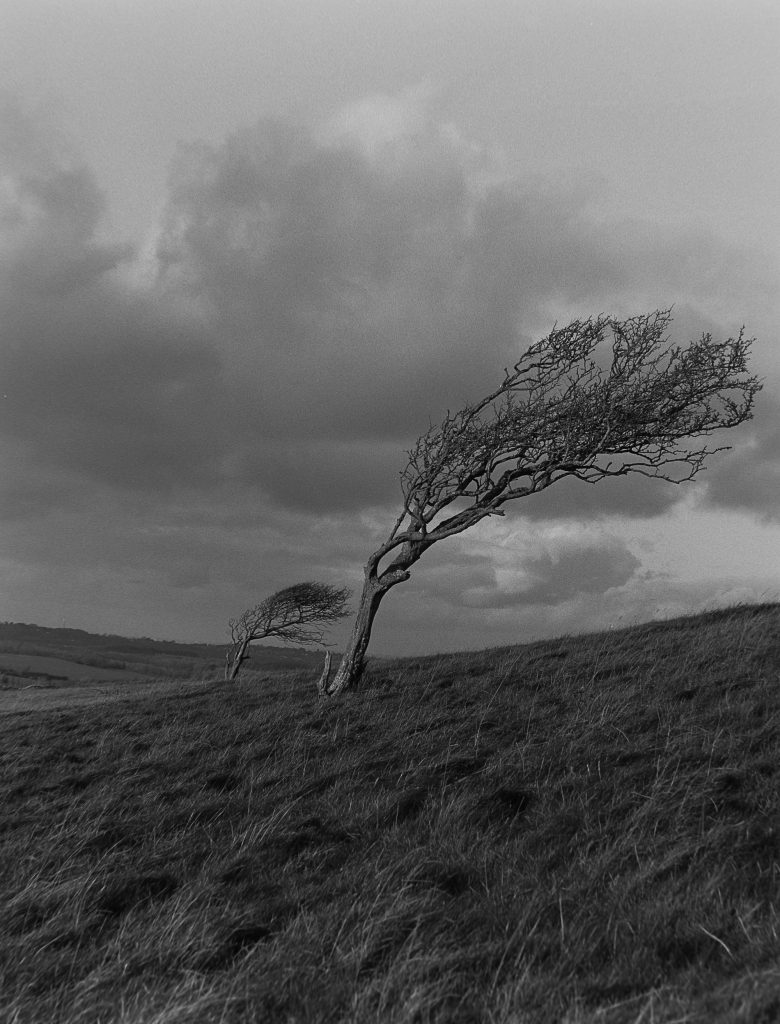
Normal 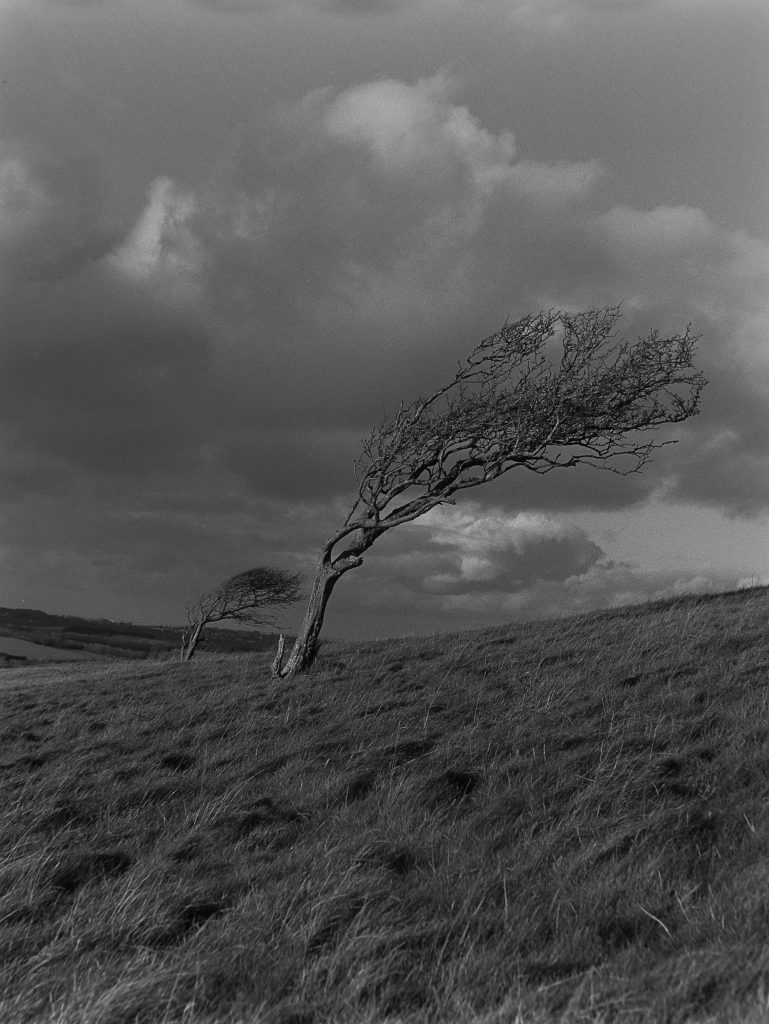
Yellow 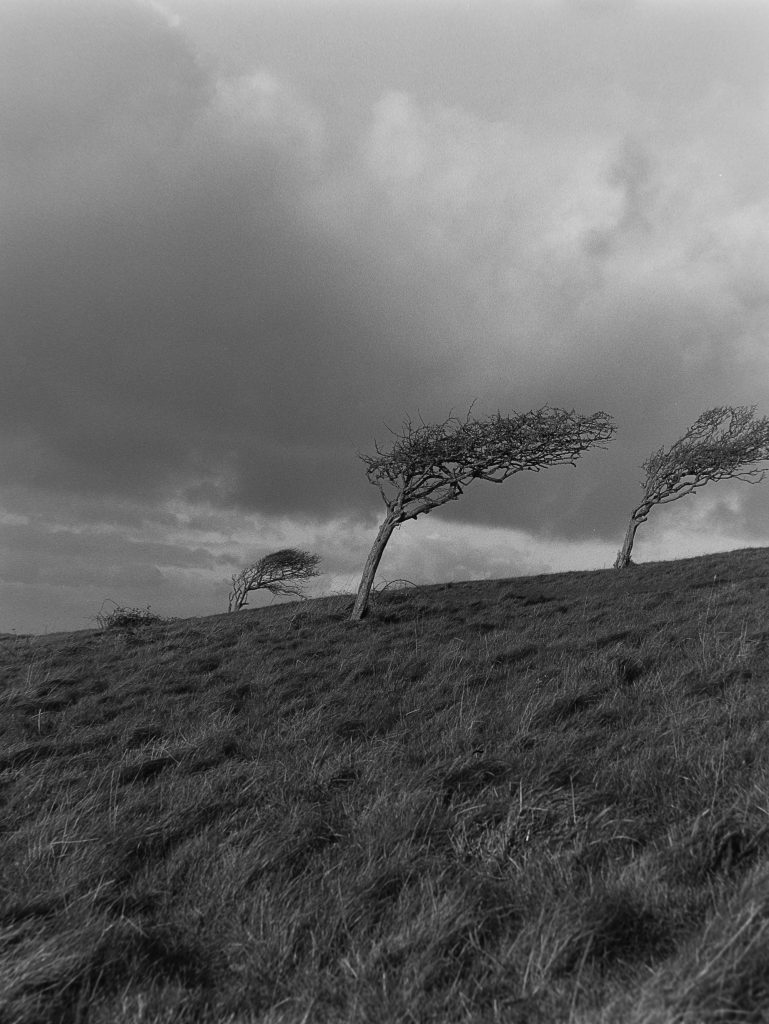
Normal 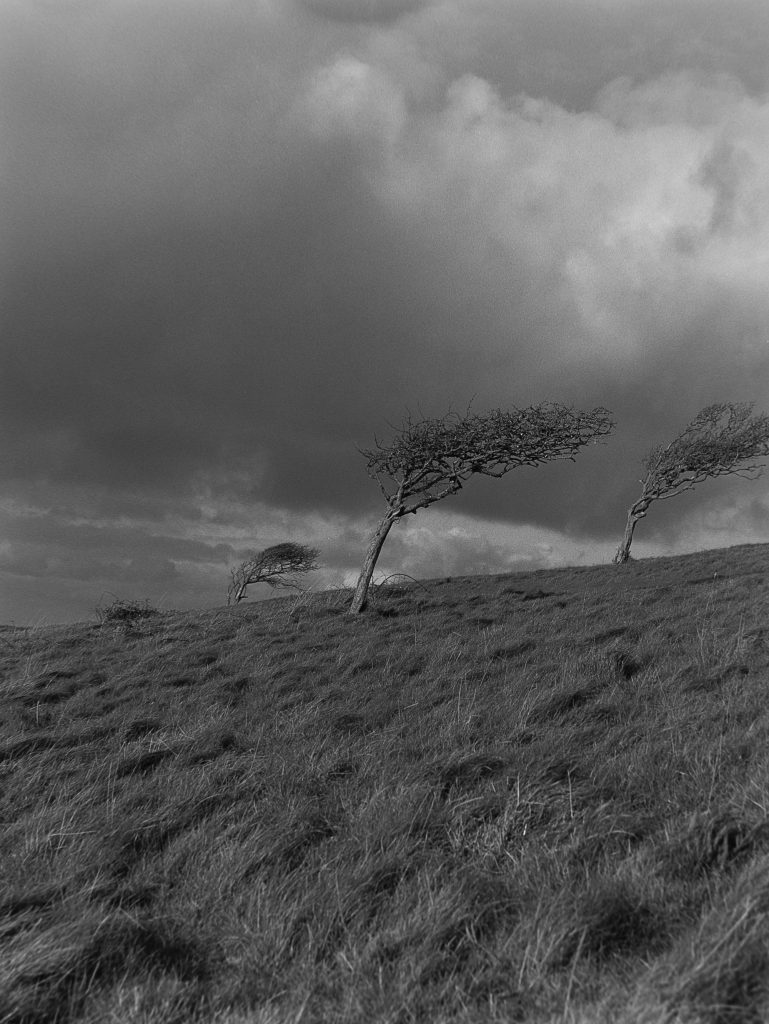
Yellow 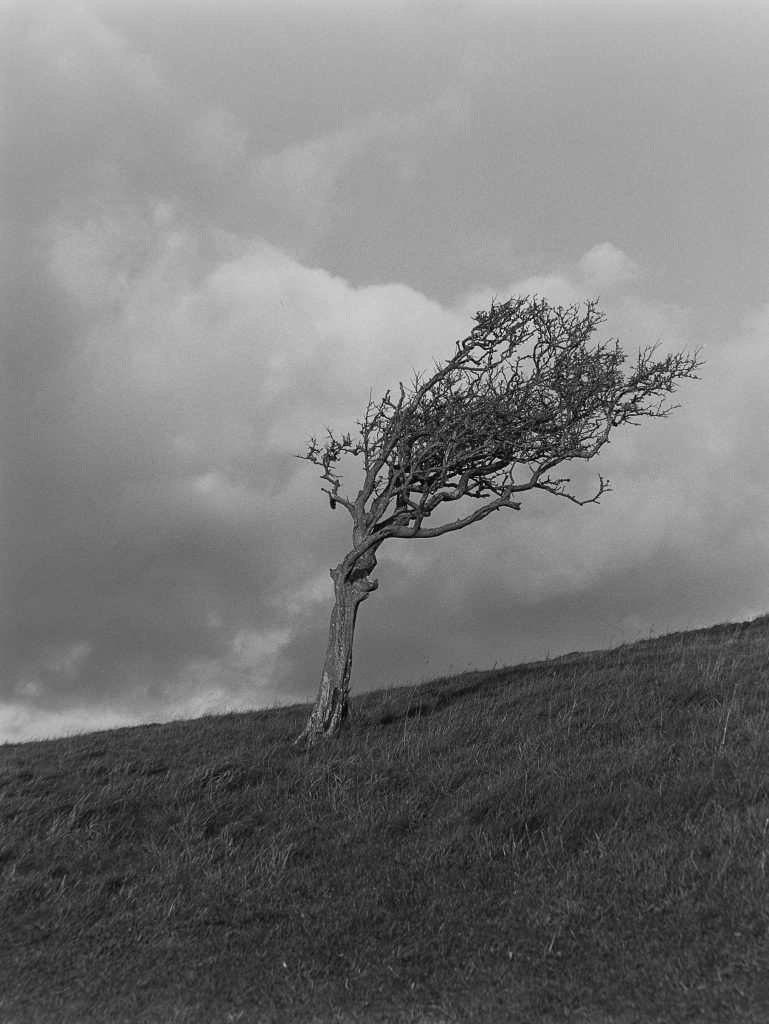
Normal 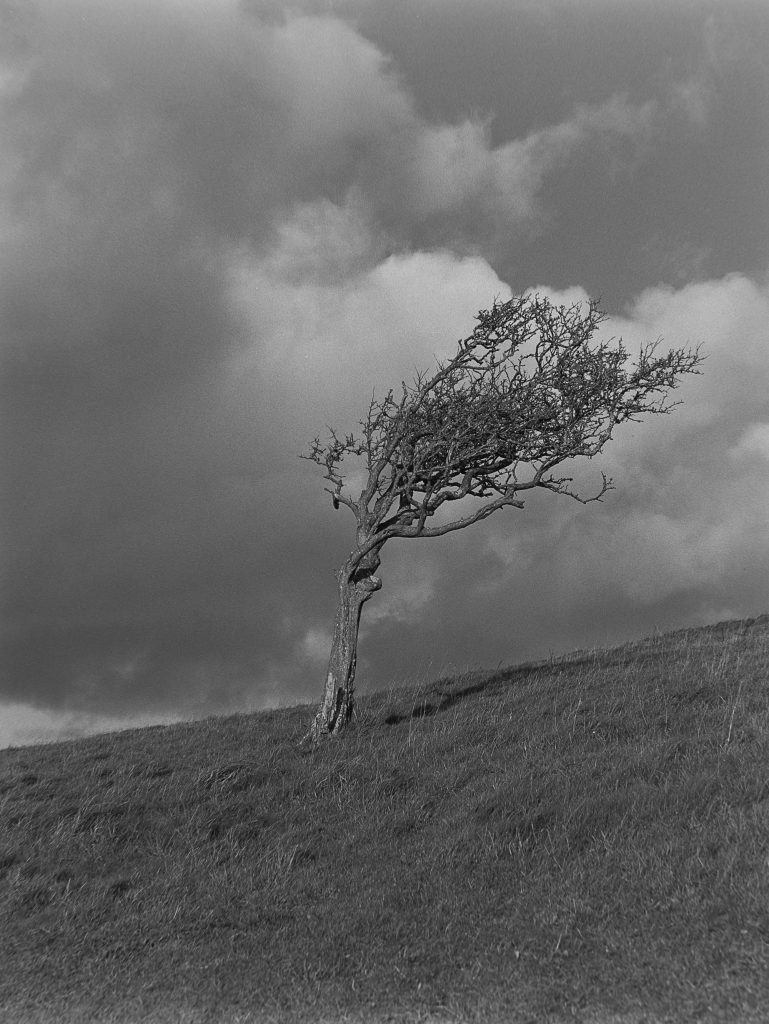
Yellow 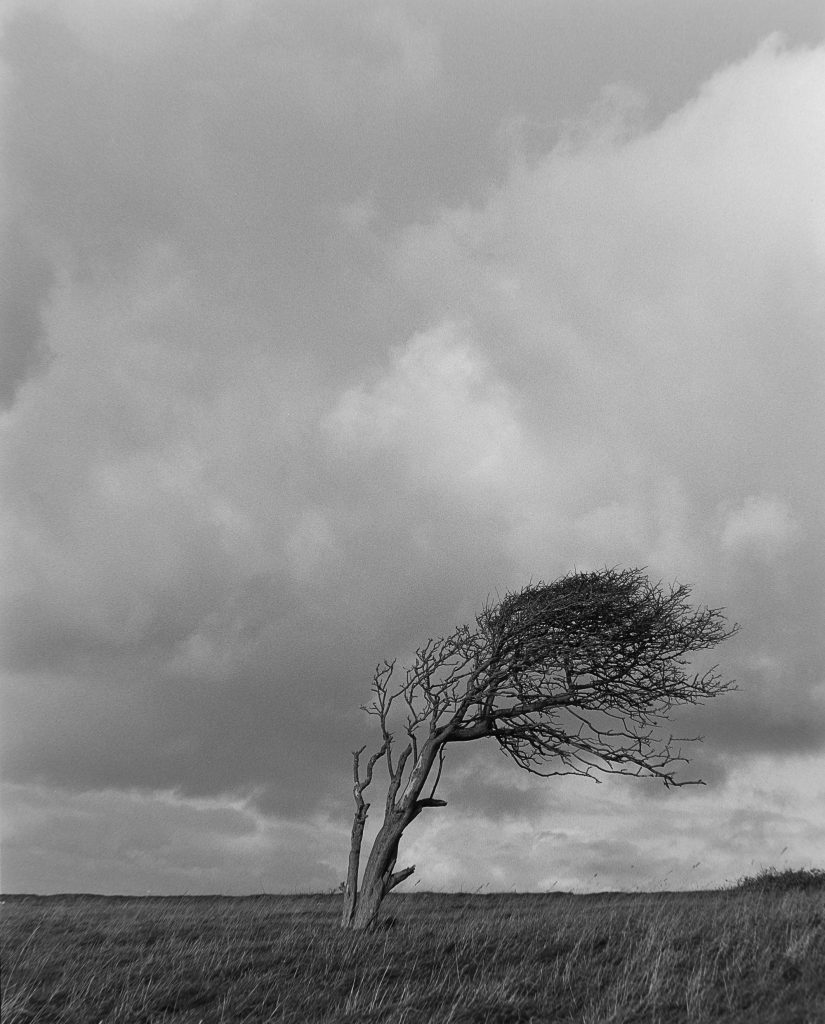
Normal 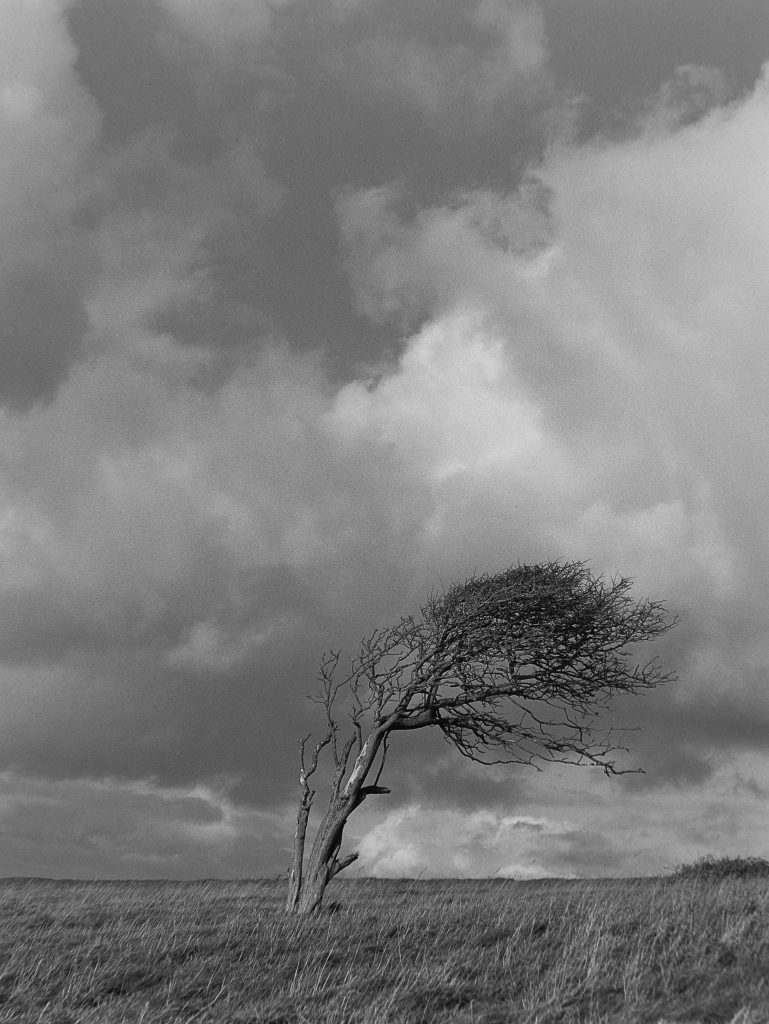
Yellow
If I went back and shot these again with either the Yellow or without a filter I’d have chose to shot them all on the Yellow Filter. Why? I like the separation it gave in the clouds just darkening that blue sky down a tad leaving the fluffy clouds to pop a bit more. In some the Yellow Filter also appears to have lightened the grass very slightly.
Yeah, I’m happy! Getting to know this Yellow Filter, film and Developer combo at last…
AGFA APX 25
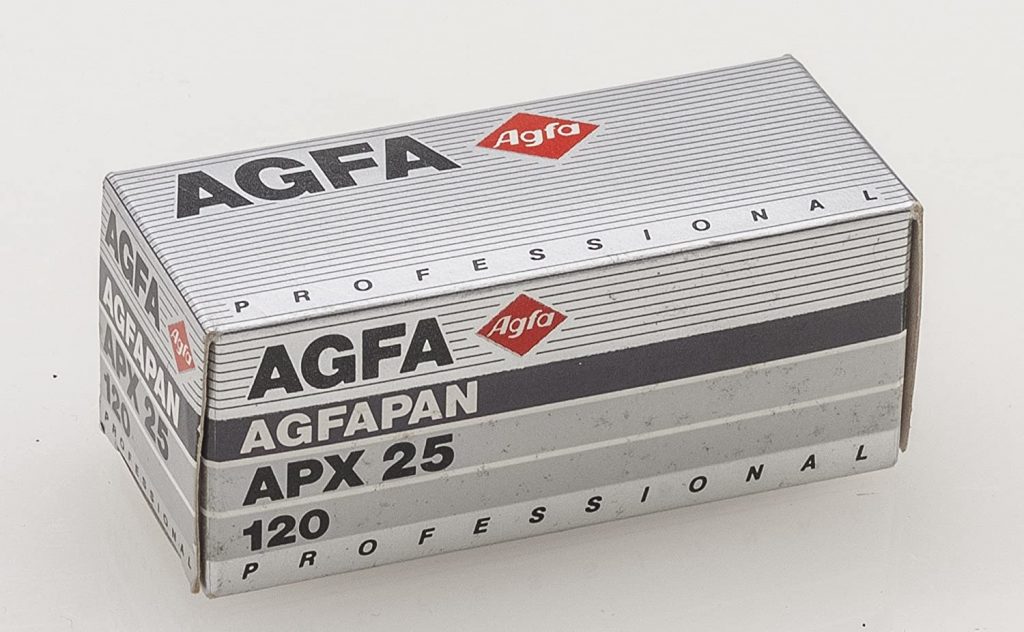
AGFA APX 25.
Gary on Instagram recently acquired a brick of this film and kindly sent me a couple of 120 rolls to try out. It expired in 2003 and I have never shot this film before so I thought I would share my DSLR scanned results with you all.
My first shoot I tried out indoors on a few subjects. I was not sure how to expose for the film so I metered my scene and added 1 stop extra exposure just as a rule of thumb for the age and step on the side of precaution!
For these images I used the Mamiya RZ67 and one simple LED panel for my light source allowing the light to wrap around the subject.
I could not find any information on the MDC for developing this film so I went with my gut and developed in Rodinal 1 part to 25 for 8 mins with 10s inversions every minute.
I was really impressed with the tonal range of this film.
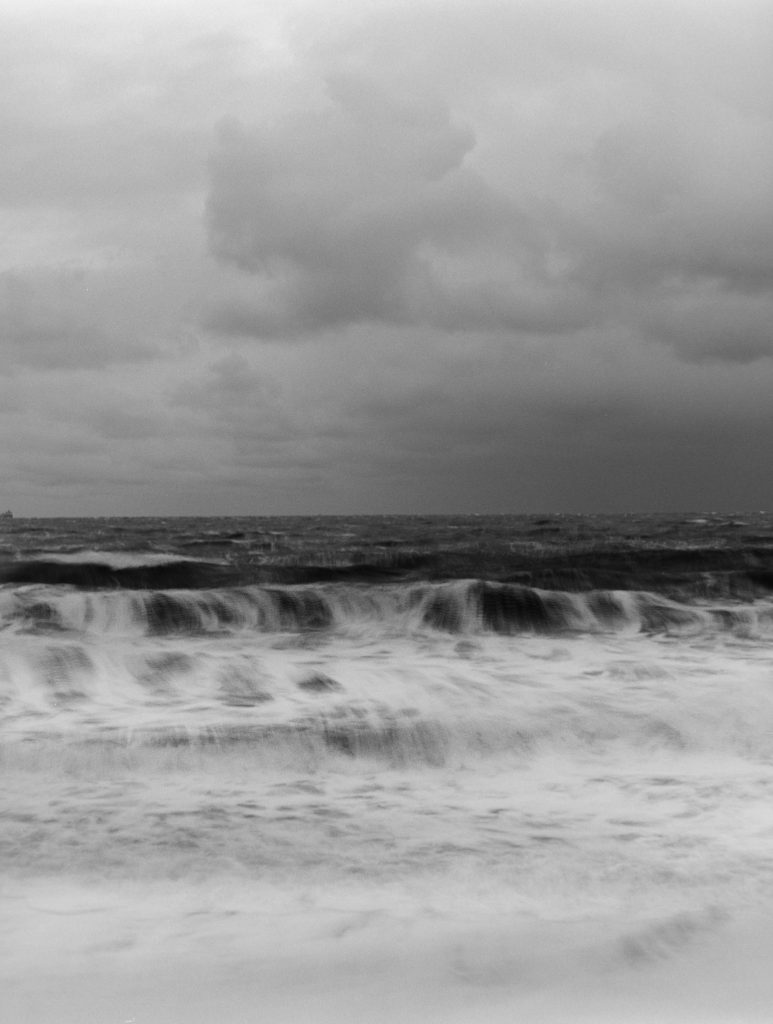
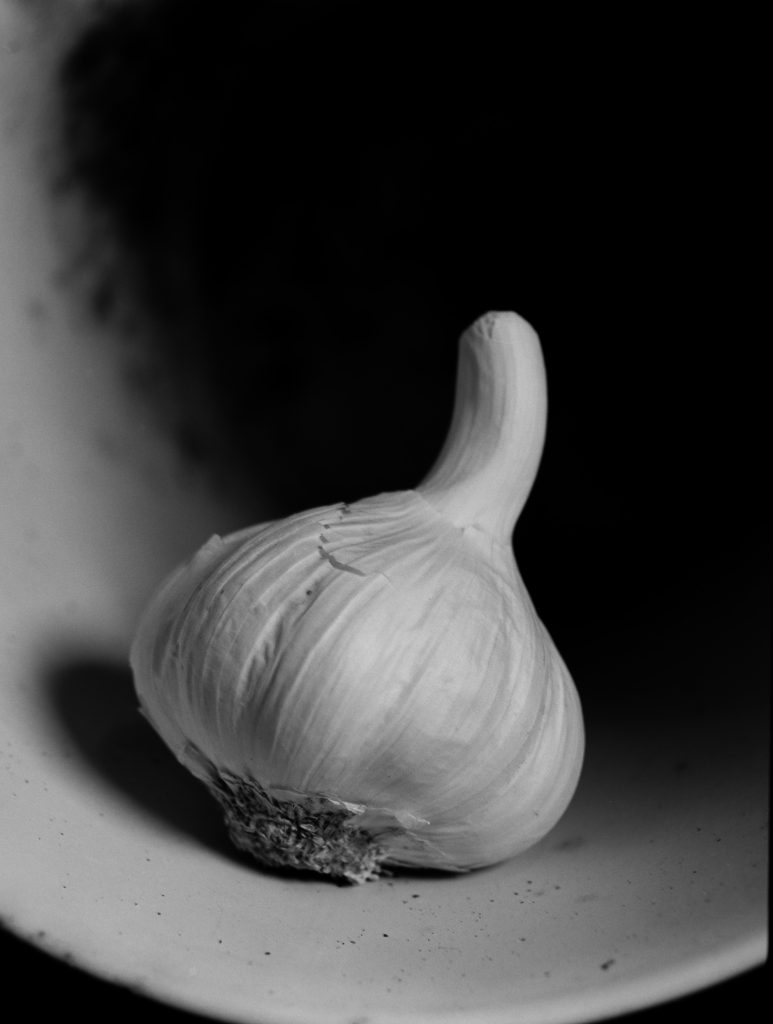
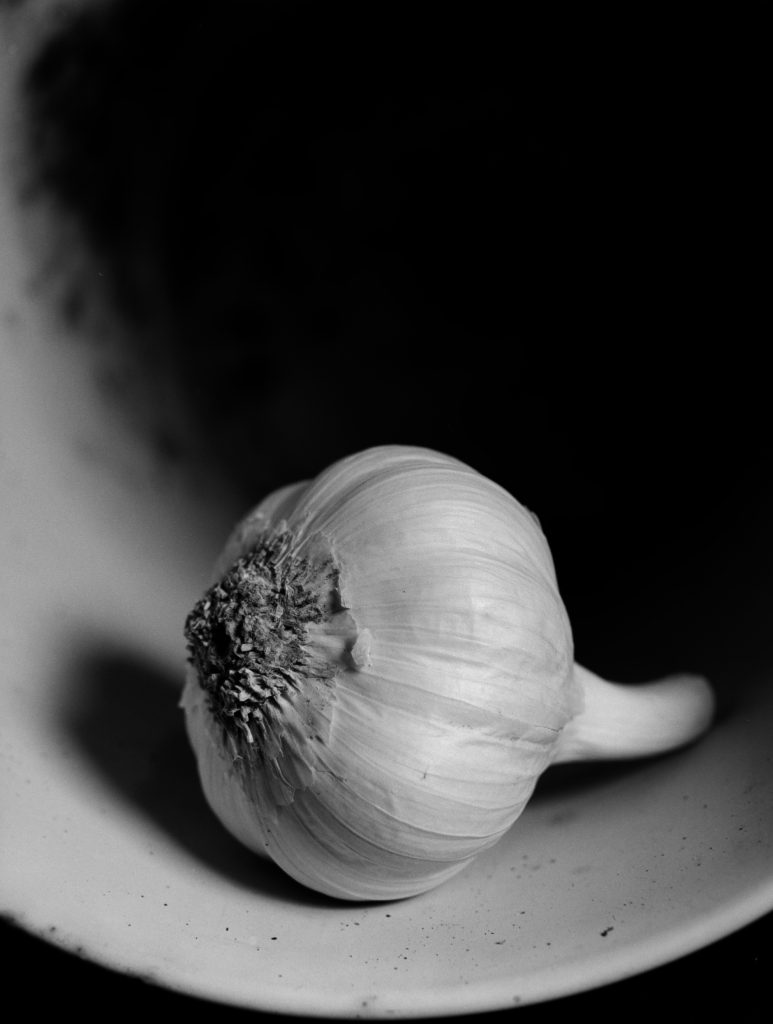
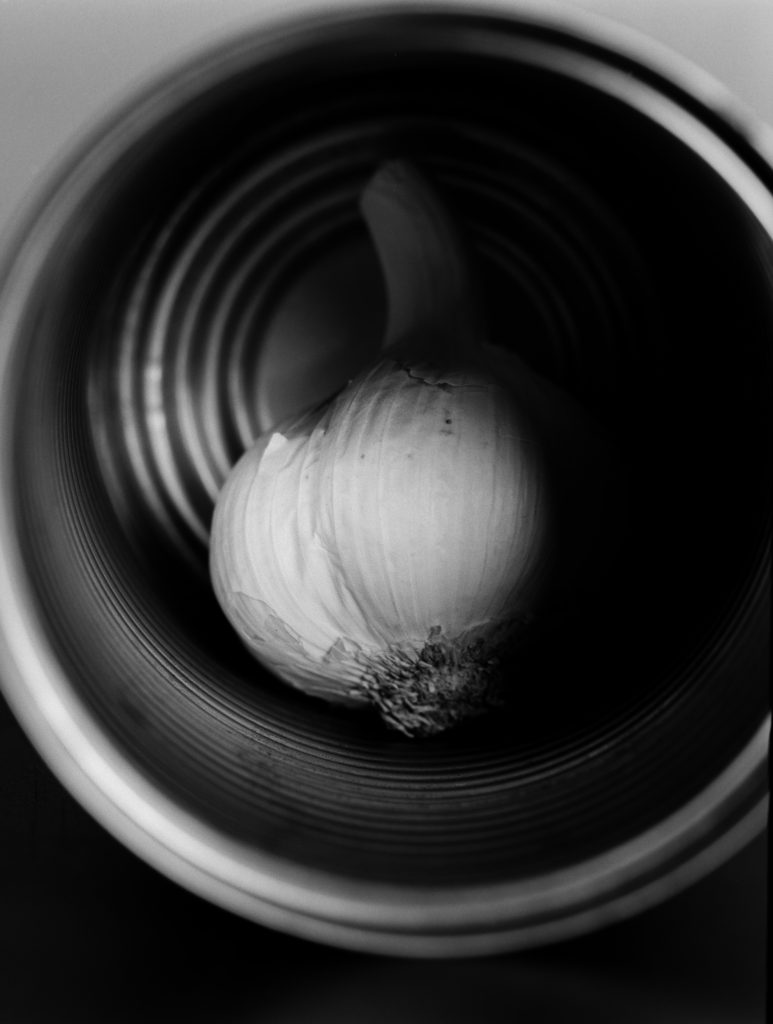
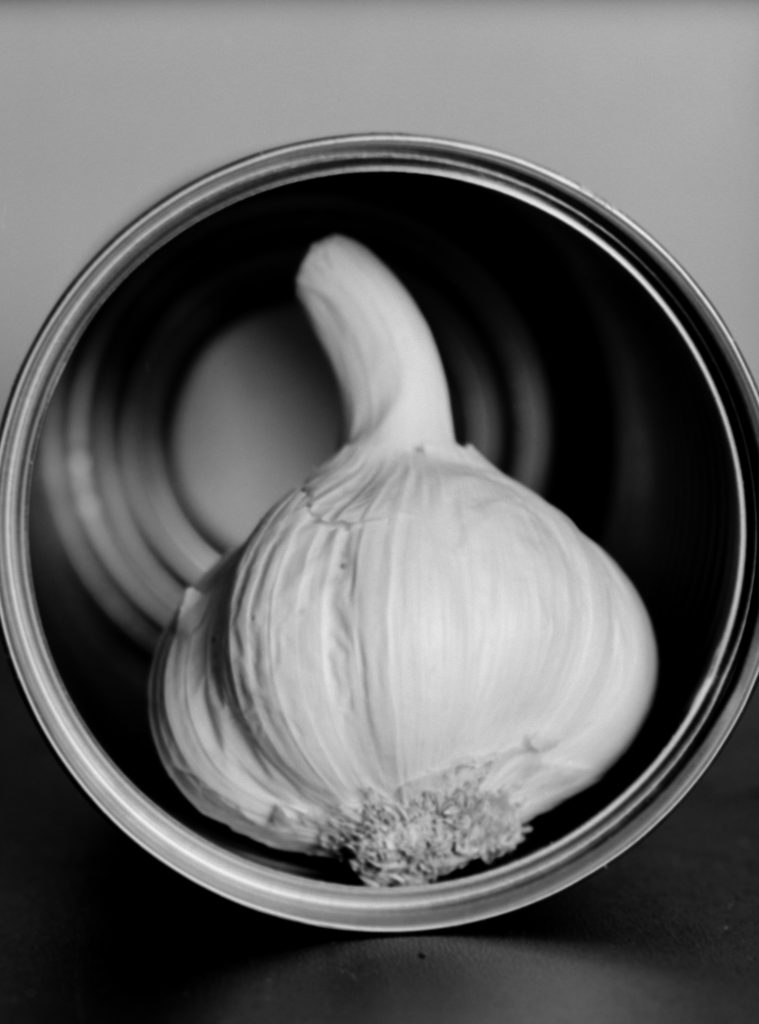
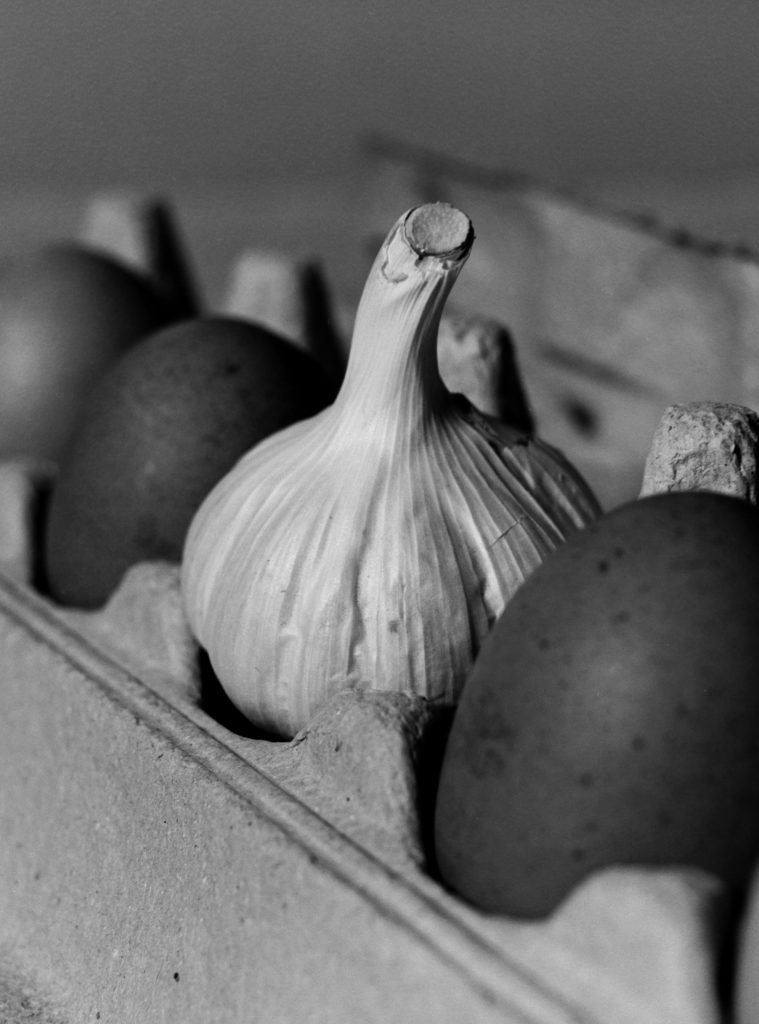
I guess you are wondering why there is a seascape on this roll! Well, that was my initial intention but it was bitterly cold and windy at the beach with sand blowing all over me that I could not stay there. I took this one shot and headed home for the Garlic!
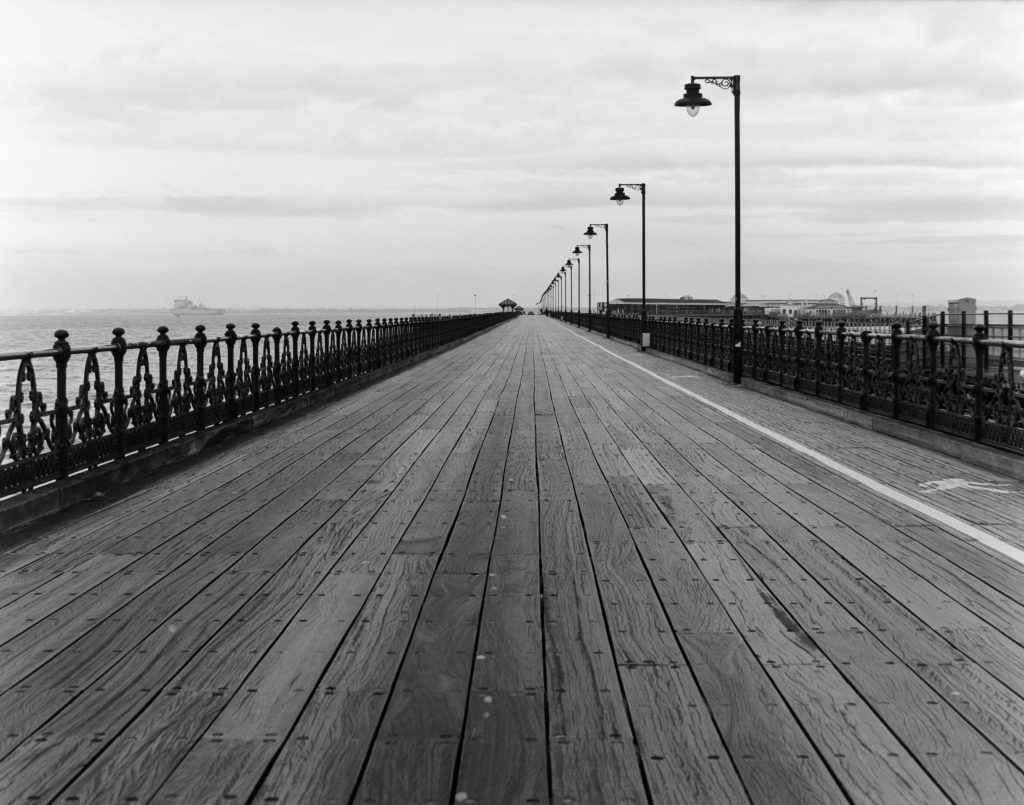
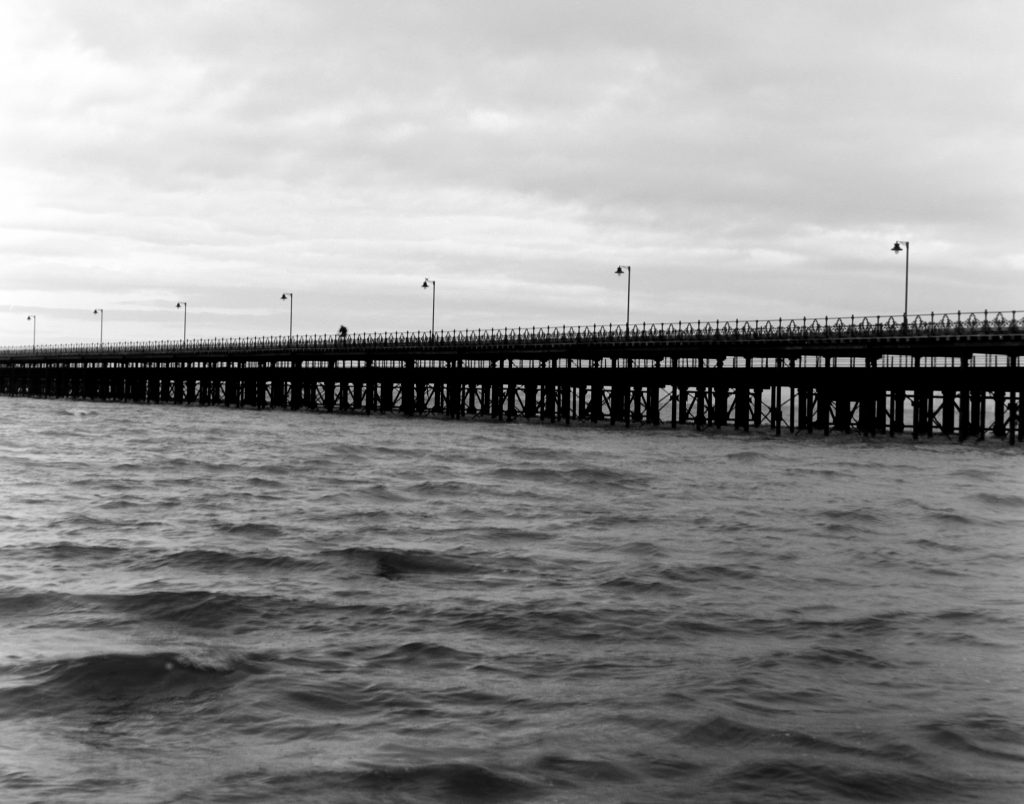
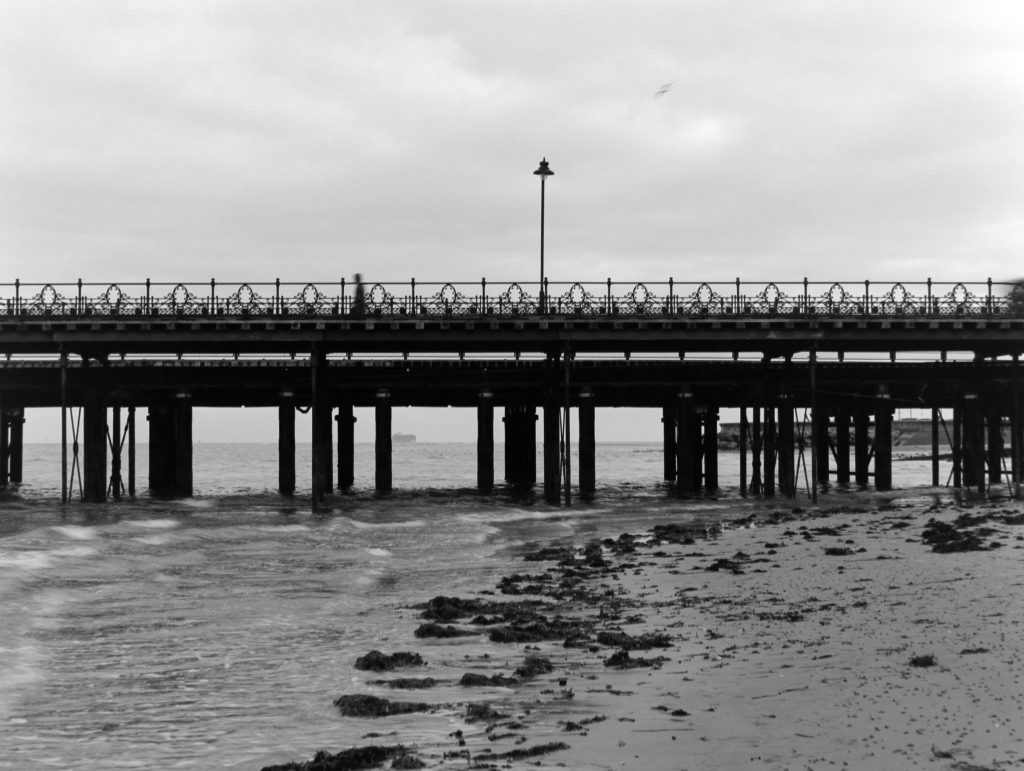
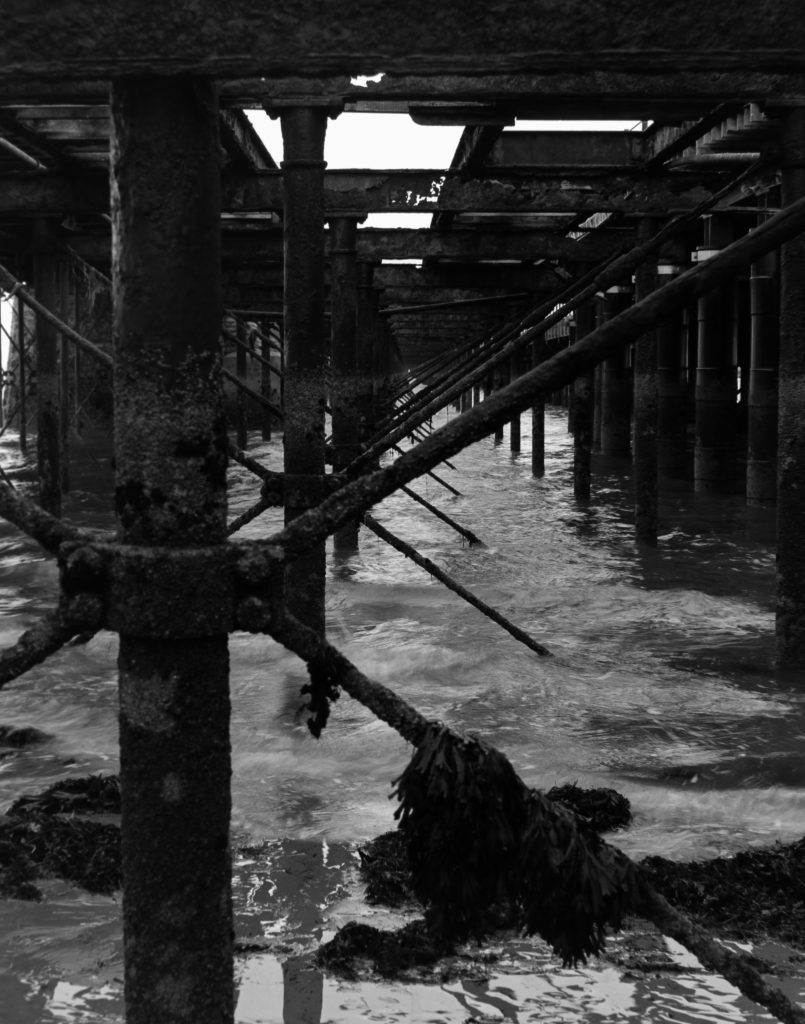
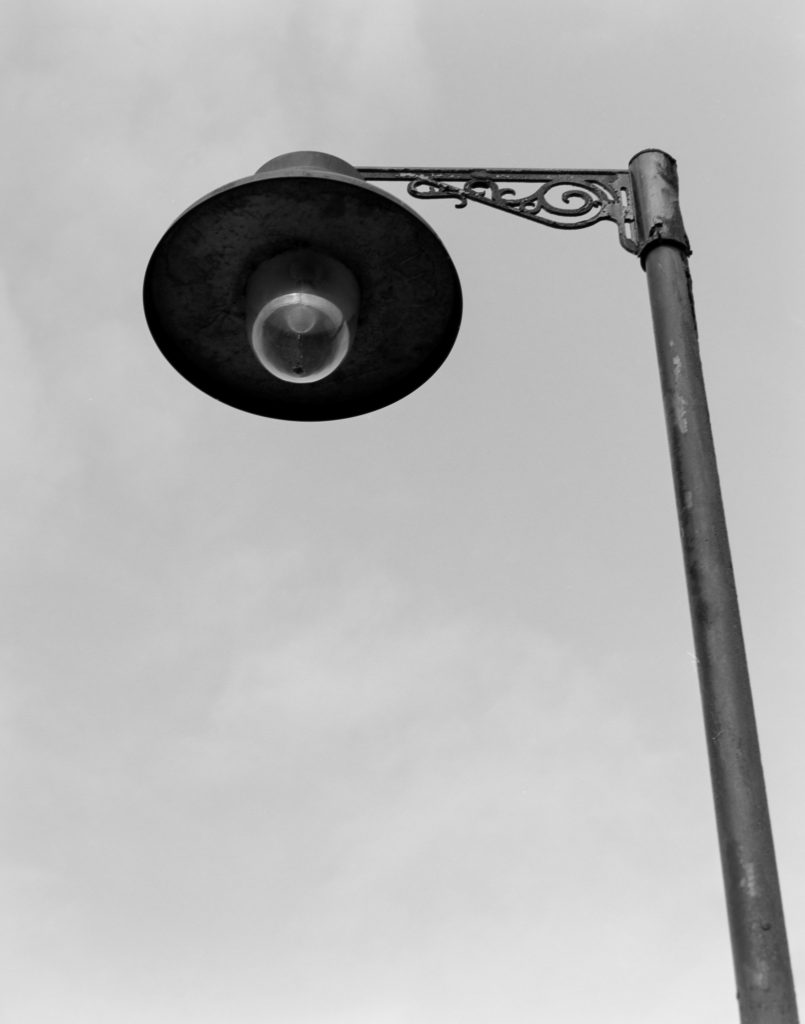
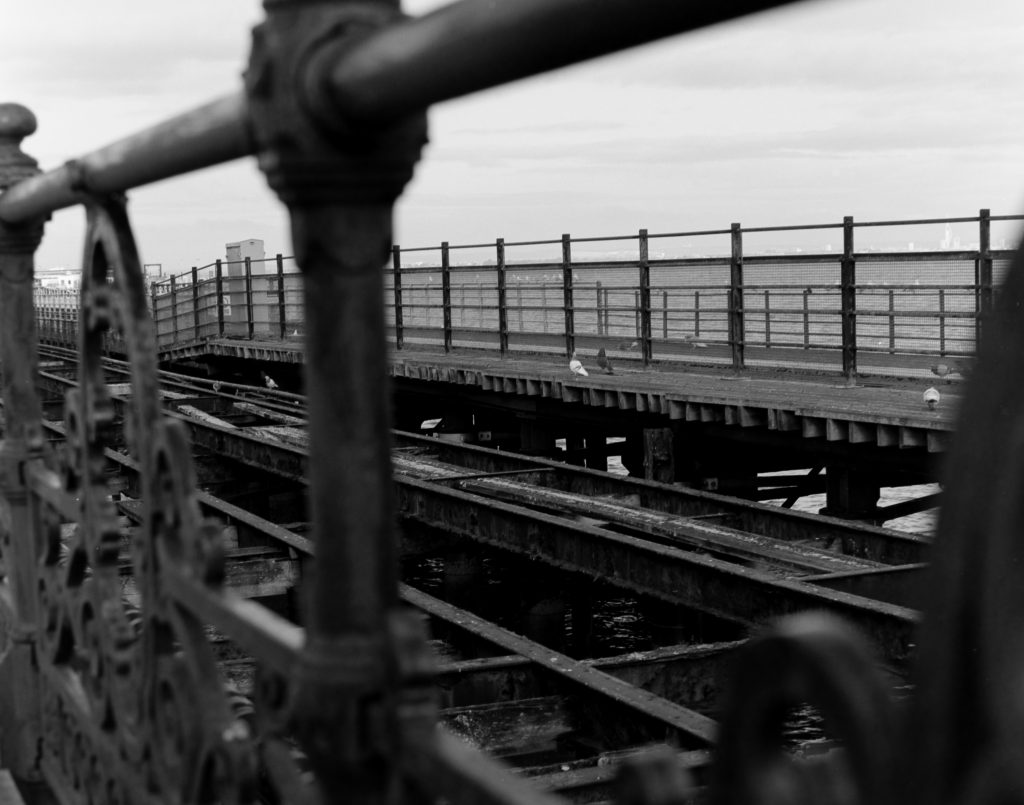
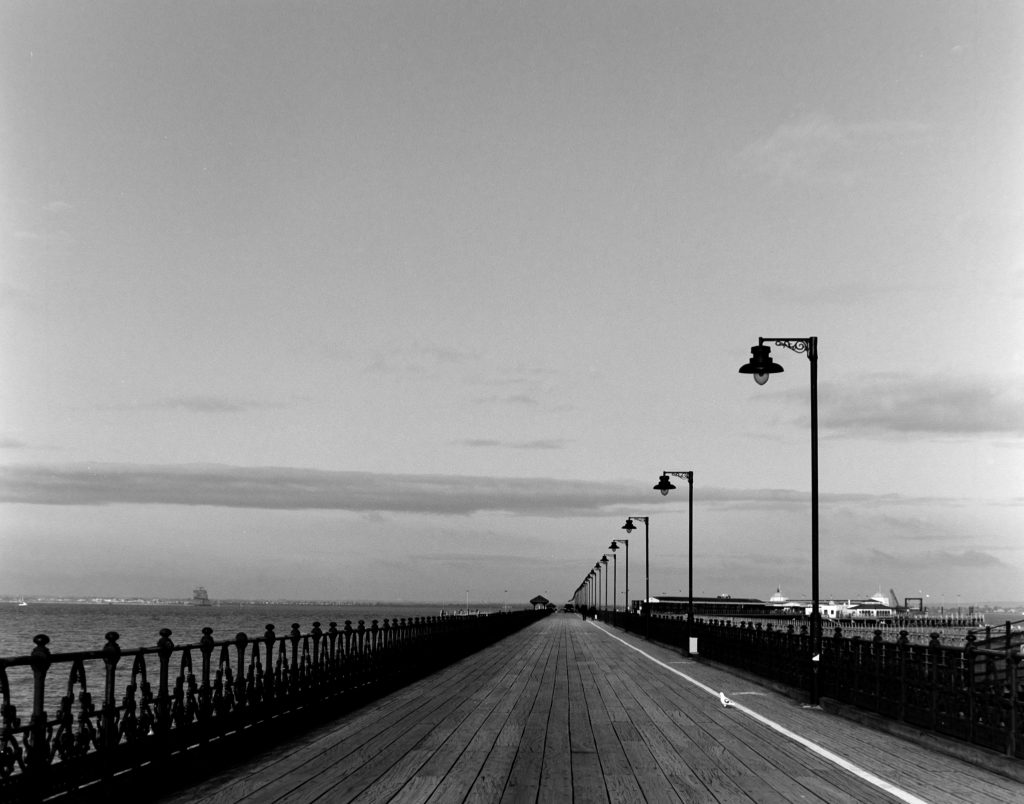
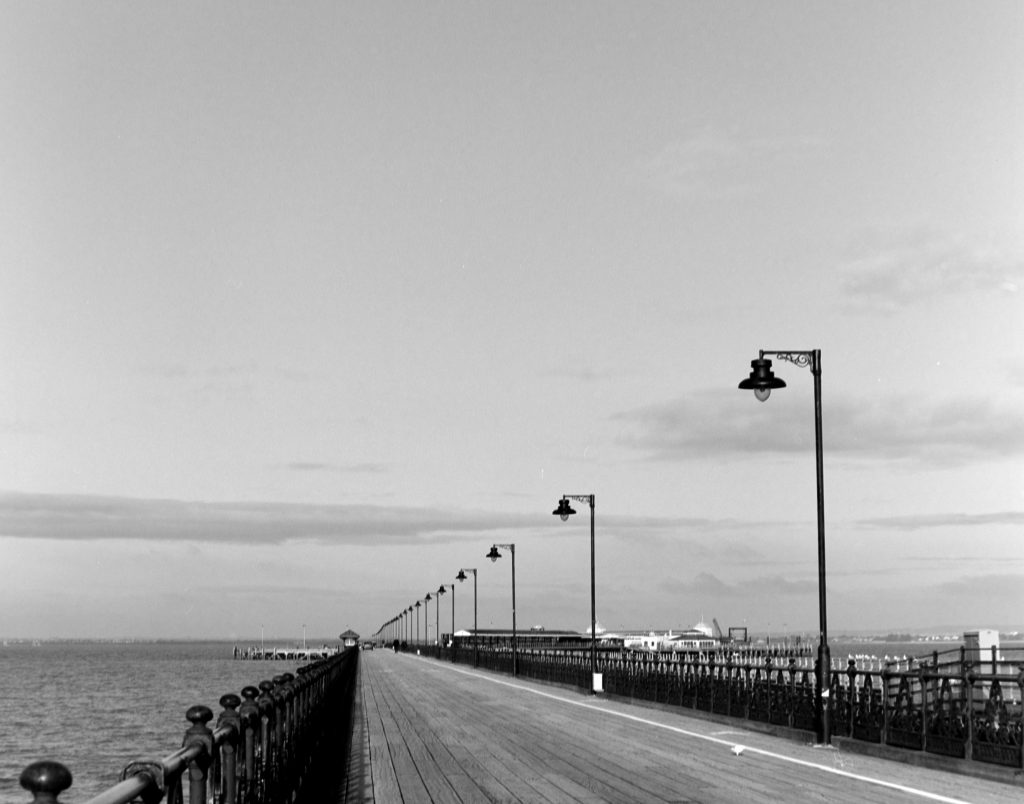
After a few days I took the second roll out to photograph a Pier 20 mins from where I live. I decided to shoot the film at it’s rated speed this time as I felt it could handle it and that the age had no effect. Again, with the Mamiya RZ.
This time I chose the same development except I knocked a minute off the time and developed it for 7 mins.
This shoot was early in the morning and another bitterly cold day! My hands were so cold and to make things worse my tripod head lost tension due to a corroded nut and so I had to keep my hands on the tripod at all times which was colder than my hands. This proved to be very tricky as every time I touched the camera I could not feel the buttons as my hands were so numb. I few times I accidentally pressed the shutter button!
Again, this film did not disappoint at all.
I would love to shoot this film again in more comfortable situations but it’s pretty hard to come by online without paying through the nose for it. I believe Gary had a result. But if you ever come across it it’s worth giving it a shoot.
