Shoot Film Like a Boss
HOME
YOUTUBE
FILM MERCH
E-BOOKS
BEGINNERS GUIDE
Composition e-book
BUY PRINTS
SUPPORT SFLaB
HOME
YOUTUBE
FILM MERCH
E-BOOKS
BEGINNERS GUIDE
Composition e-book
BUY PRINTS
SUPPORT SFLaB
Search
Search
Shoot Film Like a Boss
YouTube
Instagram
TikTok
Search for a camera or film
Find
Latest YouTube Video
Latest Post
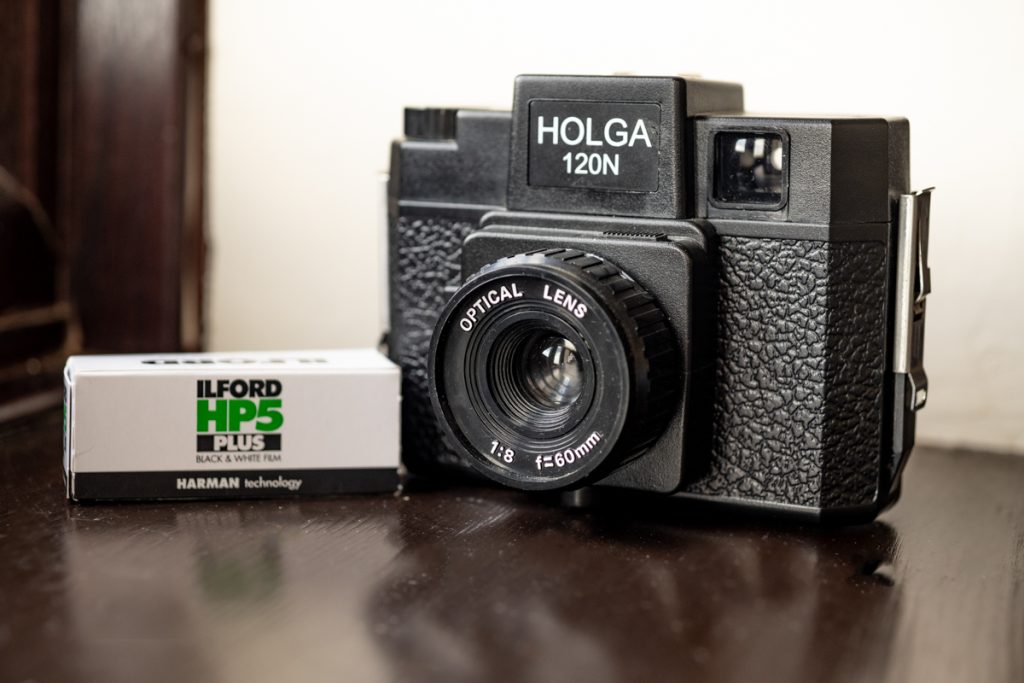
Why Holga?
Recent Posts
Holga Power ✊🏼
New Harman Switch Azure
Not a Miranda but an interesting history!
The Olympus OM-10: The People’s SLR (1979)
Mamiya 645 1000s
Find a post
Recent Posts
Holga Power ✊🏼
New Harman Switch Azure
Not a Miranda but an interesting history!
The Olympus OM-10: The People’s SLR (1979)
Mamiya 645 1000s
Download the NEW SFLaB ebook on Compositions
Download the SFLaB Beginners guide to Film and Darkroom
SFLaB FILM MERCH
Join me and others on Patreon
Buy me a Coffee or Film
All Posts
Holga Power ✊🏼
25th March 2026
New Harman Switch Azure
5th March 2026
Not a Miranda but an interesting history!
24th February 2026
The Olympus OM-10: The People’s SLR (1979)
18th December 2025
Mamiya 645 1000s
16th December 2025
New Waist Level Viewfinder by ChinoTechs
4th December 2025
Panoramic Photography with Lomography Horizon Camera
16th November 2025
Voigtlander Bessa L with 12mm Lens
7th August 2025
Harman release Phoenix II
16th July 2025
Leica Release NEW Film – MONOPAN 50
19th June 2025
A Pinhole system for the creative!
9th June 2025
Kentmere 200. Any good? Let’s see!
8th May 2025
M42 100mm f2.8 Bokeh Lens
29th April 2025
Working Hands Project
24th April 2025
“New” Film. Dragon No1 Film.
14th April 2025
Black & White or Grey? Contrast.
1st April 2025
Delta 3200 at the London Photography & Video Show 2025
12th March 2025
HARMAN RED (REDSCALE)
14th February 2025
Svema KN-1 Expired Film
9th February 2025
A Soviet Classic! The Kiev 19
10th January 2025