This is one filter that I rarely use but really it should be a filter that I always take out with me on a shoot!
The Circular Polarising Filter (CPL) works like magic on sunny days getting rid of unwanted reflections on water, glass and other surfaces as well as making blue sky a deeper blue if you are shooting colour and giving a nice separation between the sky and cloud.
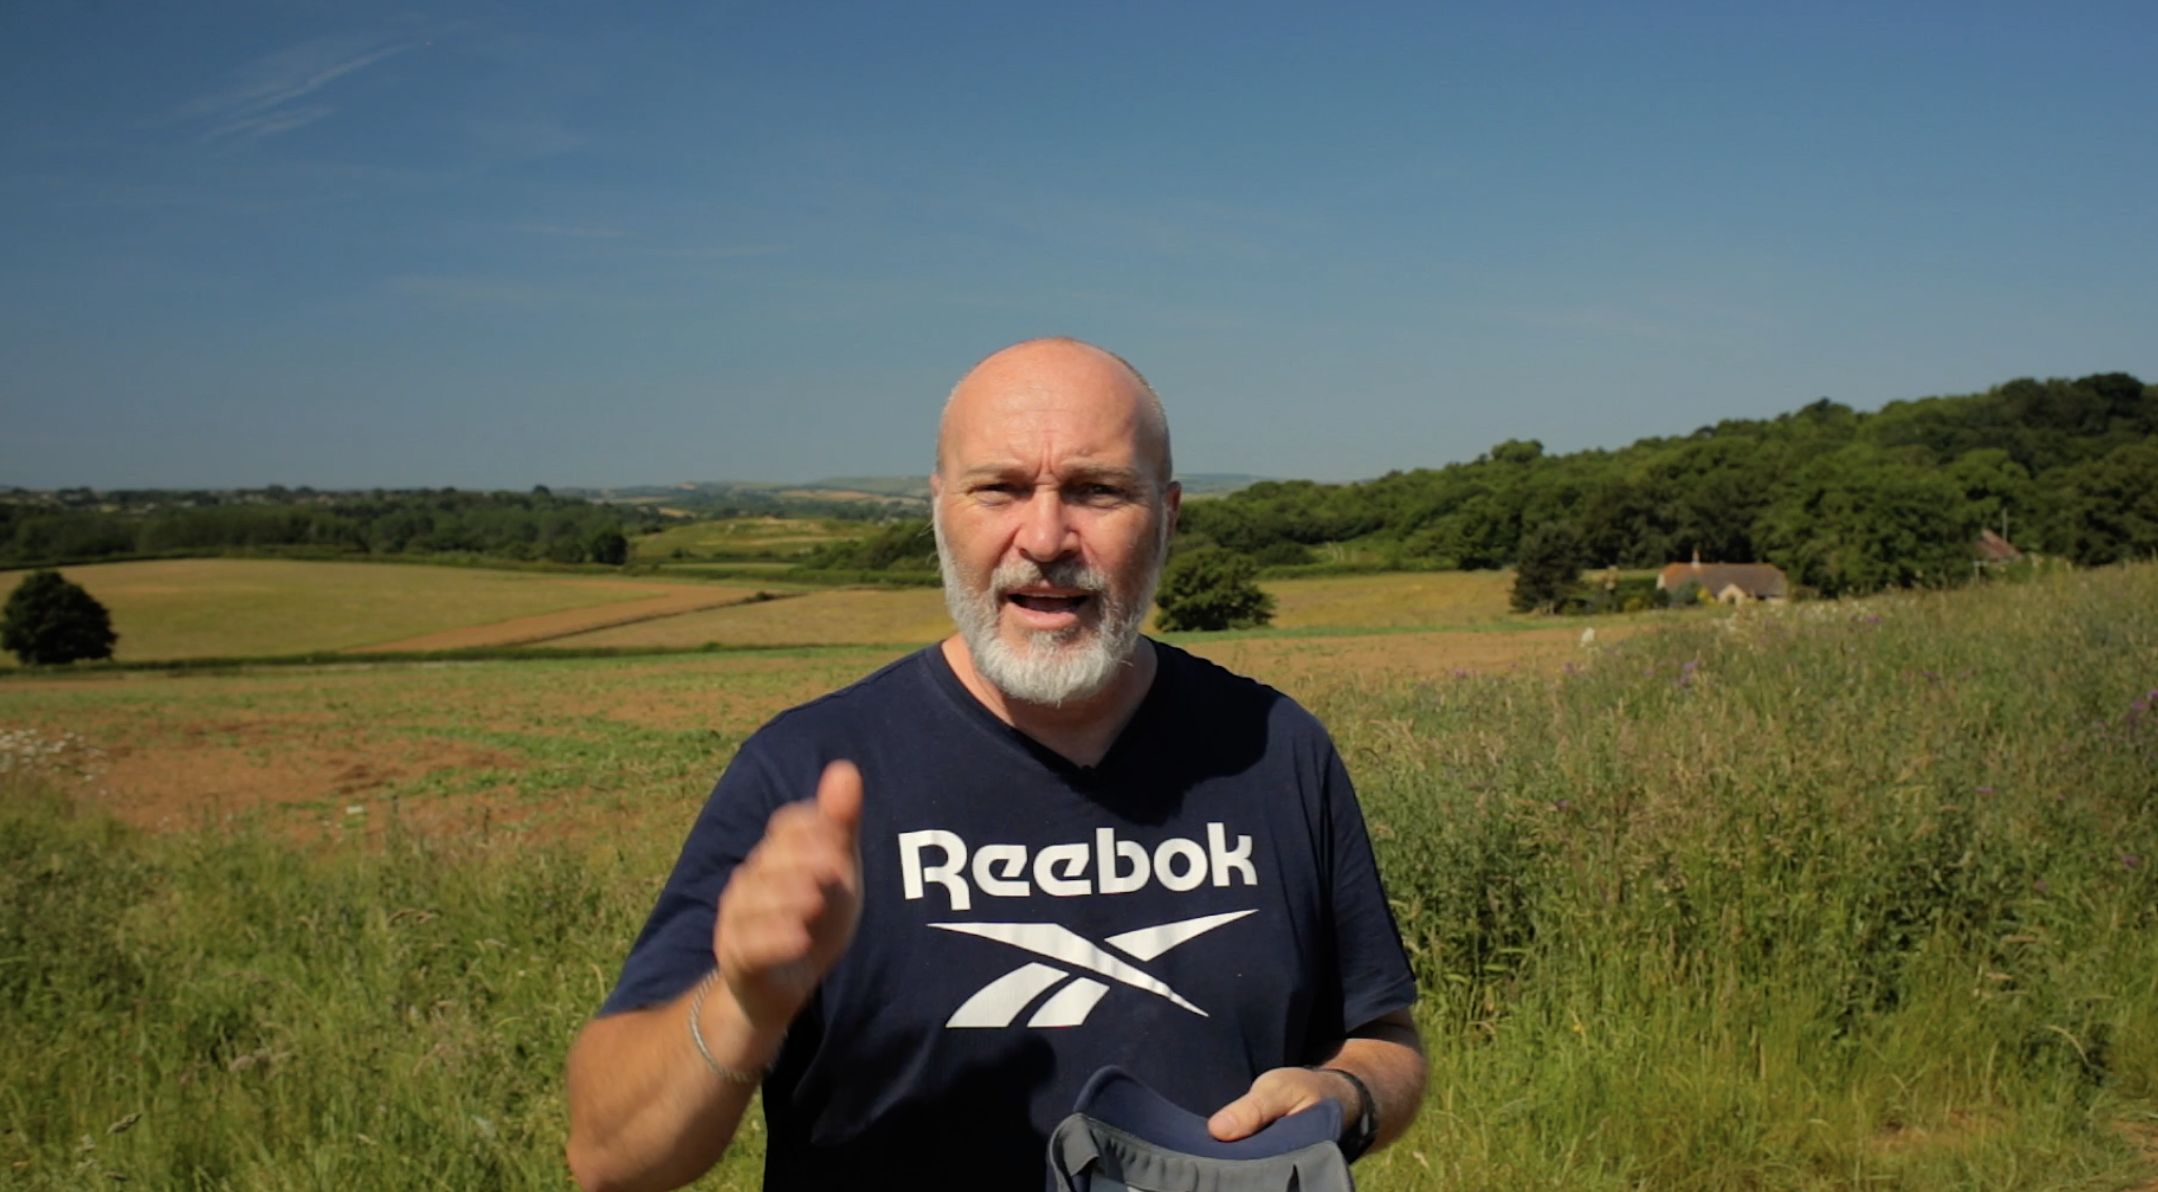
It’s also great for out door portraiture if you’re shooting in bright sun taking the shine of your subjects skin. Not that you would want to shoot a portrait in bright sun! But the option is there.
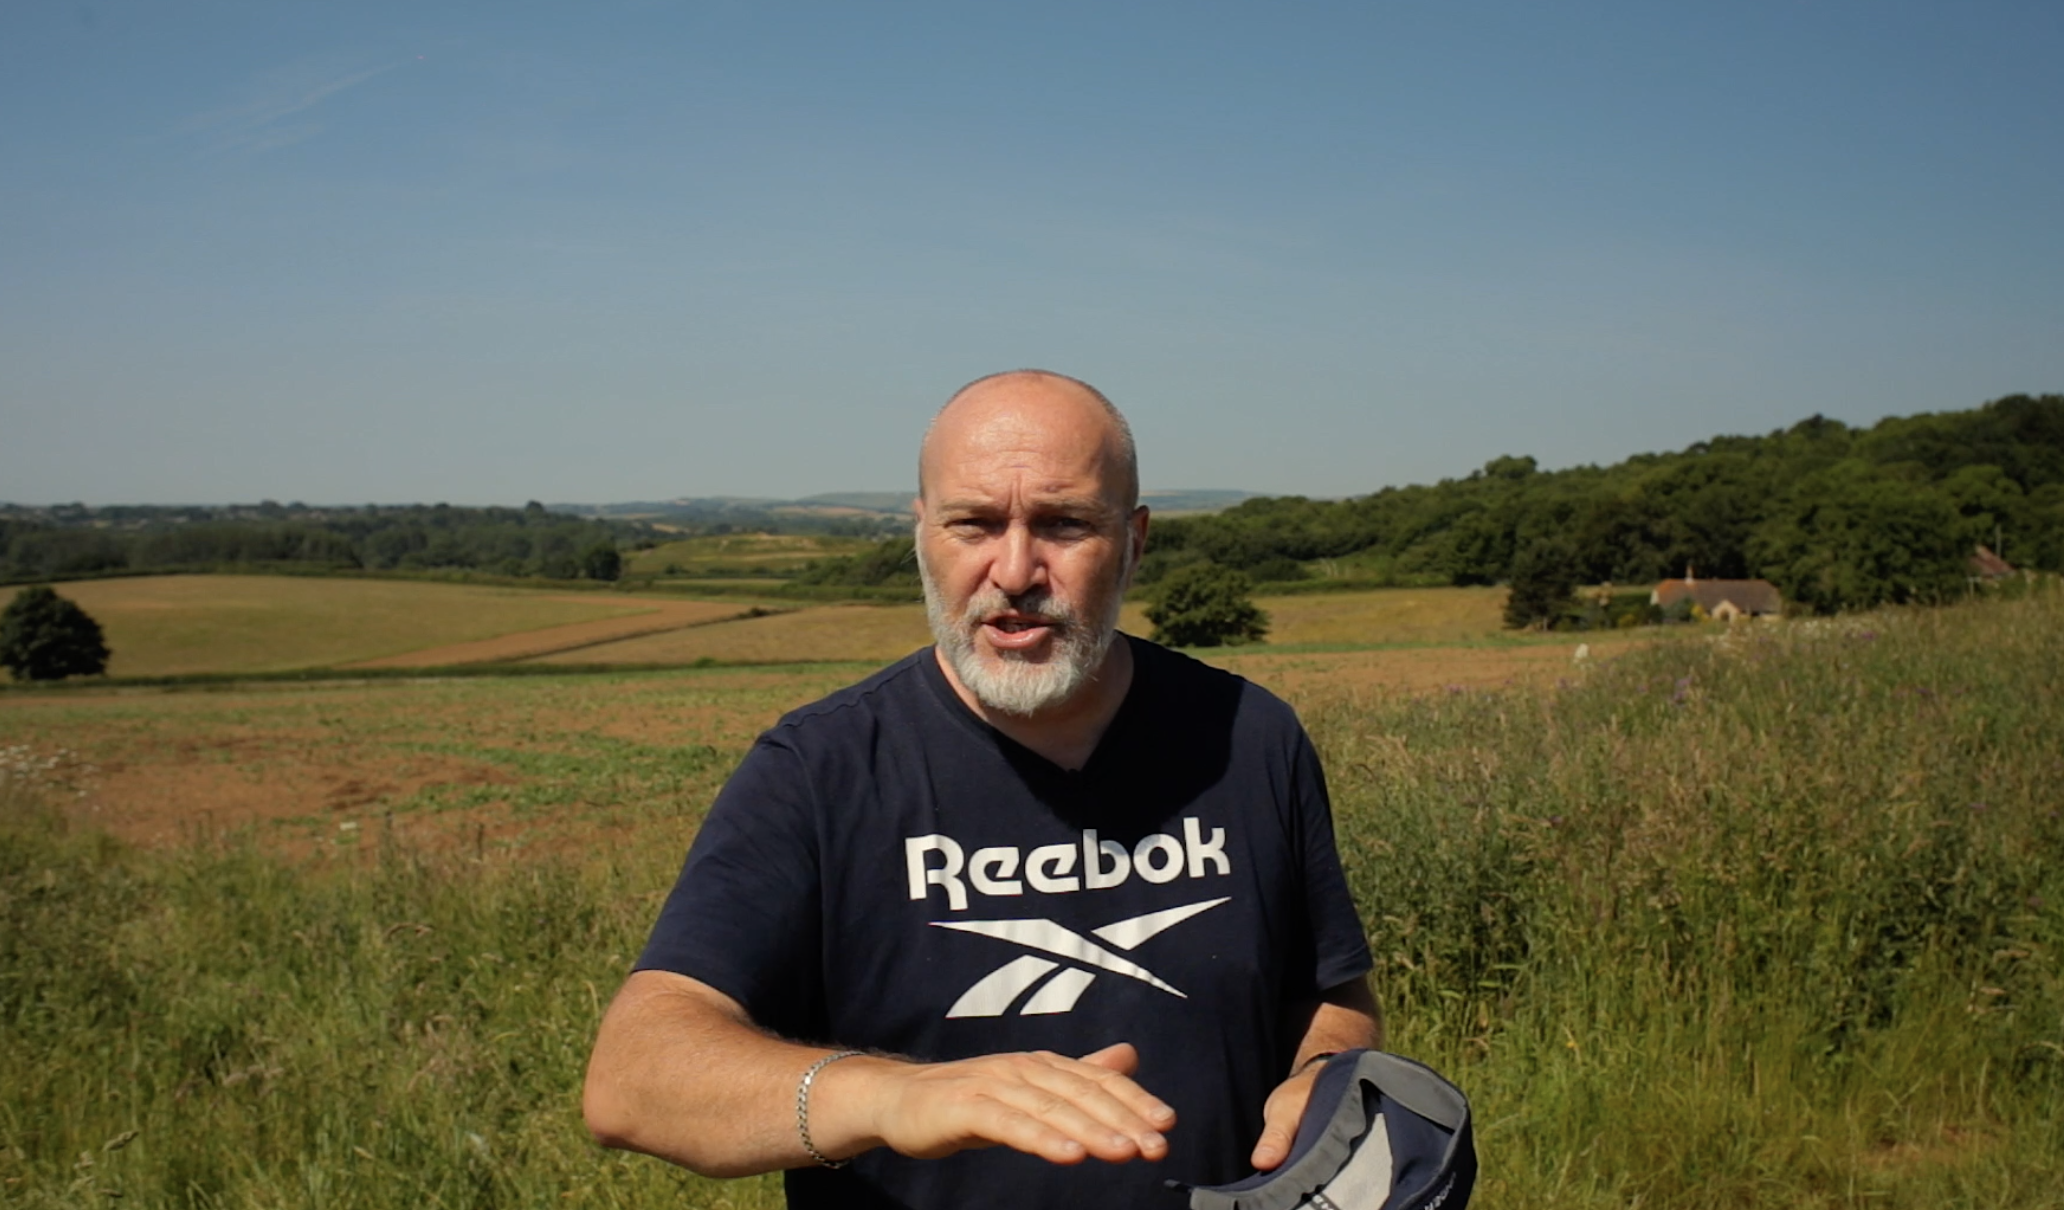
Here is a still taken from the video where I had the polariser on. No shine on my head. I then turned the polariser in the opposite direction and you can see the difference.
The filter works best when your subject is at a 90° angle from the sun. So you have to keep this is mind when you are taking your pictures. And if you are shooting scapes and you are not at the right angle you will start to see uneven graduation in the sky. Such as this image below. The sky is darker on the right side than the left.
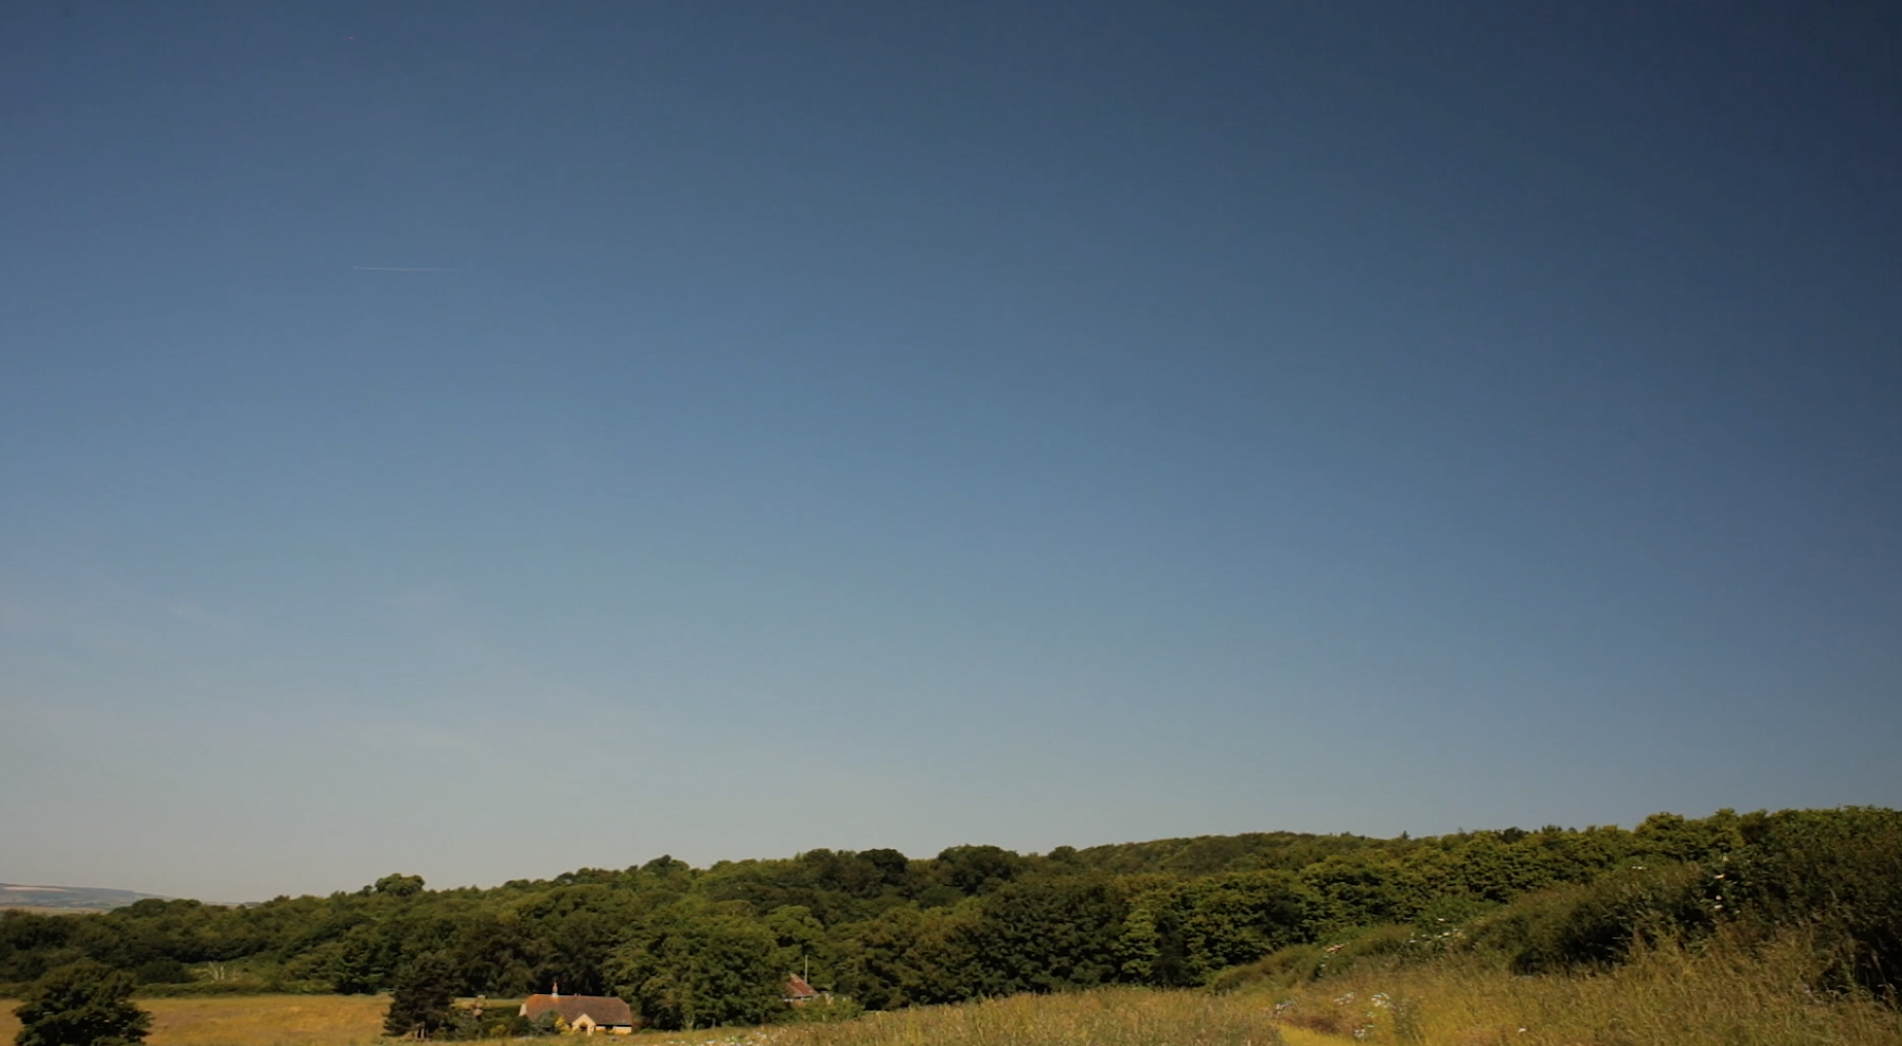
It does look a bit odd so maybe this is a time when you decide not to use the filter. But if you are at the correct angle for maximum effect you do get some wonderful gradient in the sky. Especially if clouds are present.
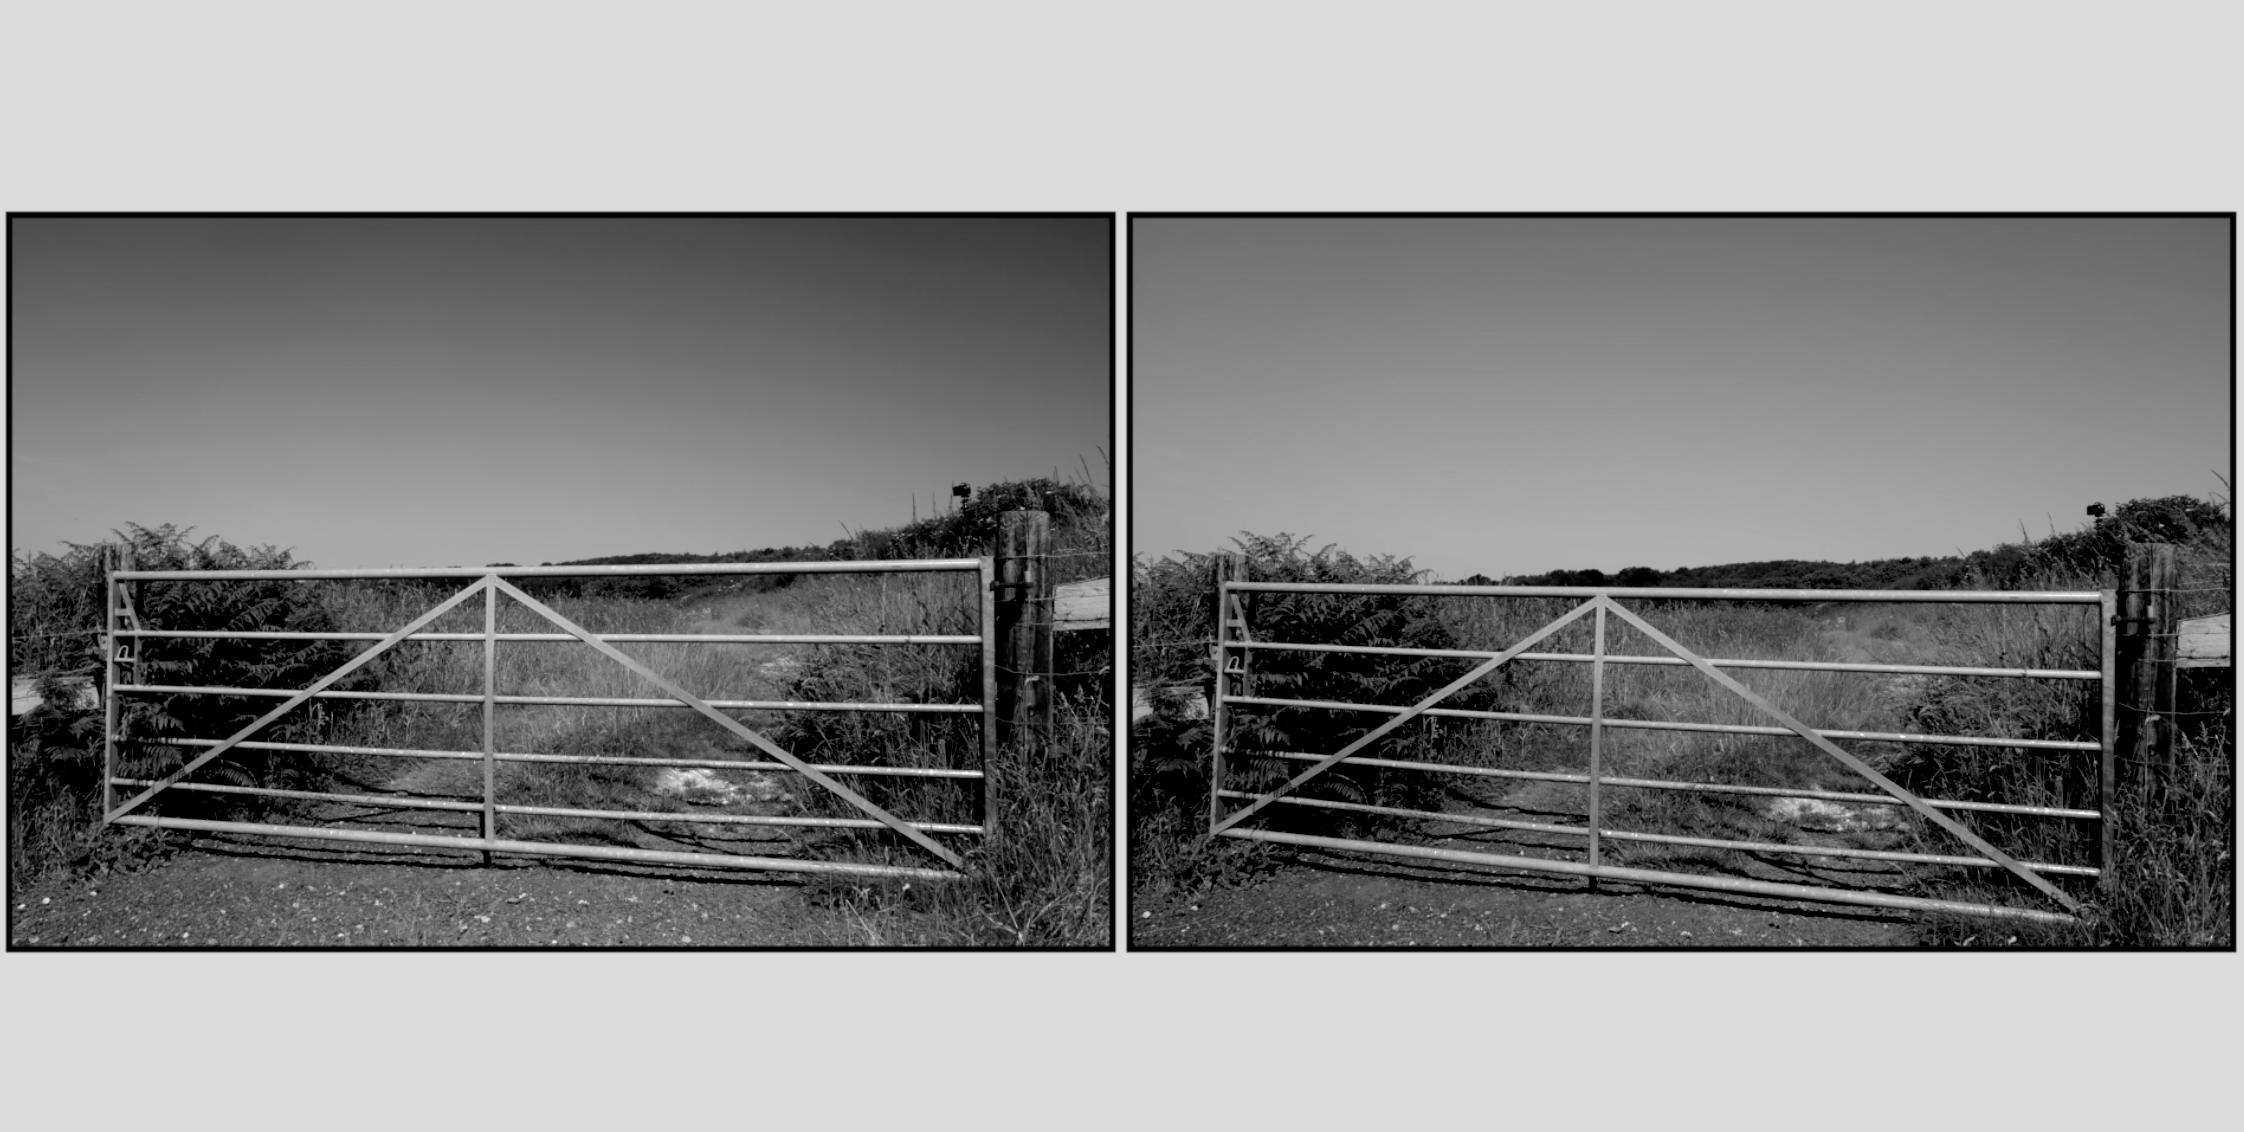
The left image is using a Polariser Filter and the right is no filter.
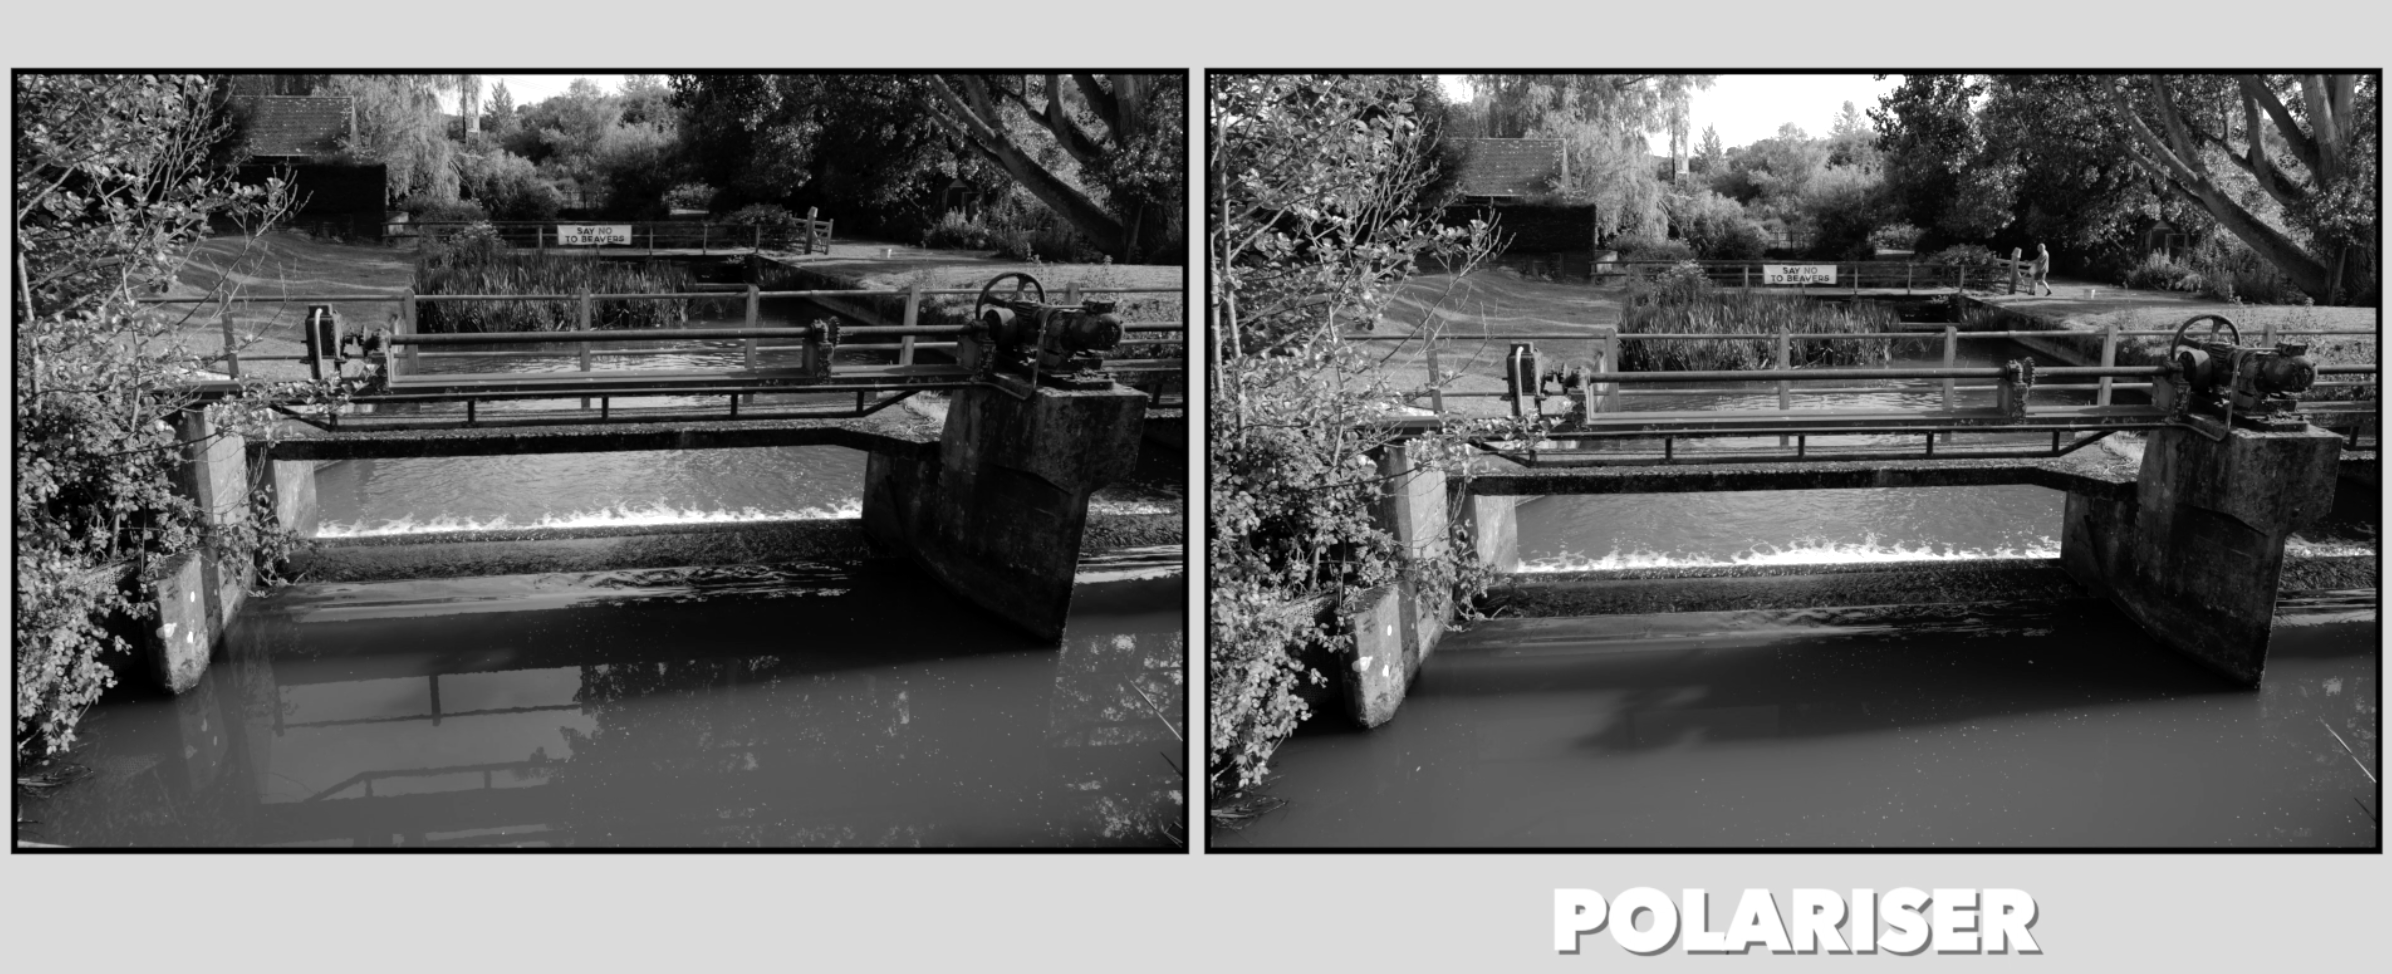
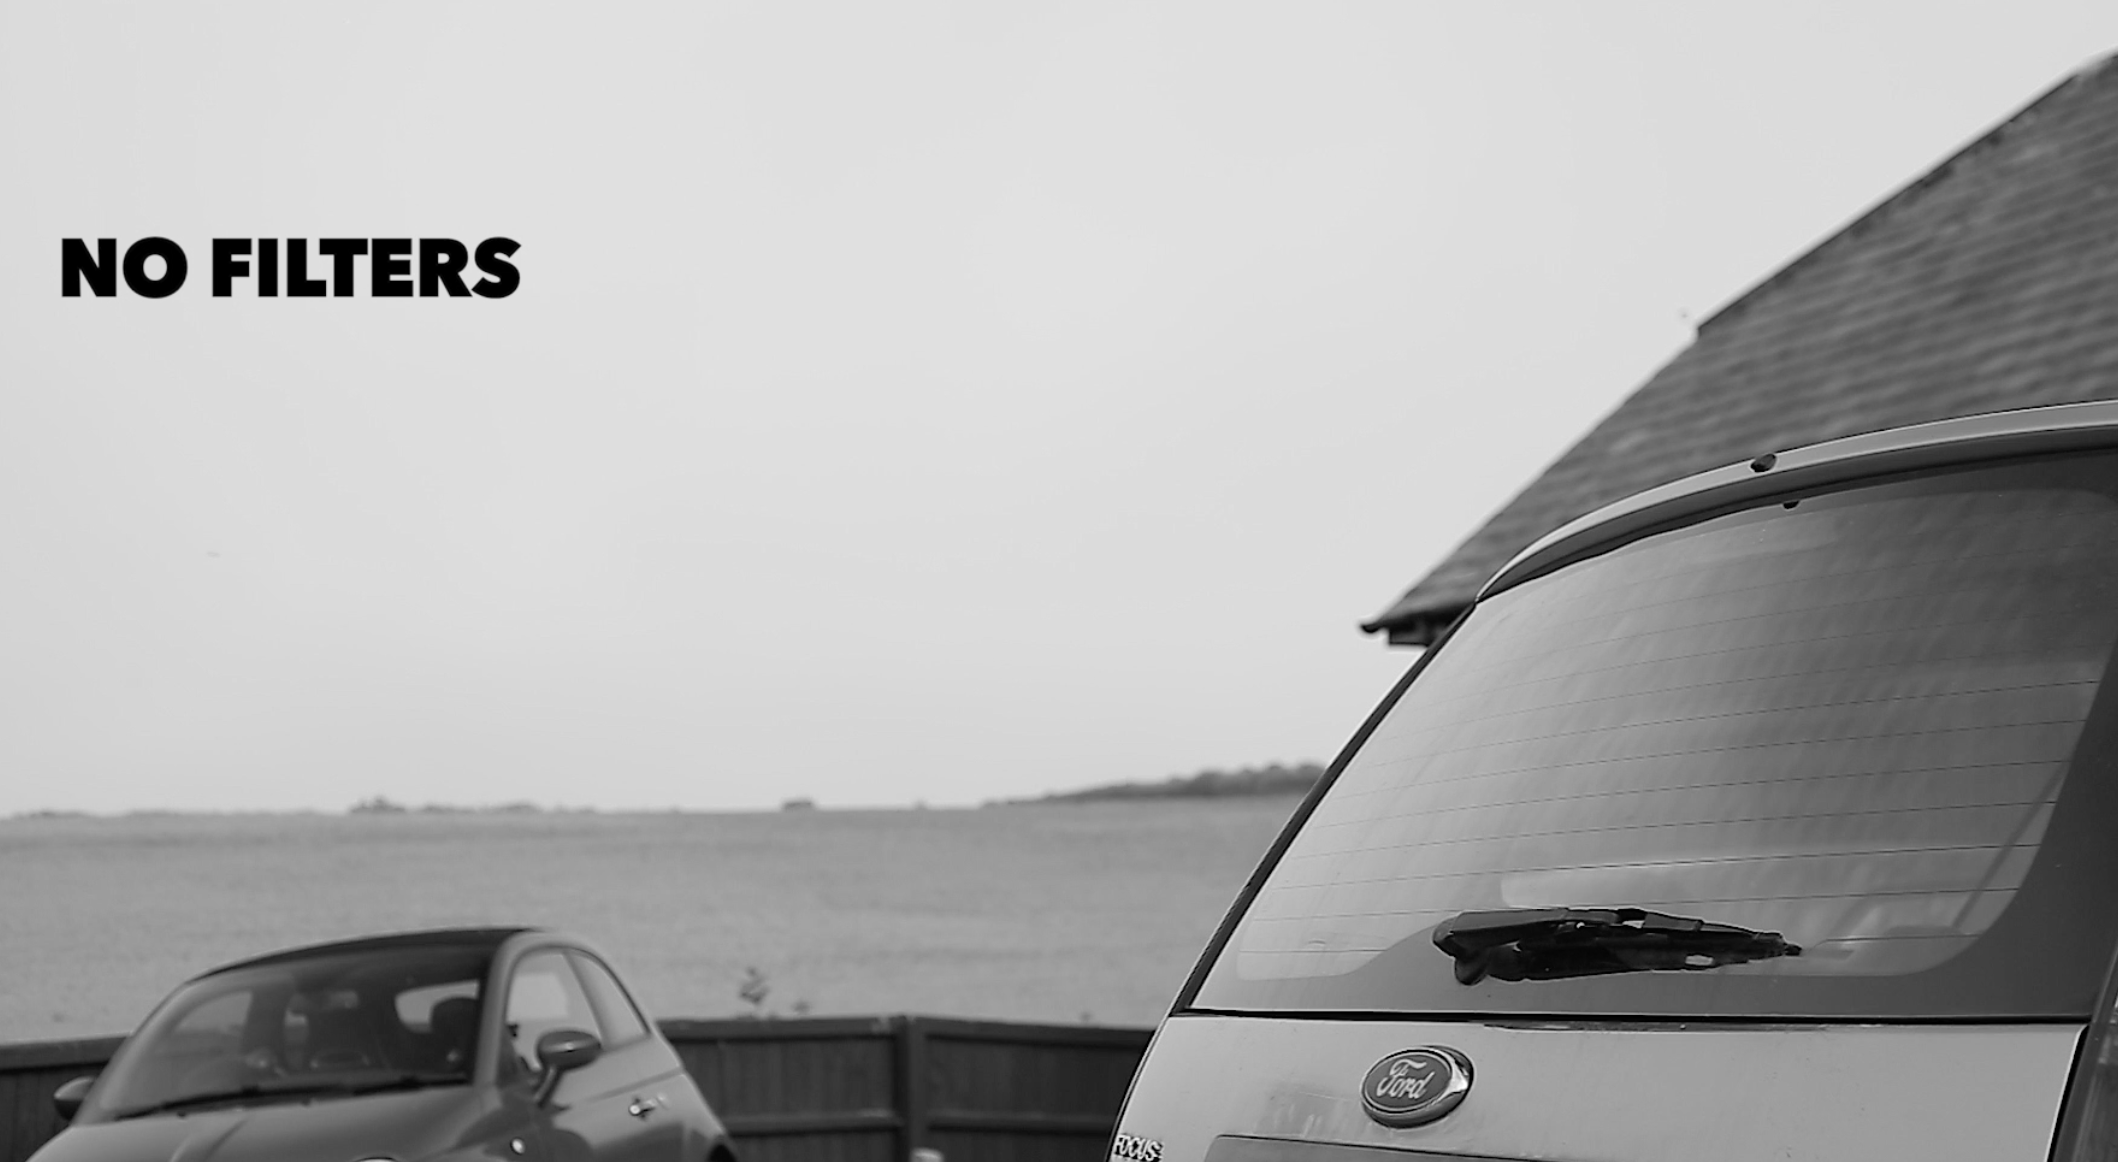
And here is another scene where you can see how the filter has worked with unwanted reflections in the water.
Another screen grab from the video, with a UK/US grammar quote, you can see how it works on glass and in particular, cars. Good to remember for you car show photographers.

As for the science behind how it works you can read this up online. There are plenty of articles on how polarisation works that explain it far better than I could. But to be honest, I don’t need to know how it works as I can see how it works when I am using the filter. As long as I am using an SLR.
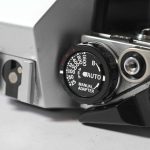
If I am using a Rangefinder where I can’t see what is going through the lens then it’s just a case of looking through the filter with your eye and then using the indication mark on the filter as a reference.
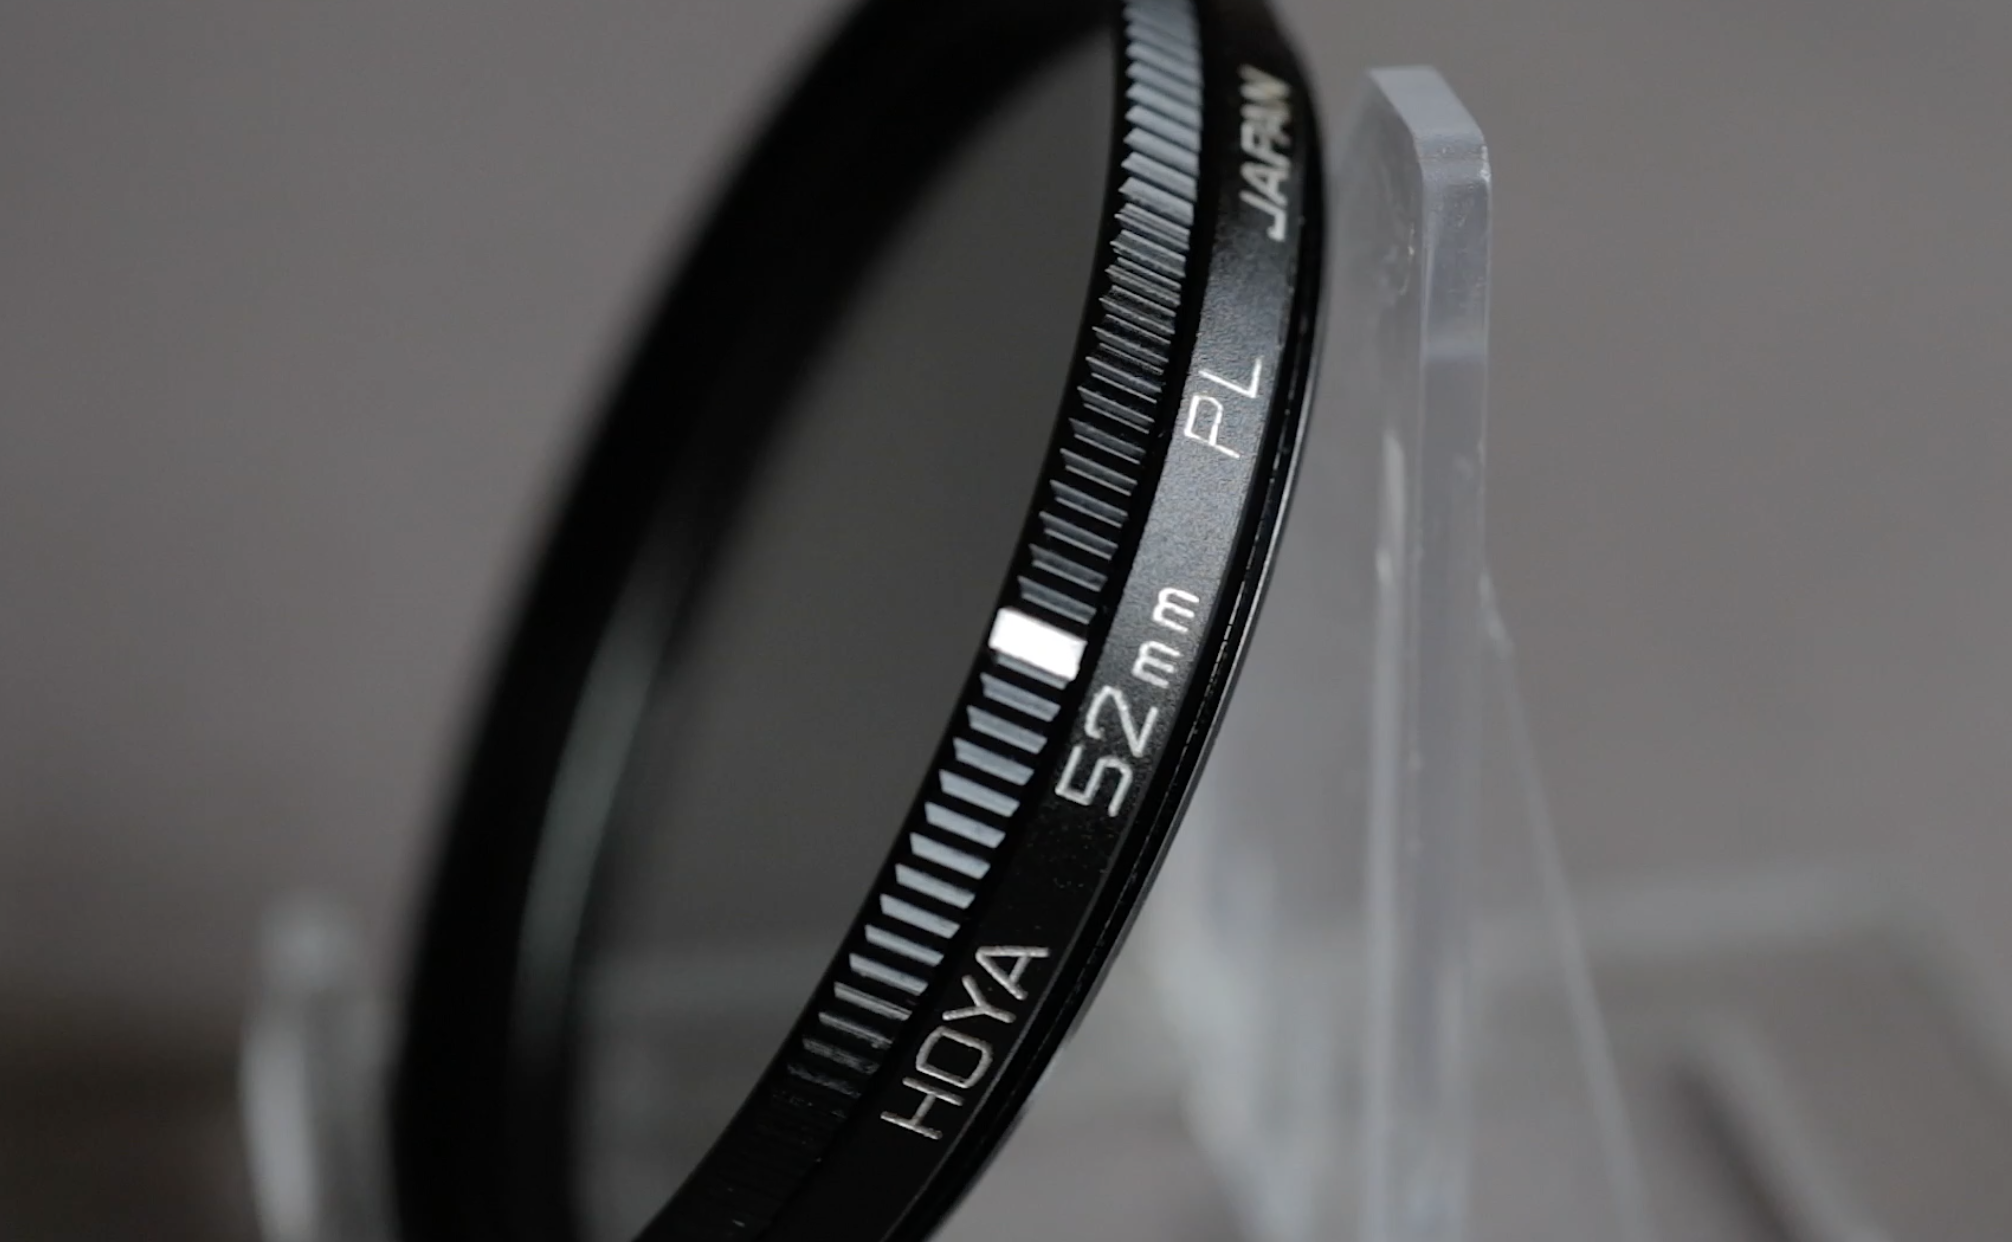
That line on the filter is an indication of where to position the filter. It should be in line with the direction of the light source, thats where I have found it to work best. So you can use this as a reference for your rangefinder. But, not all filters have this line. Which is fine, if you’re doesn’t then you can make your own line on the filter with some typer fluid or white pen.
Probably the only thing you need to know is that it works best when your subject is a a 90° angle from the light source. And also you will lose light using the filter. My one is 2 Stops. Others may vary depending on the brand and quality.
Here is a list on what I found this filter to be able to control in my own photograph.
- Water Reflections
- Surface Glare
- Cloud and Sky Separation
- Unwanted skin glare from light sources
- Glass Reflections (Think car show, shop windows, home interiors)
- Vegetation Glare
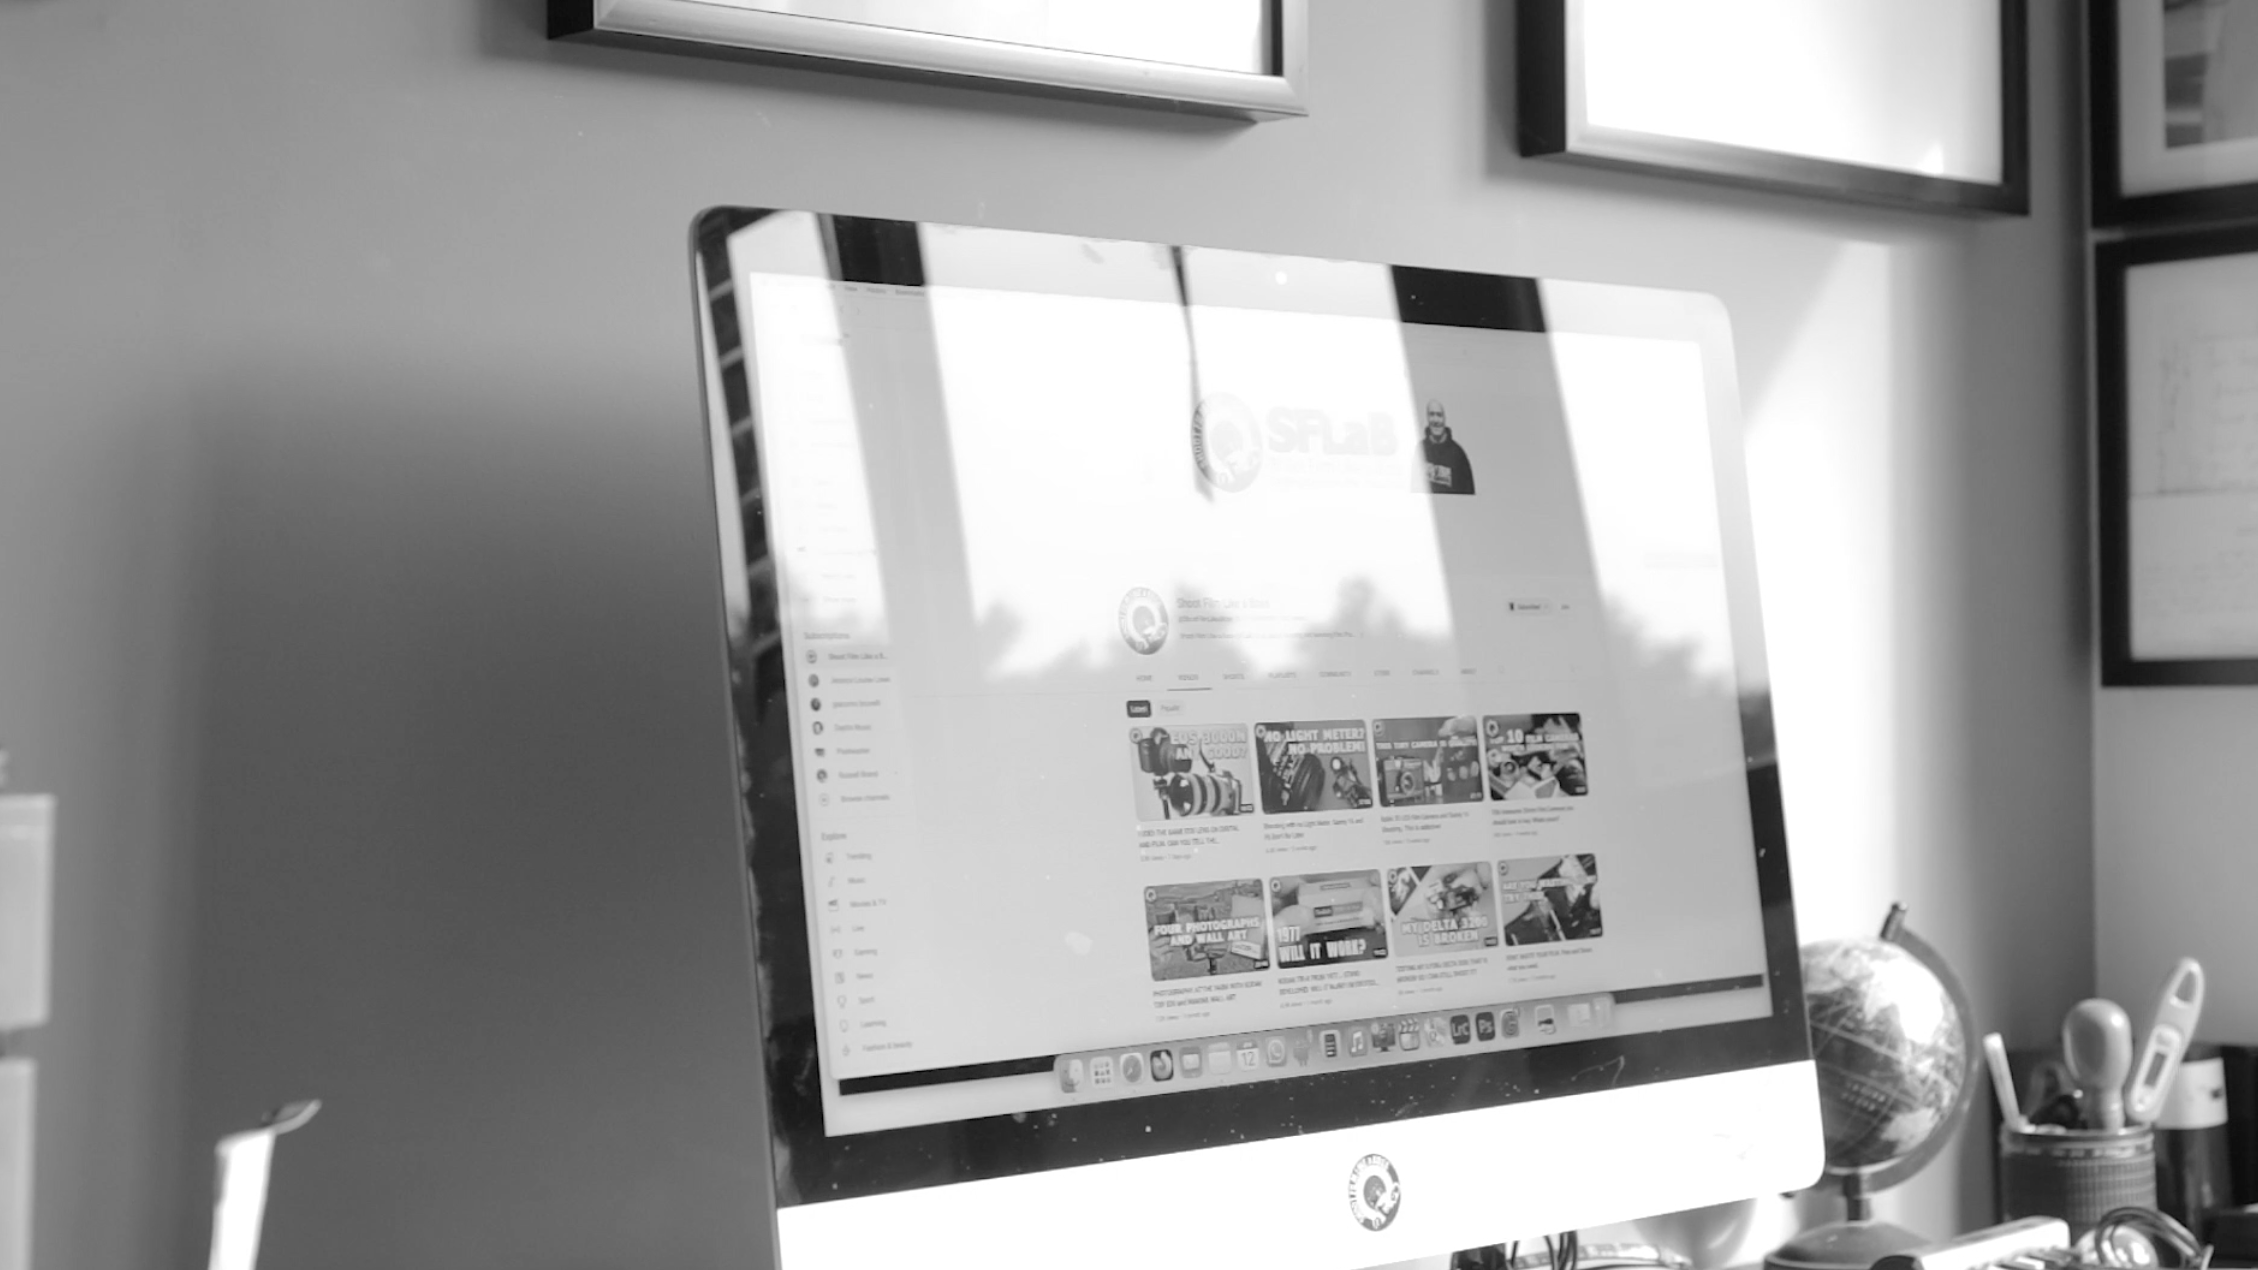
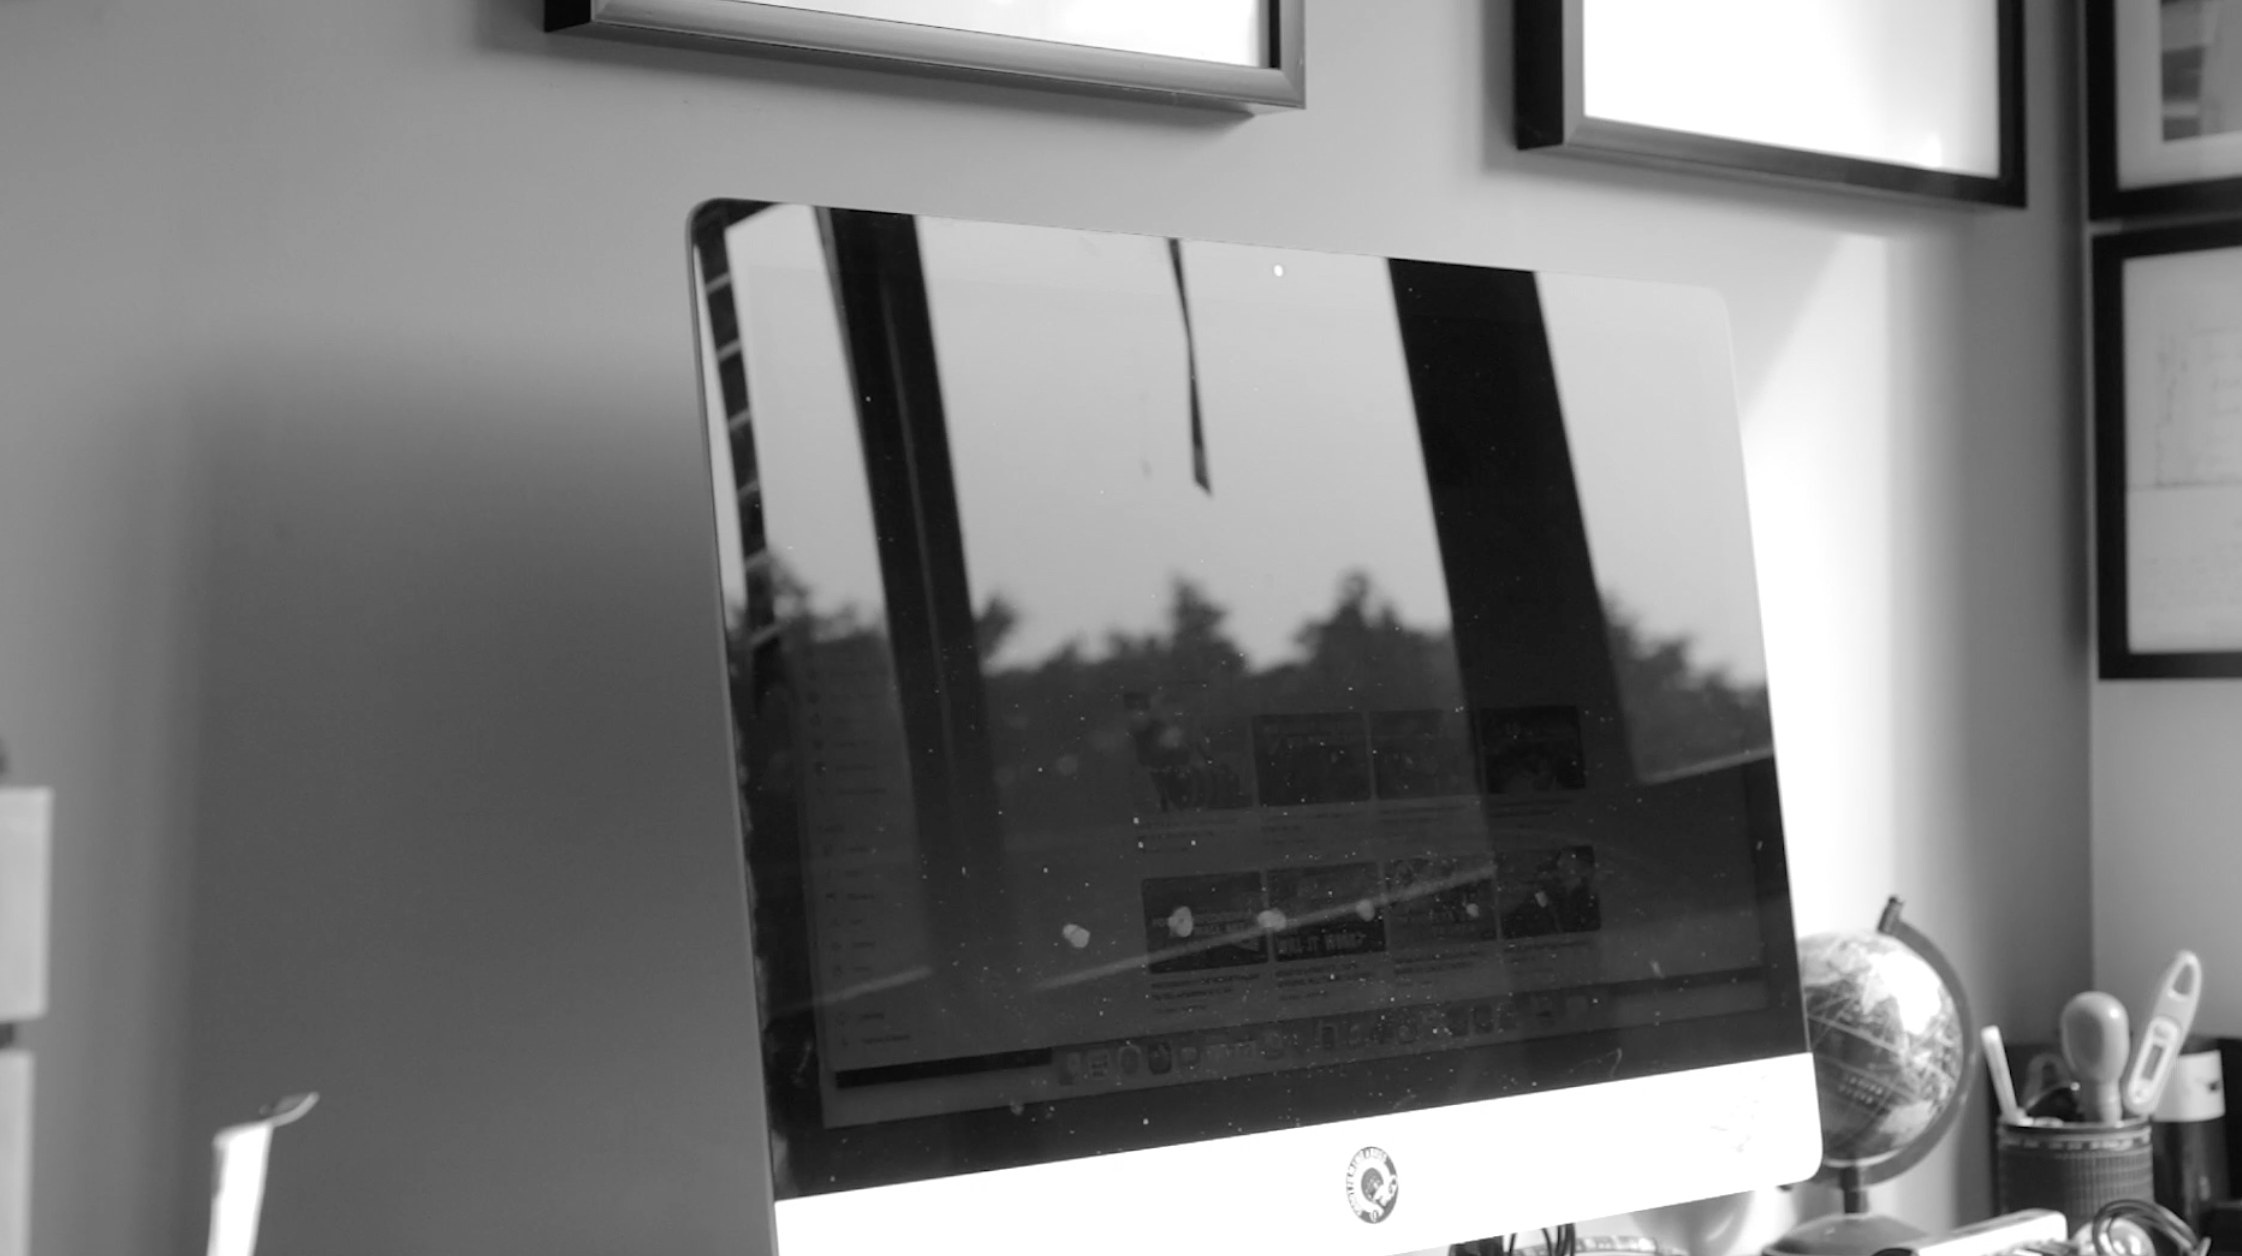
Also, if you need to shoot interiors for an office the filter will also turn LED screens black! Very handy if you are shooting interiors that have these screens such as an office.
There are many brands of CPL. I have the Hoya Brand which work pretty well, but there are brands that are more expensive and probably work better and brands that are cheap that probably work okay.